I have had Chevrons on the brain lately. You too?
With all of the adorable Chevron fabrics coming at me from every direction, it is no wonder, though.
And then, I received this lovely little bundle in the mail
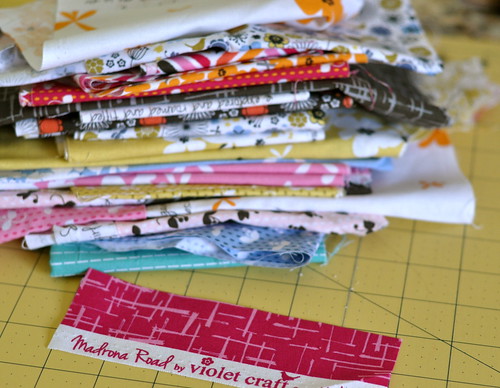
The lovely Violet Craft took mercy on a girl and sent me some of her fantabulous scraps. Can I tell you how much I love this line? I seriously can’t wait for yardage. Can.Not.Wait.
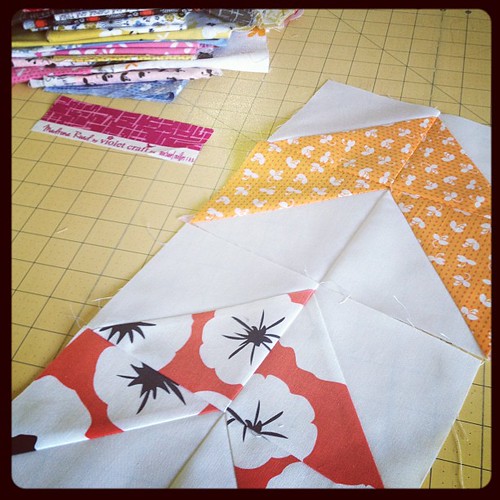
So, I cut. And all of a sudden, I had myself a couple of these.
Since it is so simple and easy, I am hesitant to even call this a tutorial. Perhaps a tip-torial.
The scraps were various sizes and had quite a few angles, so for some of these I worked with bias edges, but for the most part, I was able to make half square triangles from charms.
For each 8.5″ block, you will need:
2 of the same matching 5″ charms
2 of the same solid 5″ charms
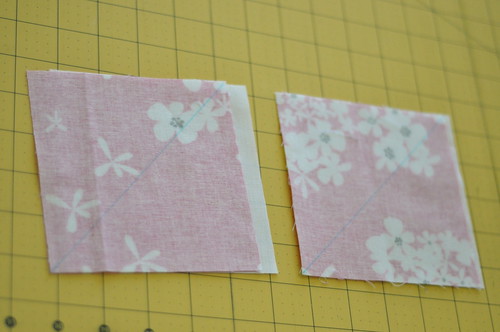
You are going to make yourself a passel of HST. I draw my lines down the diagonal of the square and then chain piece them in pairs.
Your pair ready to be sewn
Then, it is time to sew them together. I like this method because it keeps my pairs together until I am ready to cut them apart. Sometimes a couple of days go by between steps. When I am ready to move on to the next step, they are already neatly piled in pairs for me.
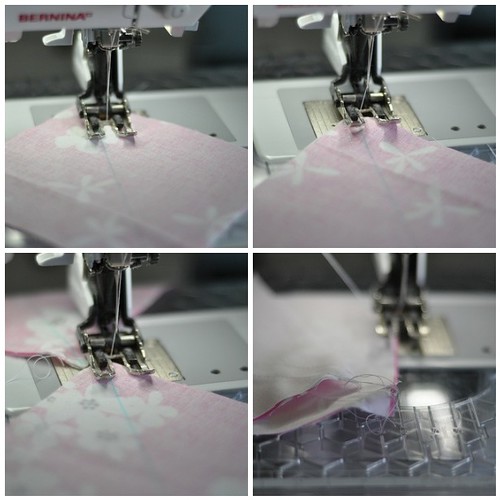
Sew your first HST down 1/4″ from the line as normal. When you get to the end, flip it around and do the other side. I hate feeding the same piece of fabric through my machine multiple times, so this makes it so I just have to touch it once and it’s done. Then, without cutting the thread, feed the next pair of charms under the presser foot. Repeat. You save a wee bit of thread and your squares are neatly tied together 🙂
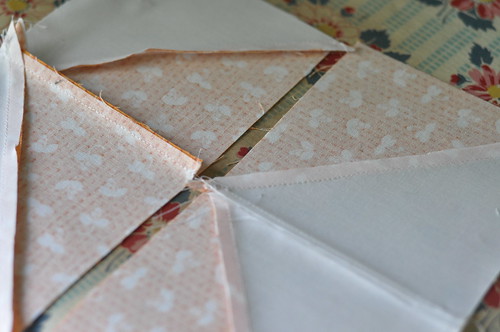
Then, lay them out like so and sew them into pairs
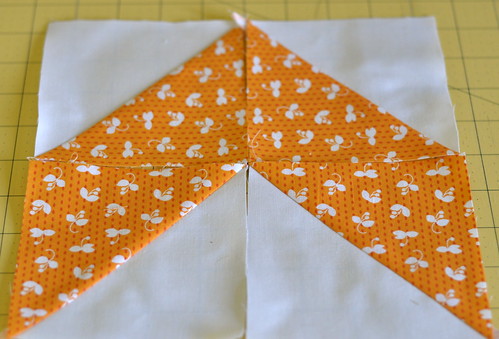
Then press your pairs and sew them into chevrons
Just make sure to add sashing in between or you are going to end up with zig-zags.
Hopefully, I’ll have a finish (or two) by the weekend!
PS: If you are Utah blogger/Sewing Summit-er/SNAP-er, there is a fun gathering tonight @ Material Girls @ 7! It would be so fun to meet you there!

I really love the chevrons, and your method looks super efficient and do-able. Now if I just didn’t have to draw those lines…. And the fabric is awesome. I can’t wait for its release. I know I’ll have to indulge. Again.
This looks so beautiful!!!