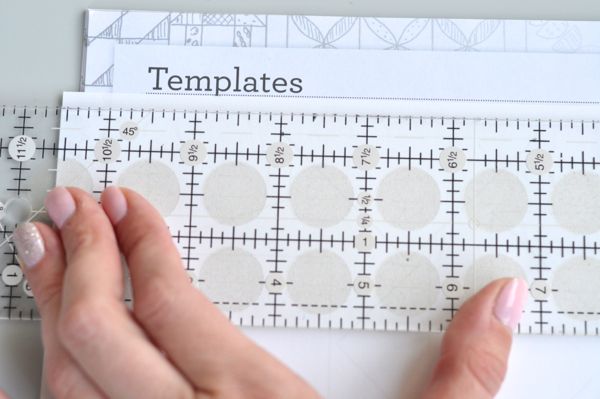
The best place to start with the Green Tea and Sweet Beans quilt is with the initial challenge: drafting the templates. The back of the book has all of the templates you need for every block in the book. But they are on double sided paper and need a seam allowance added.
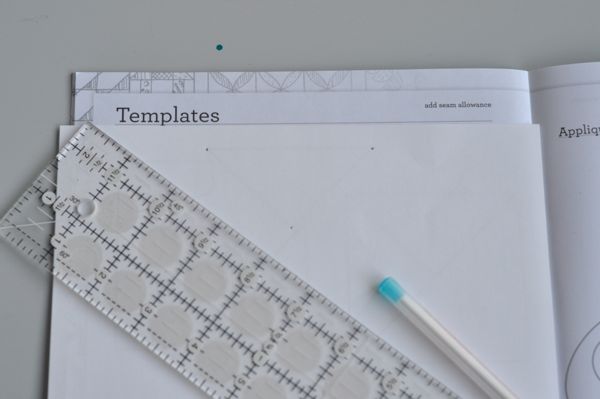 So, I start with a blank piece of printer paper (you could easily use freezer paper if you prefer to iron your templates onto your fabric, but I found that wasn’t necessary for most of the blocks).
I start by placing the printer paper over the shape. You should be able to see the shape through the paper. I then put dots in each corner of the shape I am trying to add a seam allowance to.
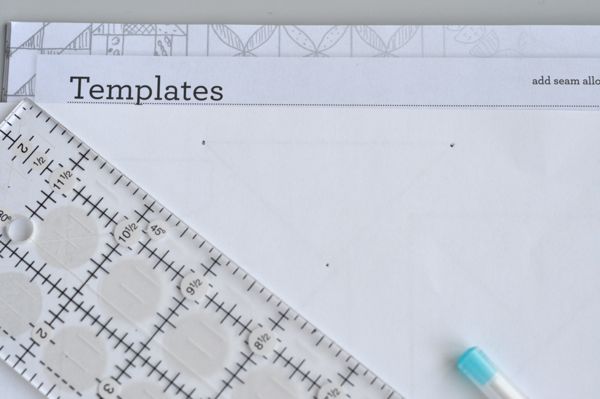
(hopefully you can see those dots!)
Then, I line two dots up on the 1/4″ mark of my clear ruler and draw a line toward the outside of the shape.
Turn the Ruler to the next set of dots. Line up the dots on the 1/4″ mark and draw a line that intersects the first.
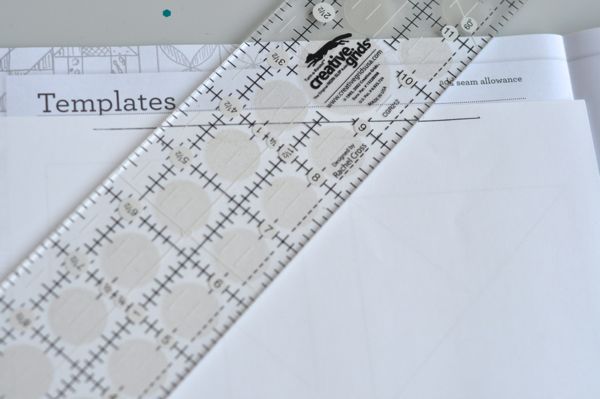
Repeat that same technique on the third side (or fourth or fifth or sixth) until your shape is complete.
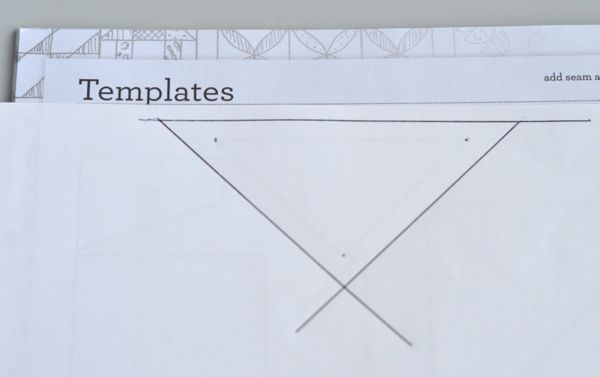
Then, and this is important, LABEL your piece! Make sure to put the letter in the middle of the shape.
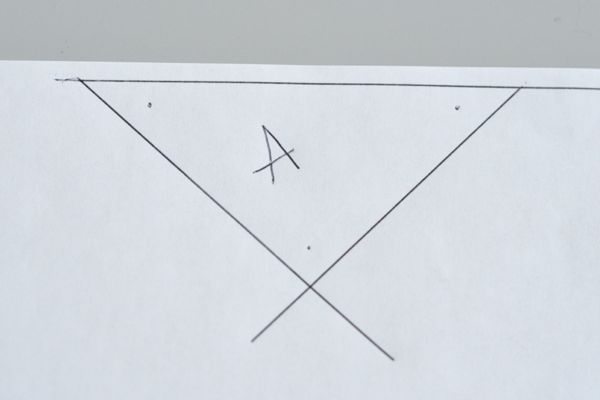
And then cut it out on the inside of the line using paper scissors.

Now, I like to rubber cement it to my ruler and then cut using a rotary cutter.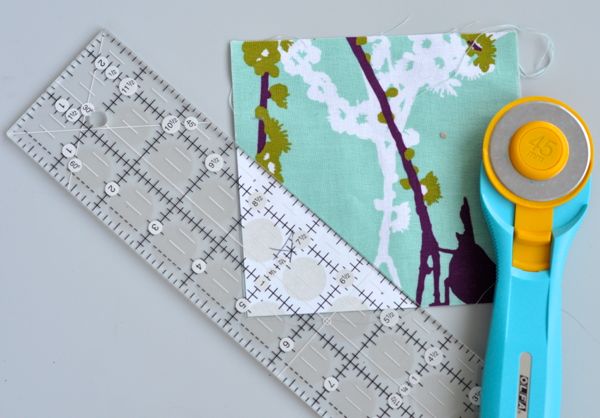
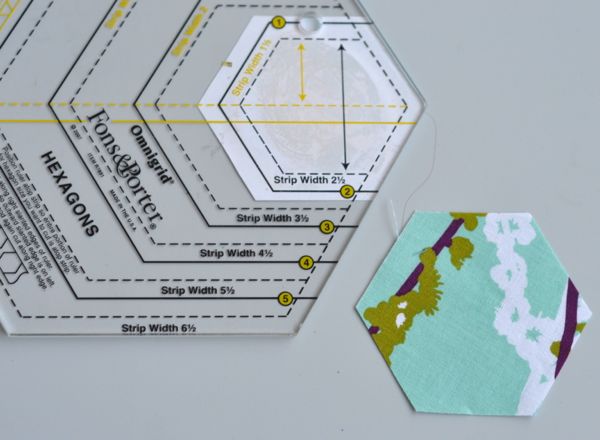
For odd shapes, I used an appropriate ruler. I LOVE my hexagon ruler, by the way 🙂

Wow, great description! You really make me want to try the Green Tea and Sweet Beans pattern! Is looks like it can handle all sort of variety in fabrics too!
Wow! What a great idea for rubber cement! Never would have thought of that! Thanks for the tip 🙂
Thanks for sharing. This one is definitely on my bucket list.