Well, At least this is coming up in the same week that it is due, right? I apologize for this delay, everyone. Thank you for being so understanding. We are all back up to snuff over here, and your well wishes were so appreciated. Sometimes being a mom is a pretty tough job.
So, let’s get down to business?
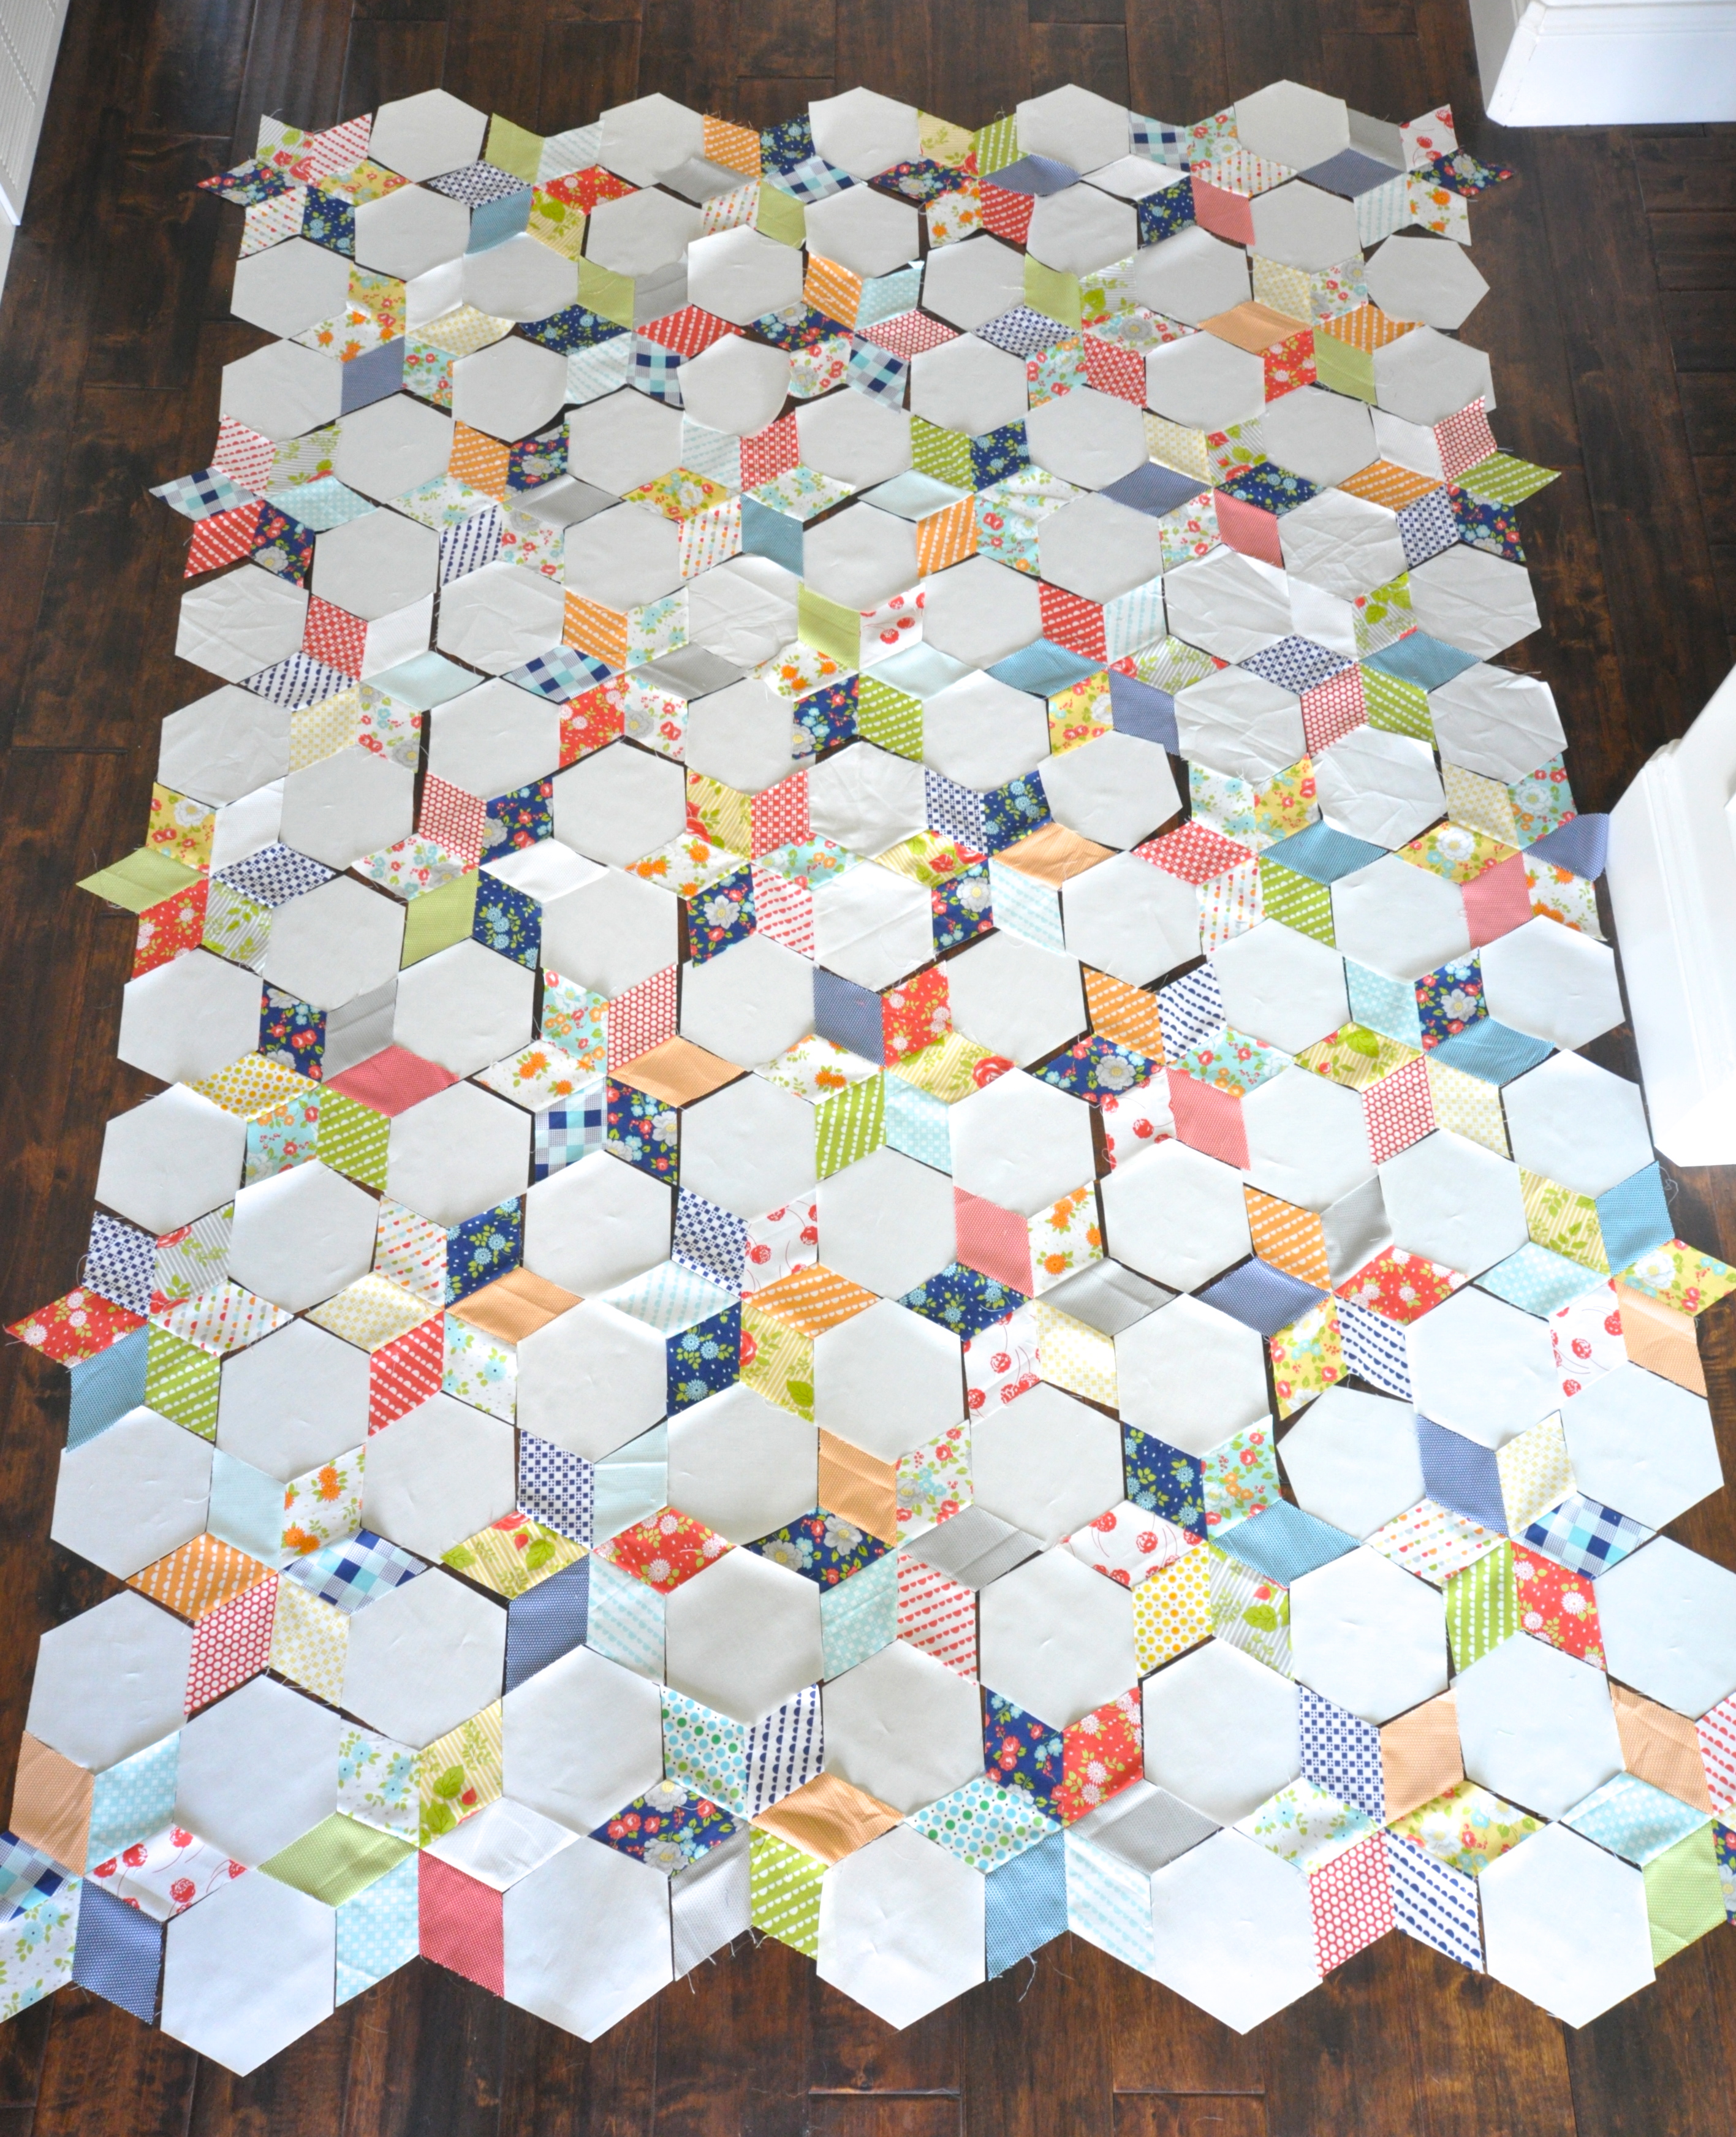
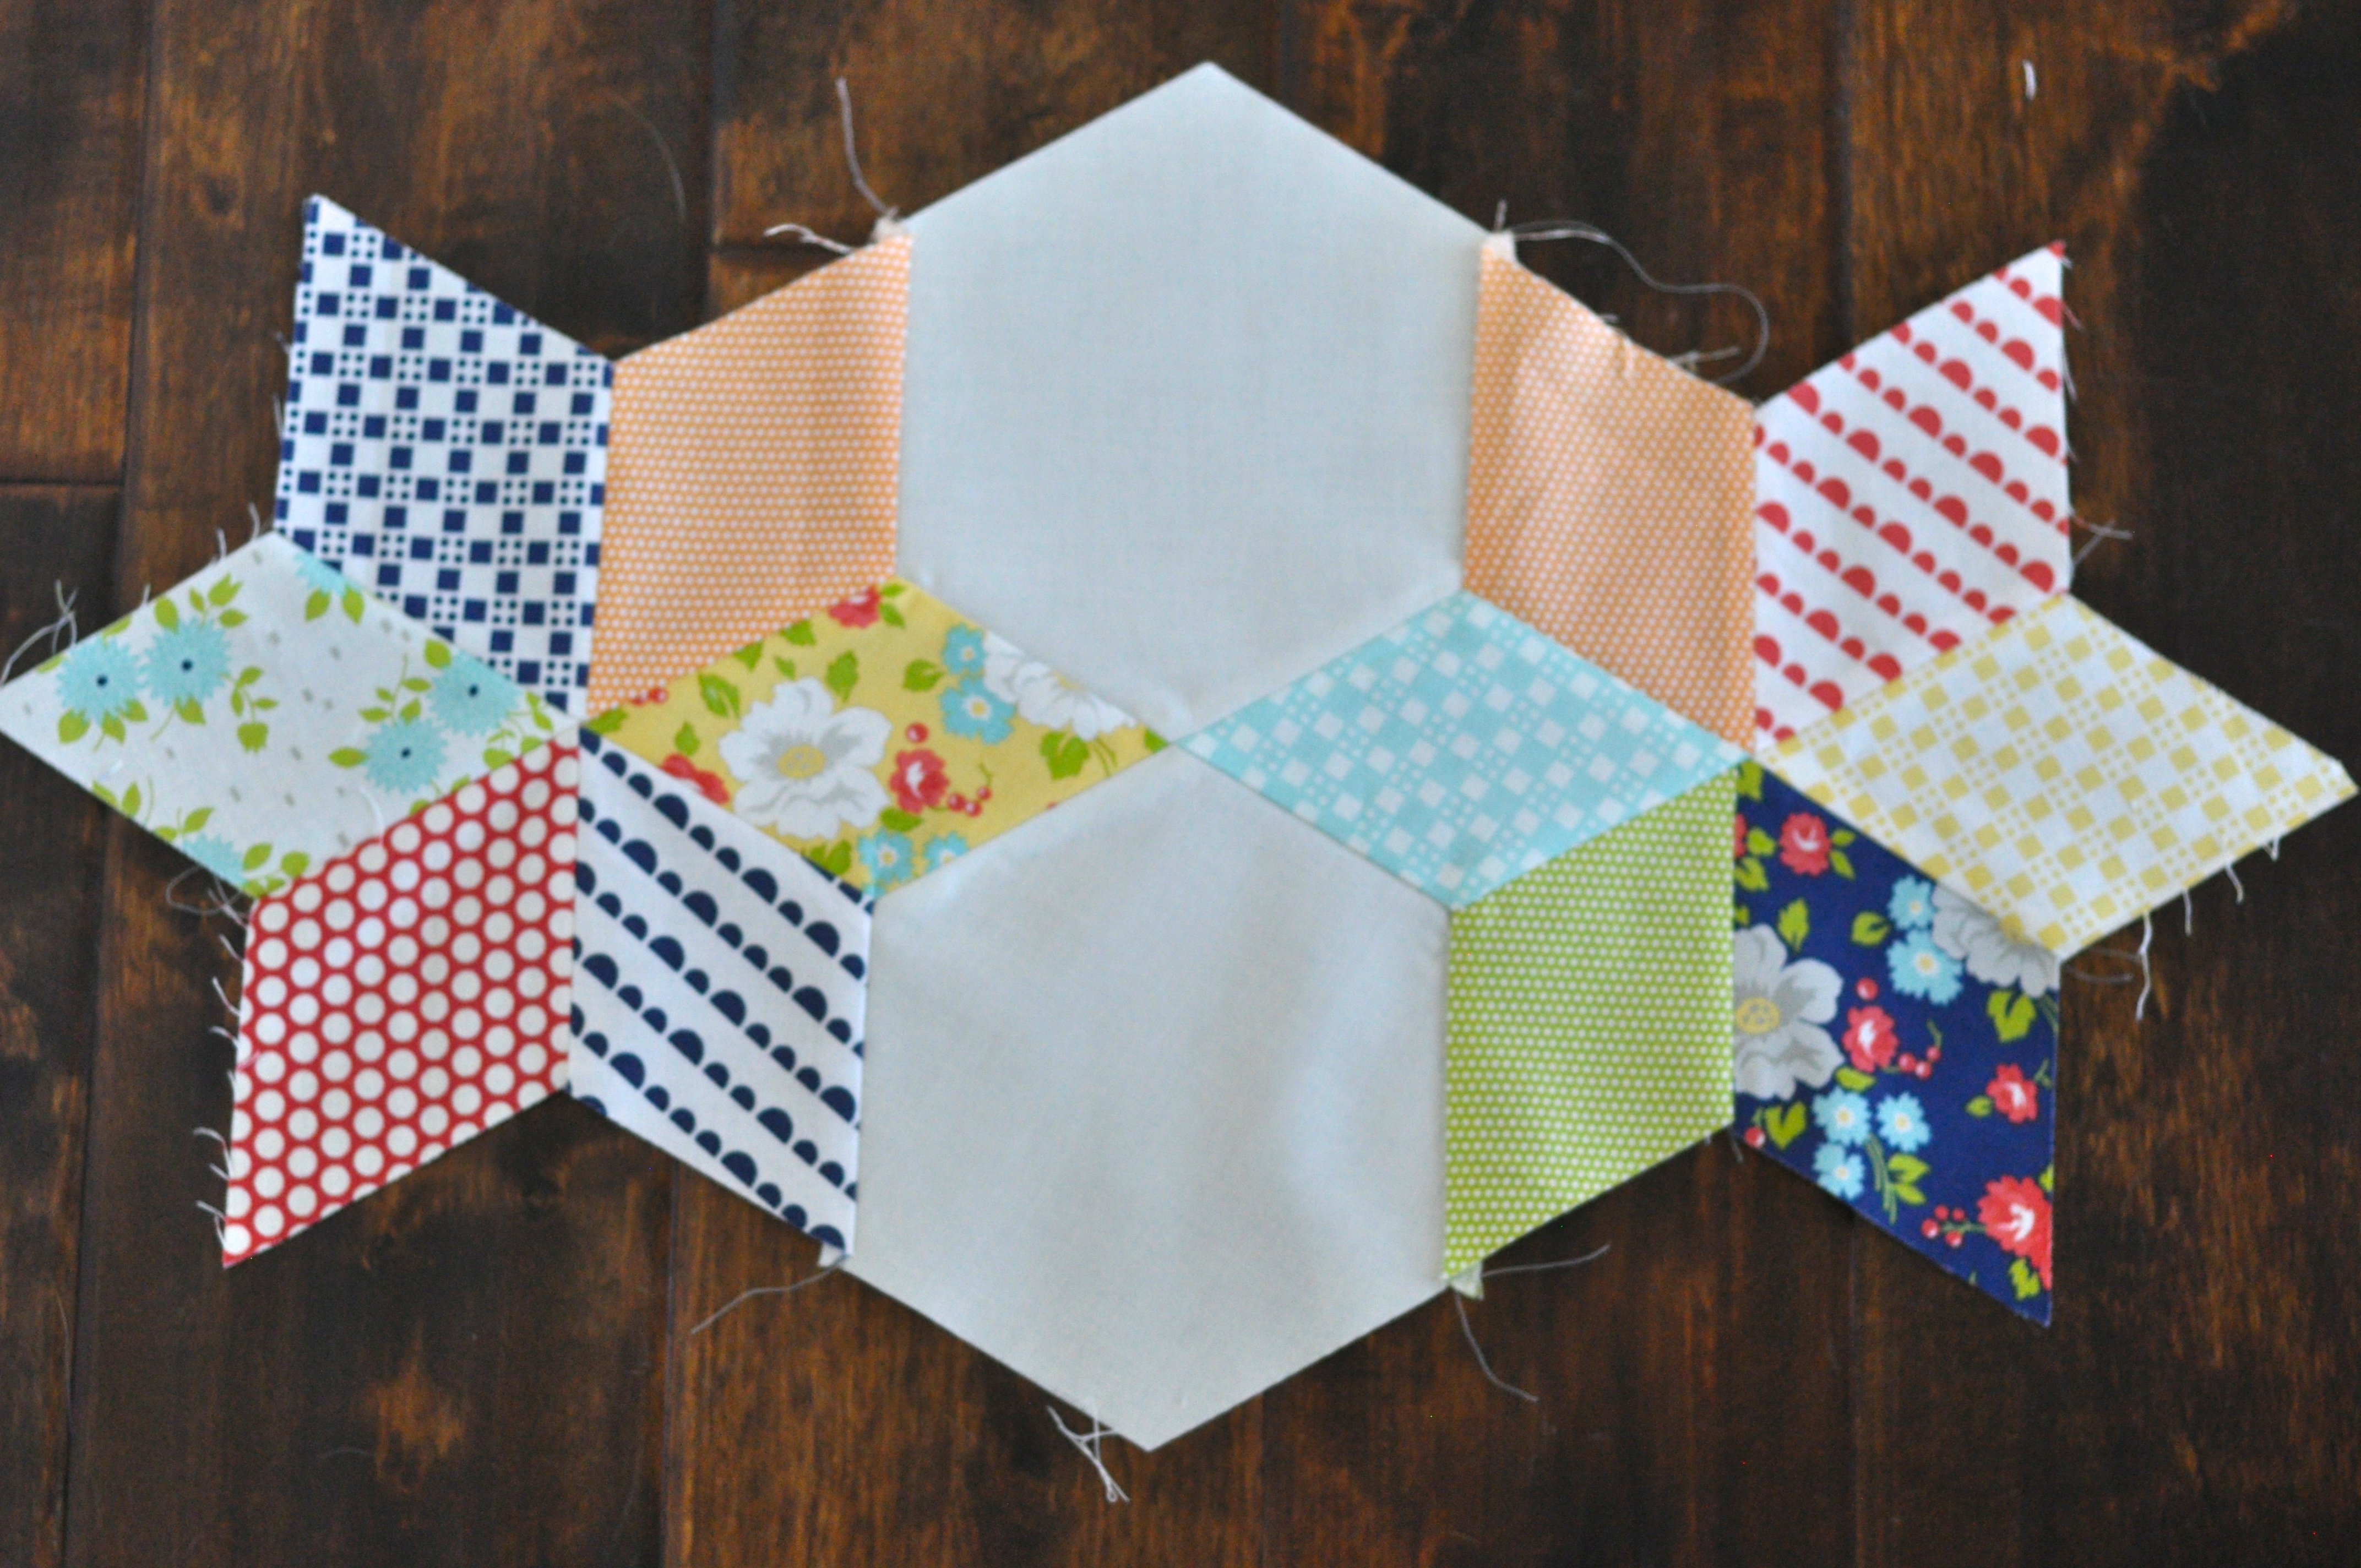
Start by laying out all of your starflowers on your design (Ahem) floor. It’s one of the reasons we chose this house. It has a great design floor…
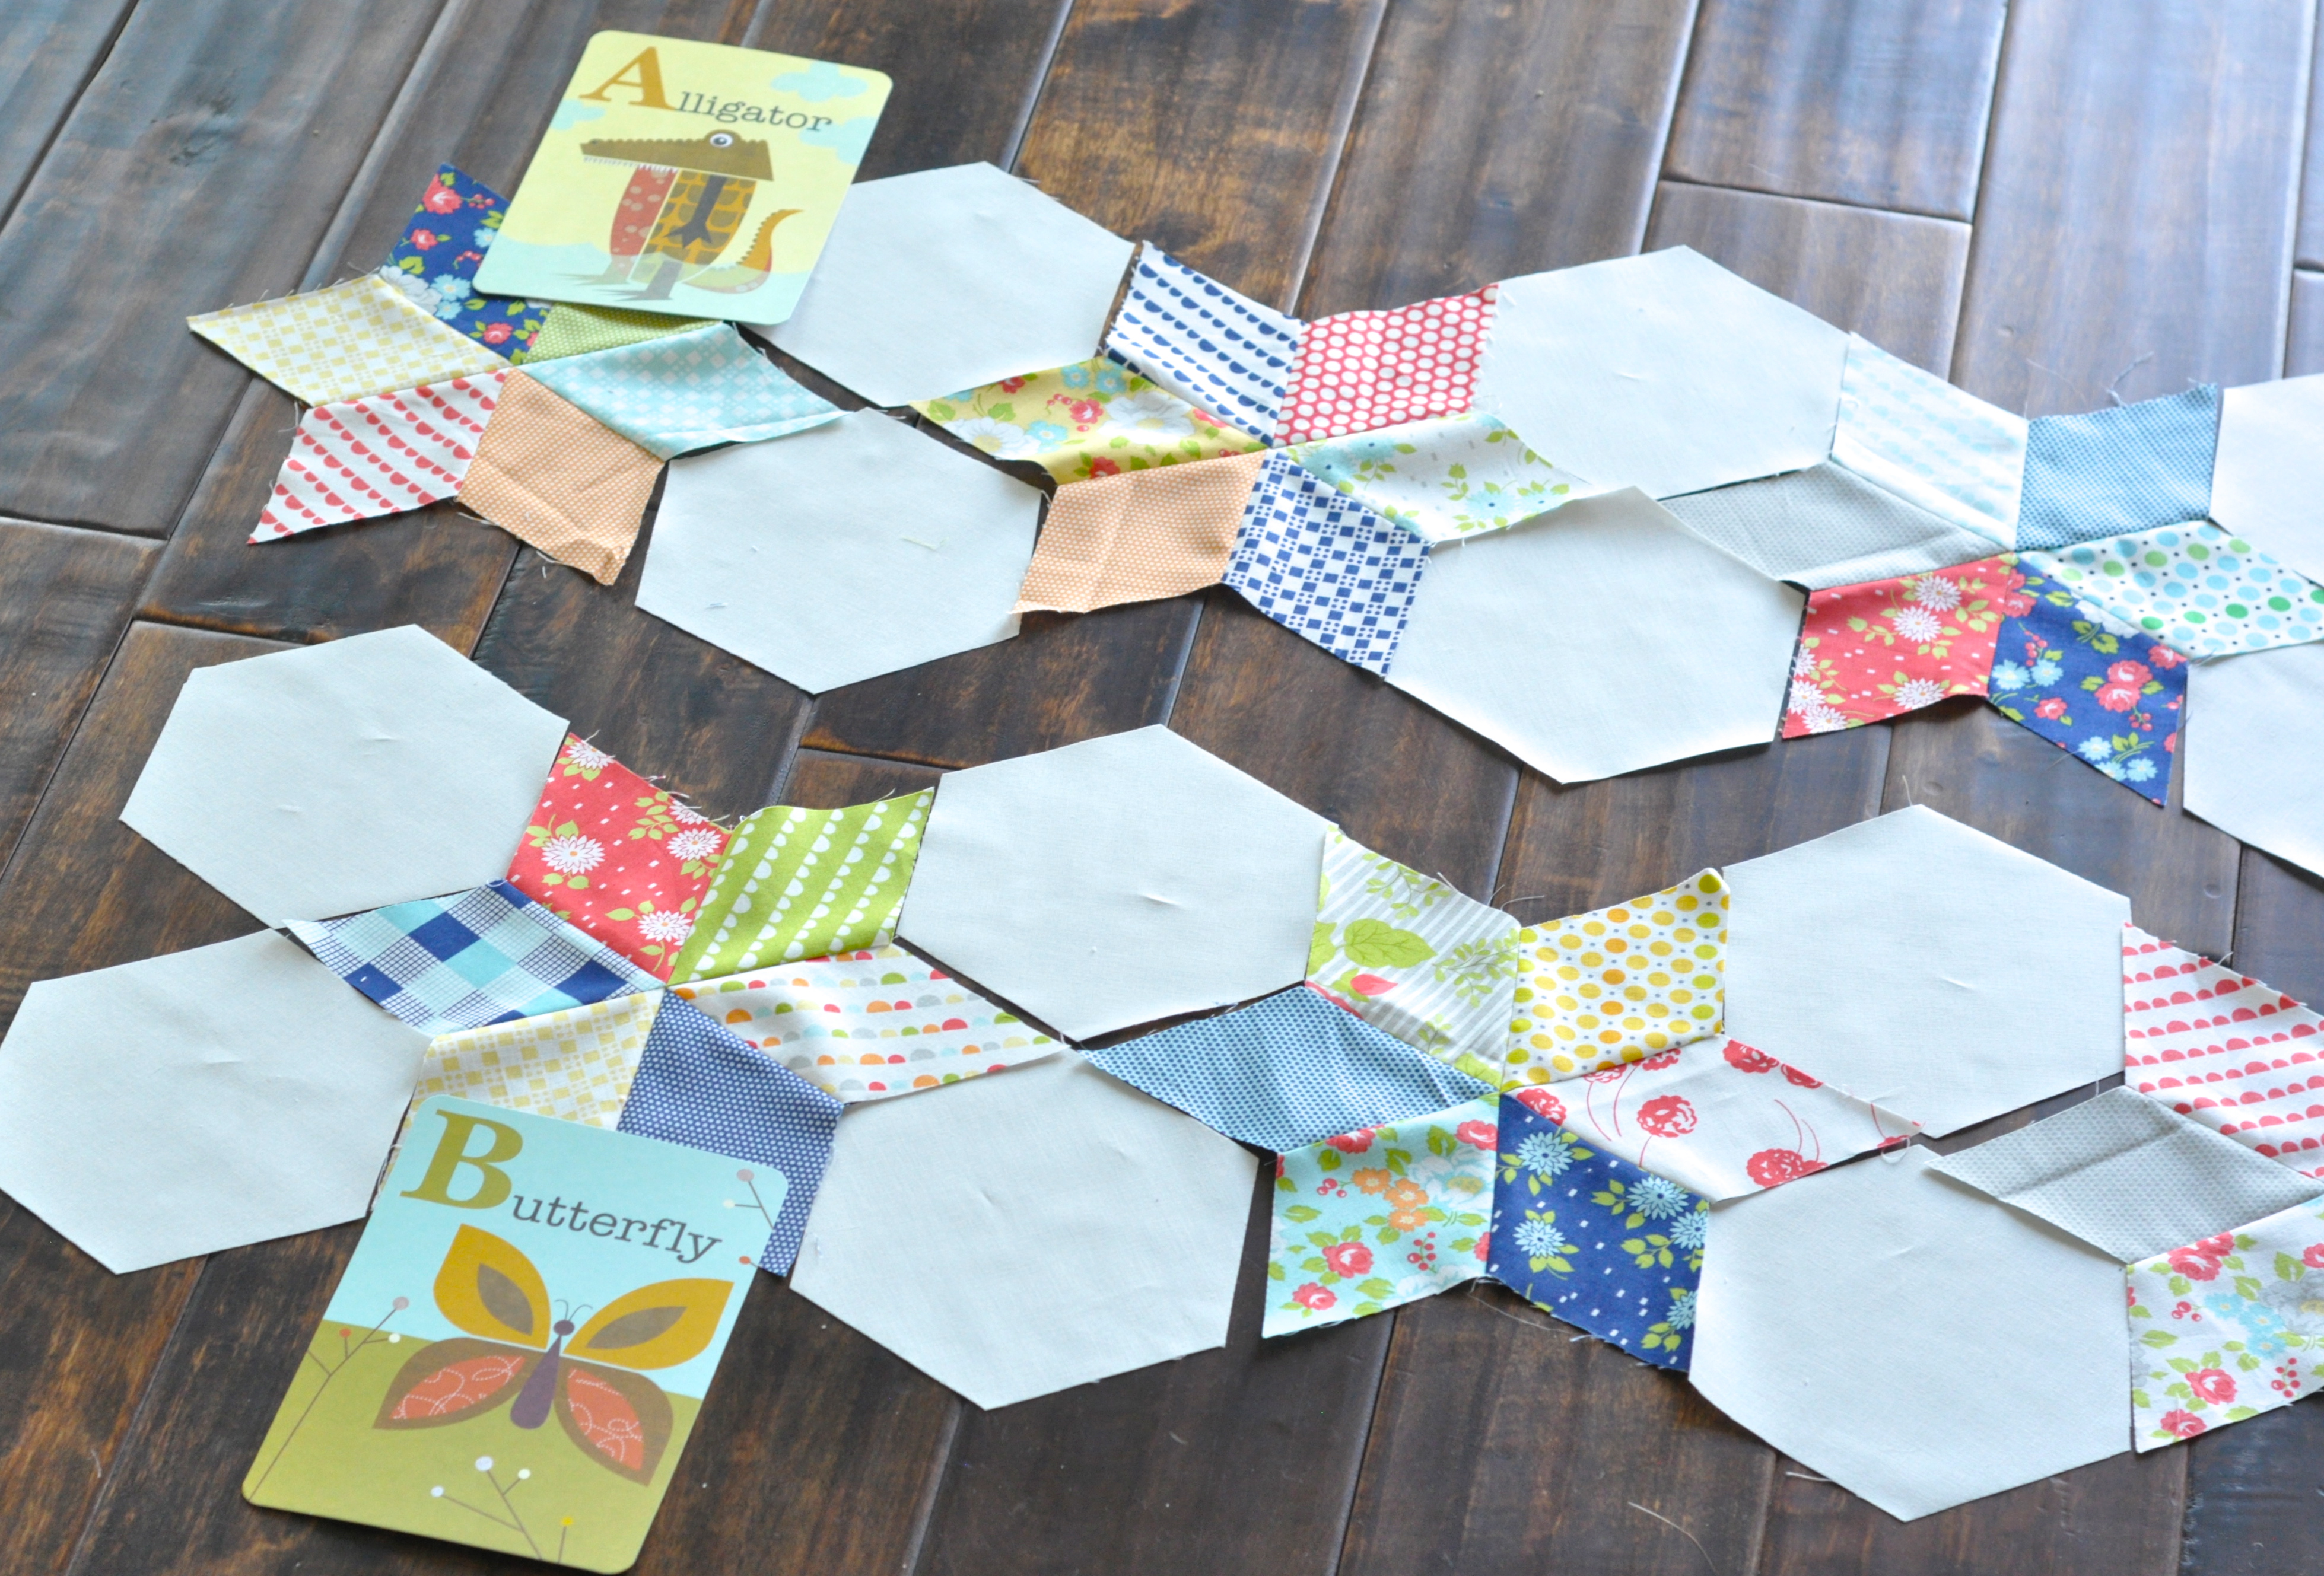
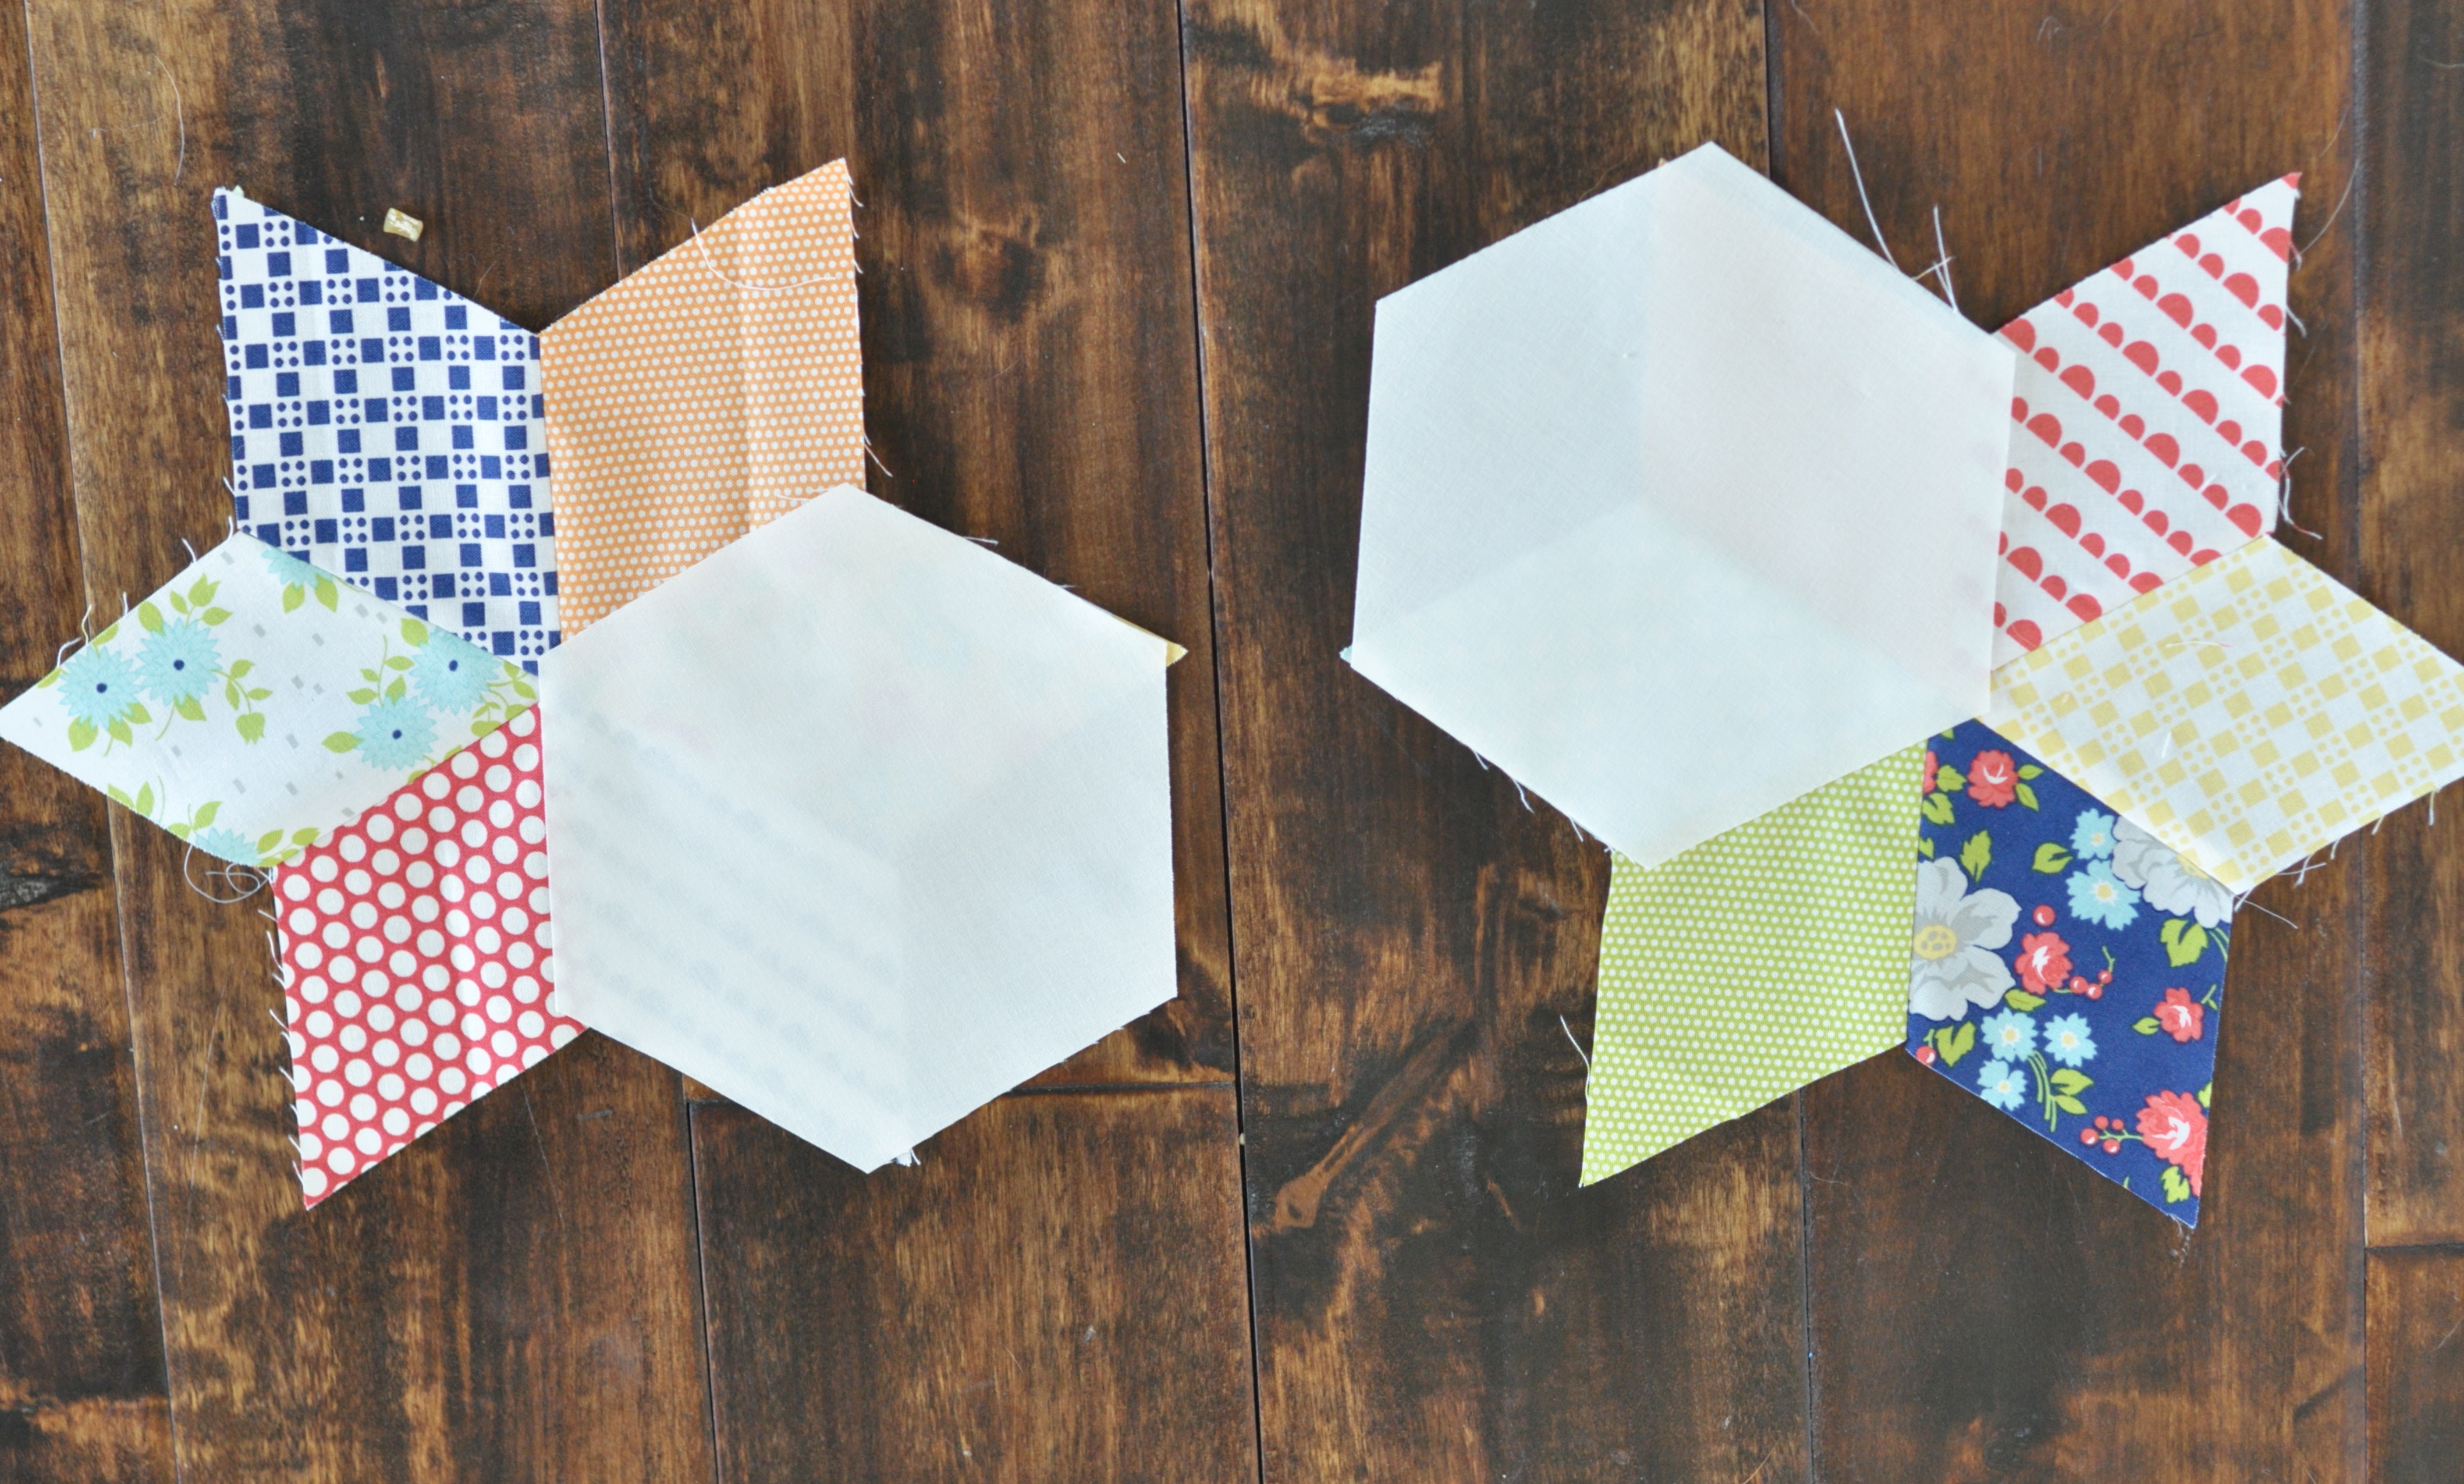
Once you have the flowers arranged the way that you want, separate out the rows. What rows, you say? Well, there are two kinds of rows in this quilt. I have cleverly named them ‘A’ rows, and ‘B’ rows. Hopefully, you can see the difference in this picture (turned 90 degrees from the previous picture):

You’ll notice that ‘A’ rows start and end with a star flower and each row includes 6 star flowers. ‘B’ rows start and end with a pair of hexagons and a triangle, and include 5 star flowers. You should have 5 total ‘A’ rows and 4 total ‘B’ rows.
Here is where those triangles come into play. These are the messiest, least perfect part of this pattern, but they are *so close* to perfect that I make them work.*
Once you have your rows all together, I recommend stacking them and pinning a number to the top to keep them in order. I also recommend putting the pin in the same diamond in each stack so you know which direction the star flowers should be turned 🙂
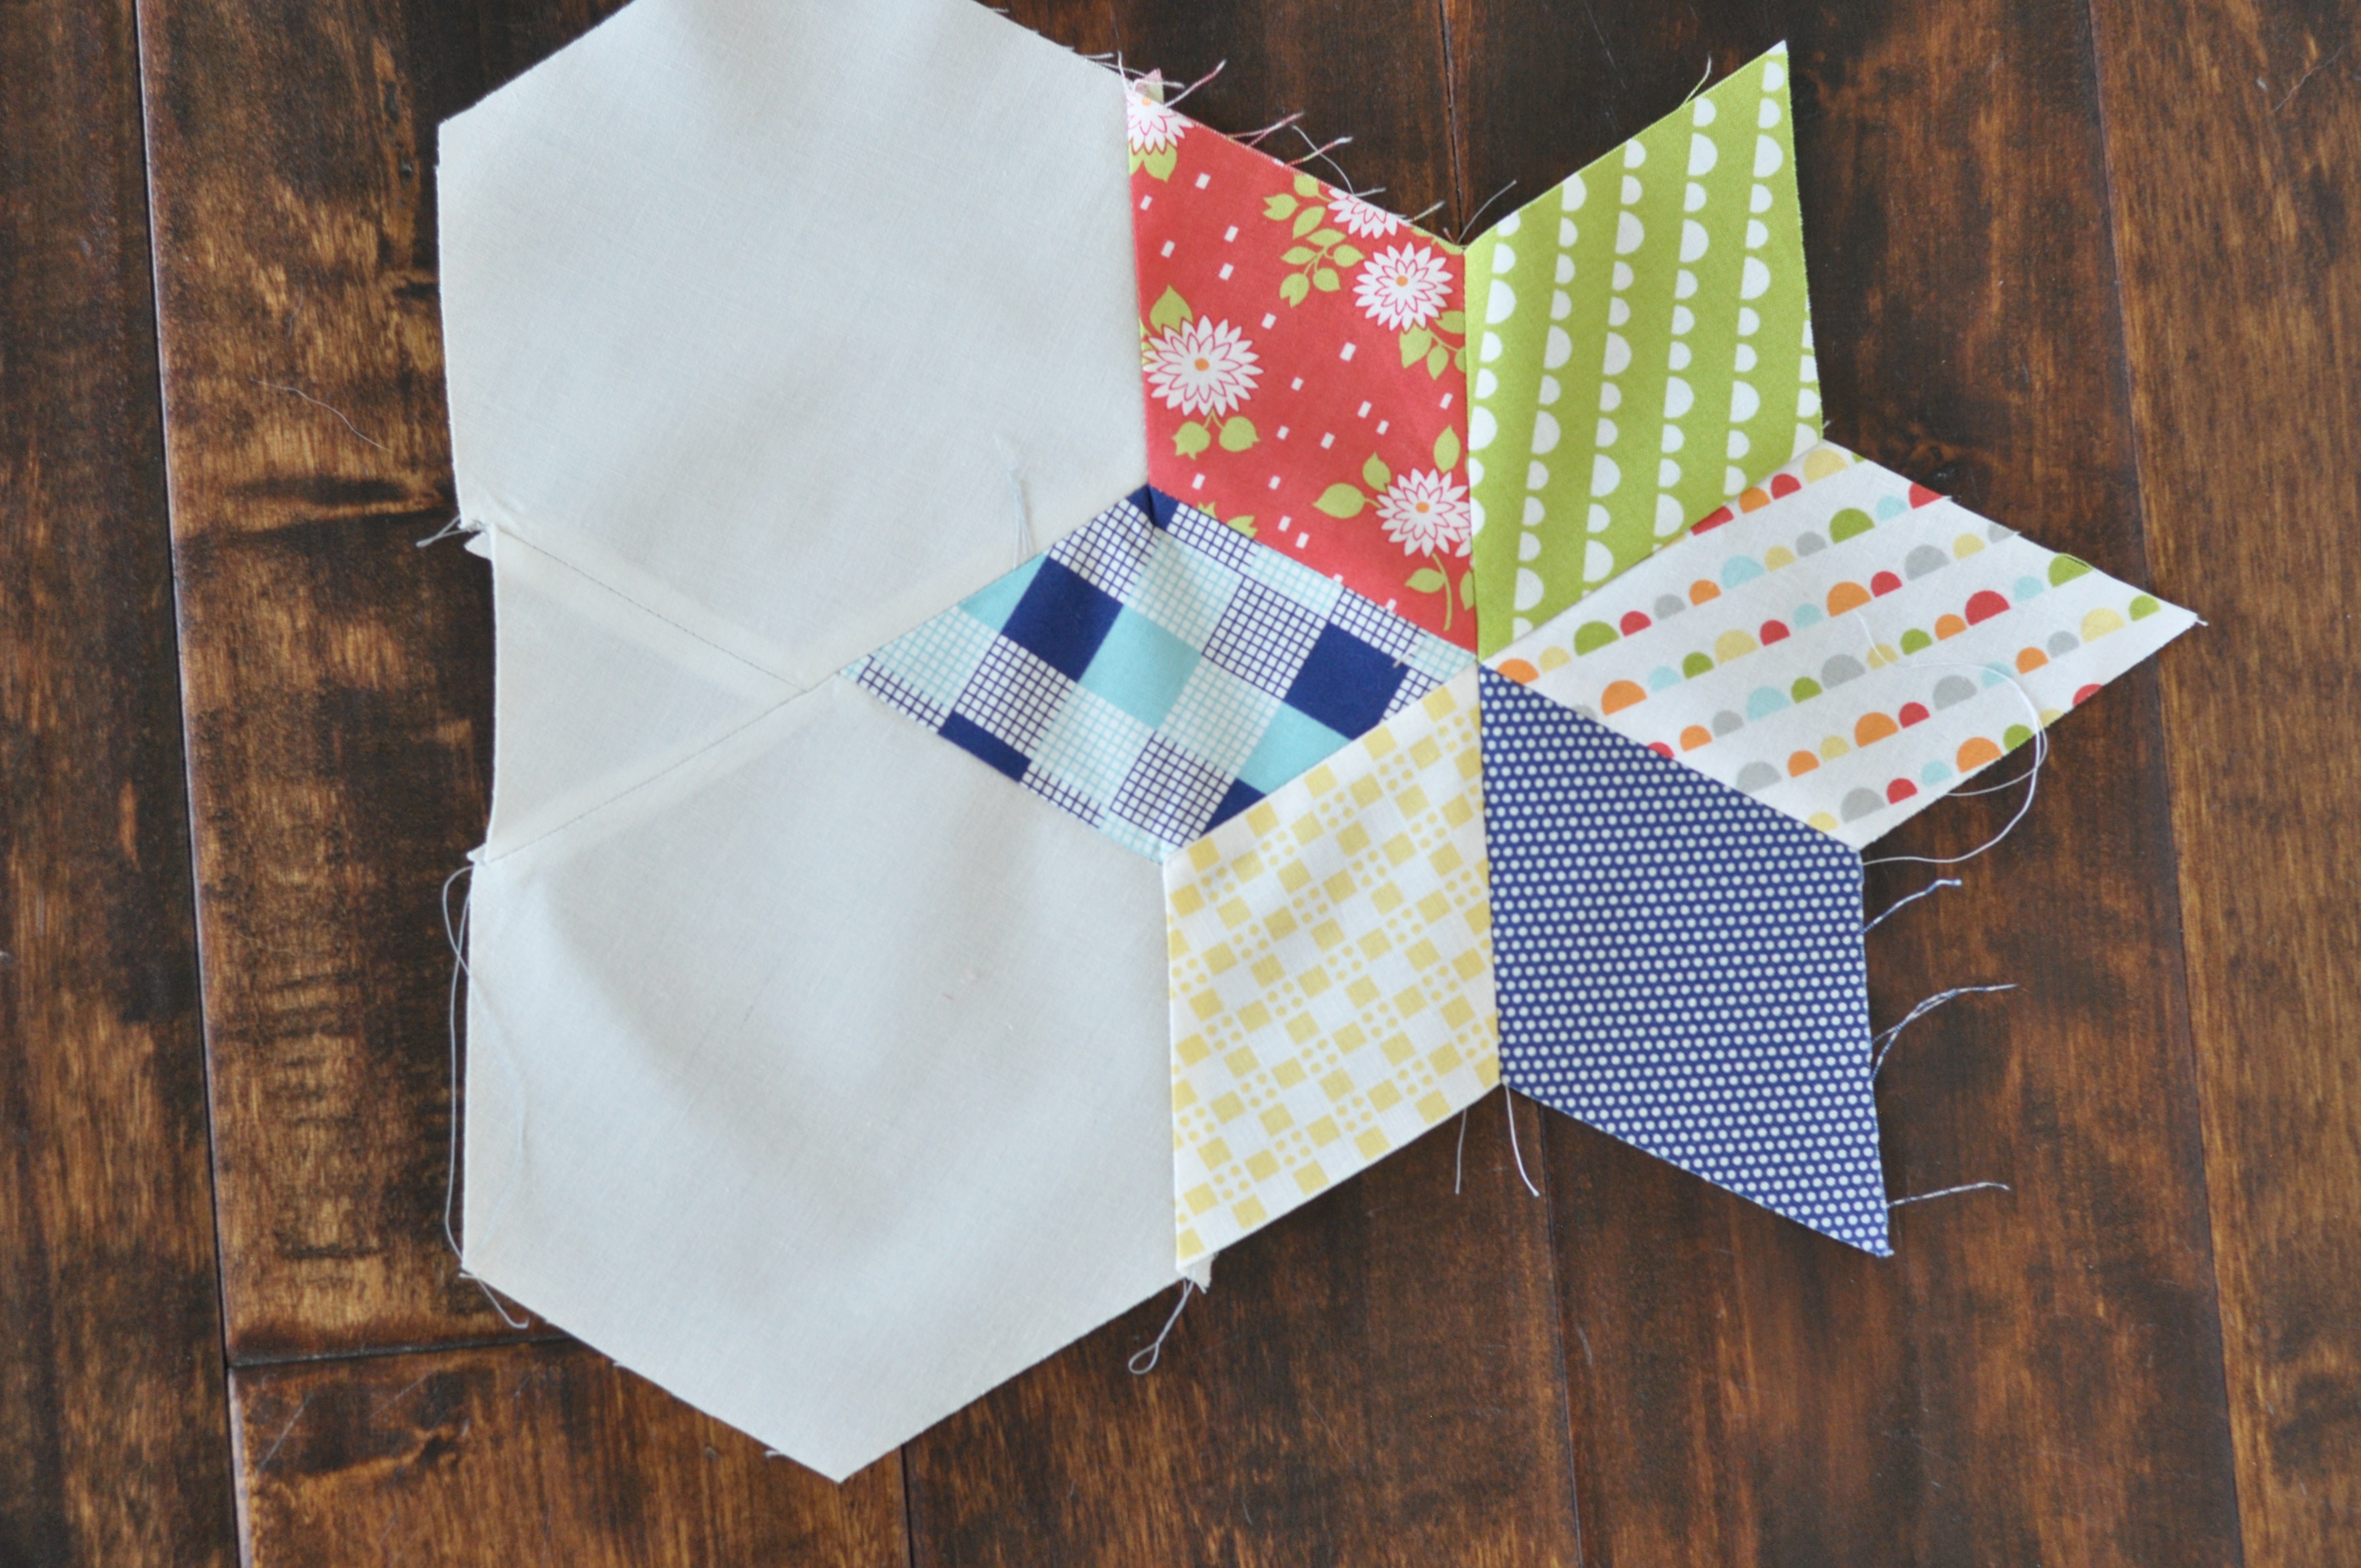
The moment we’ve all been waiting for: tackling set in aka ‘y’ seams. My biggest tip for this is to remember that your fabric IS NOT FRAGILE. It isn’t. You can twist it, turn it, sew it, and guess what, no big deal! Unless you are cutting it, there isn’t much you can do to ruin your fabric.
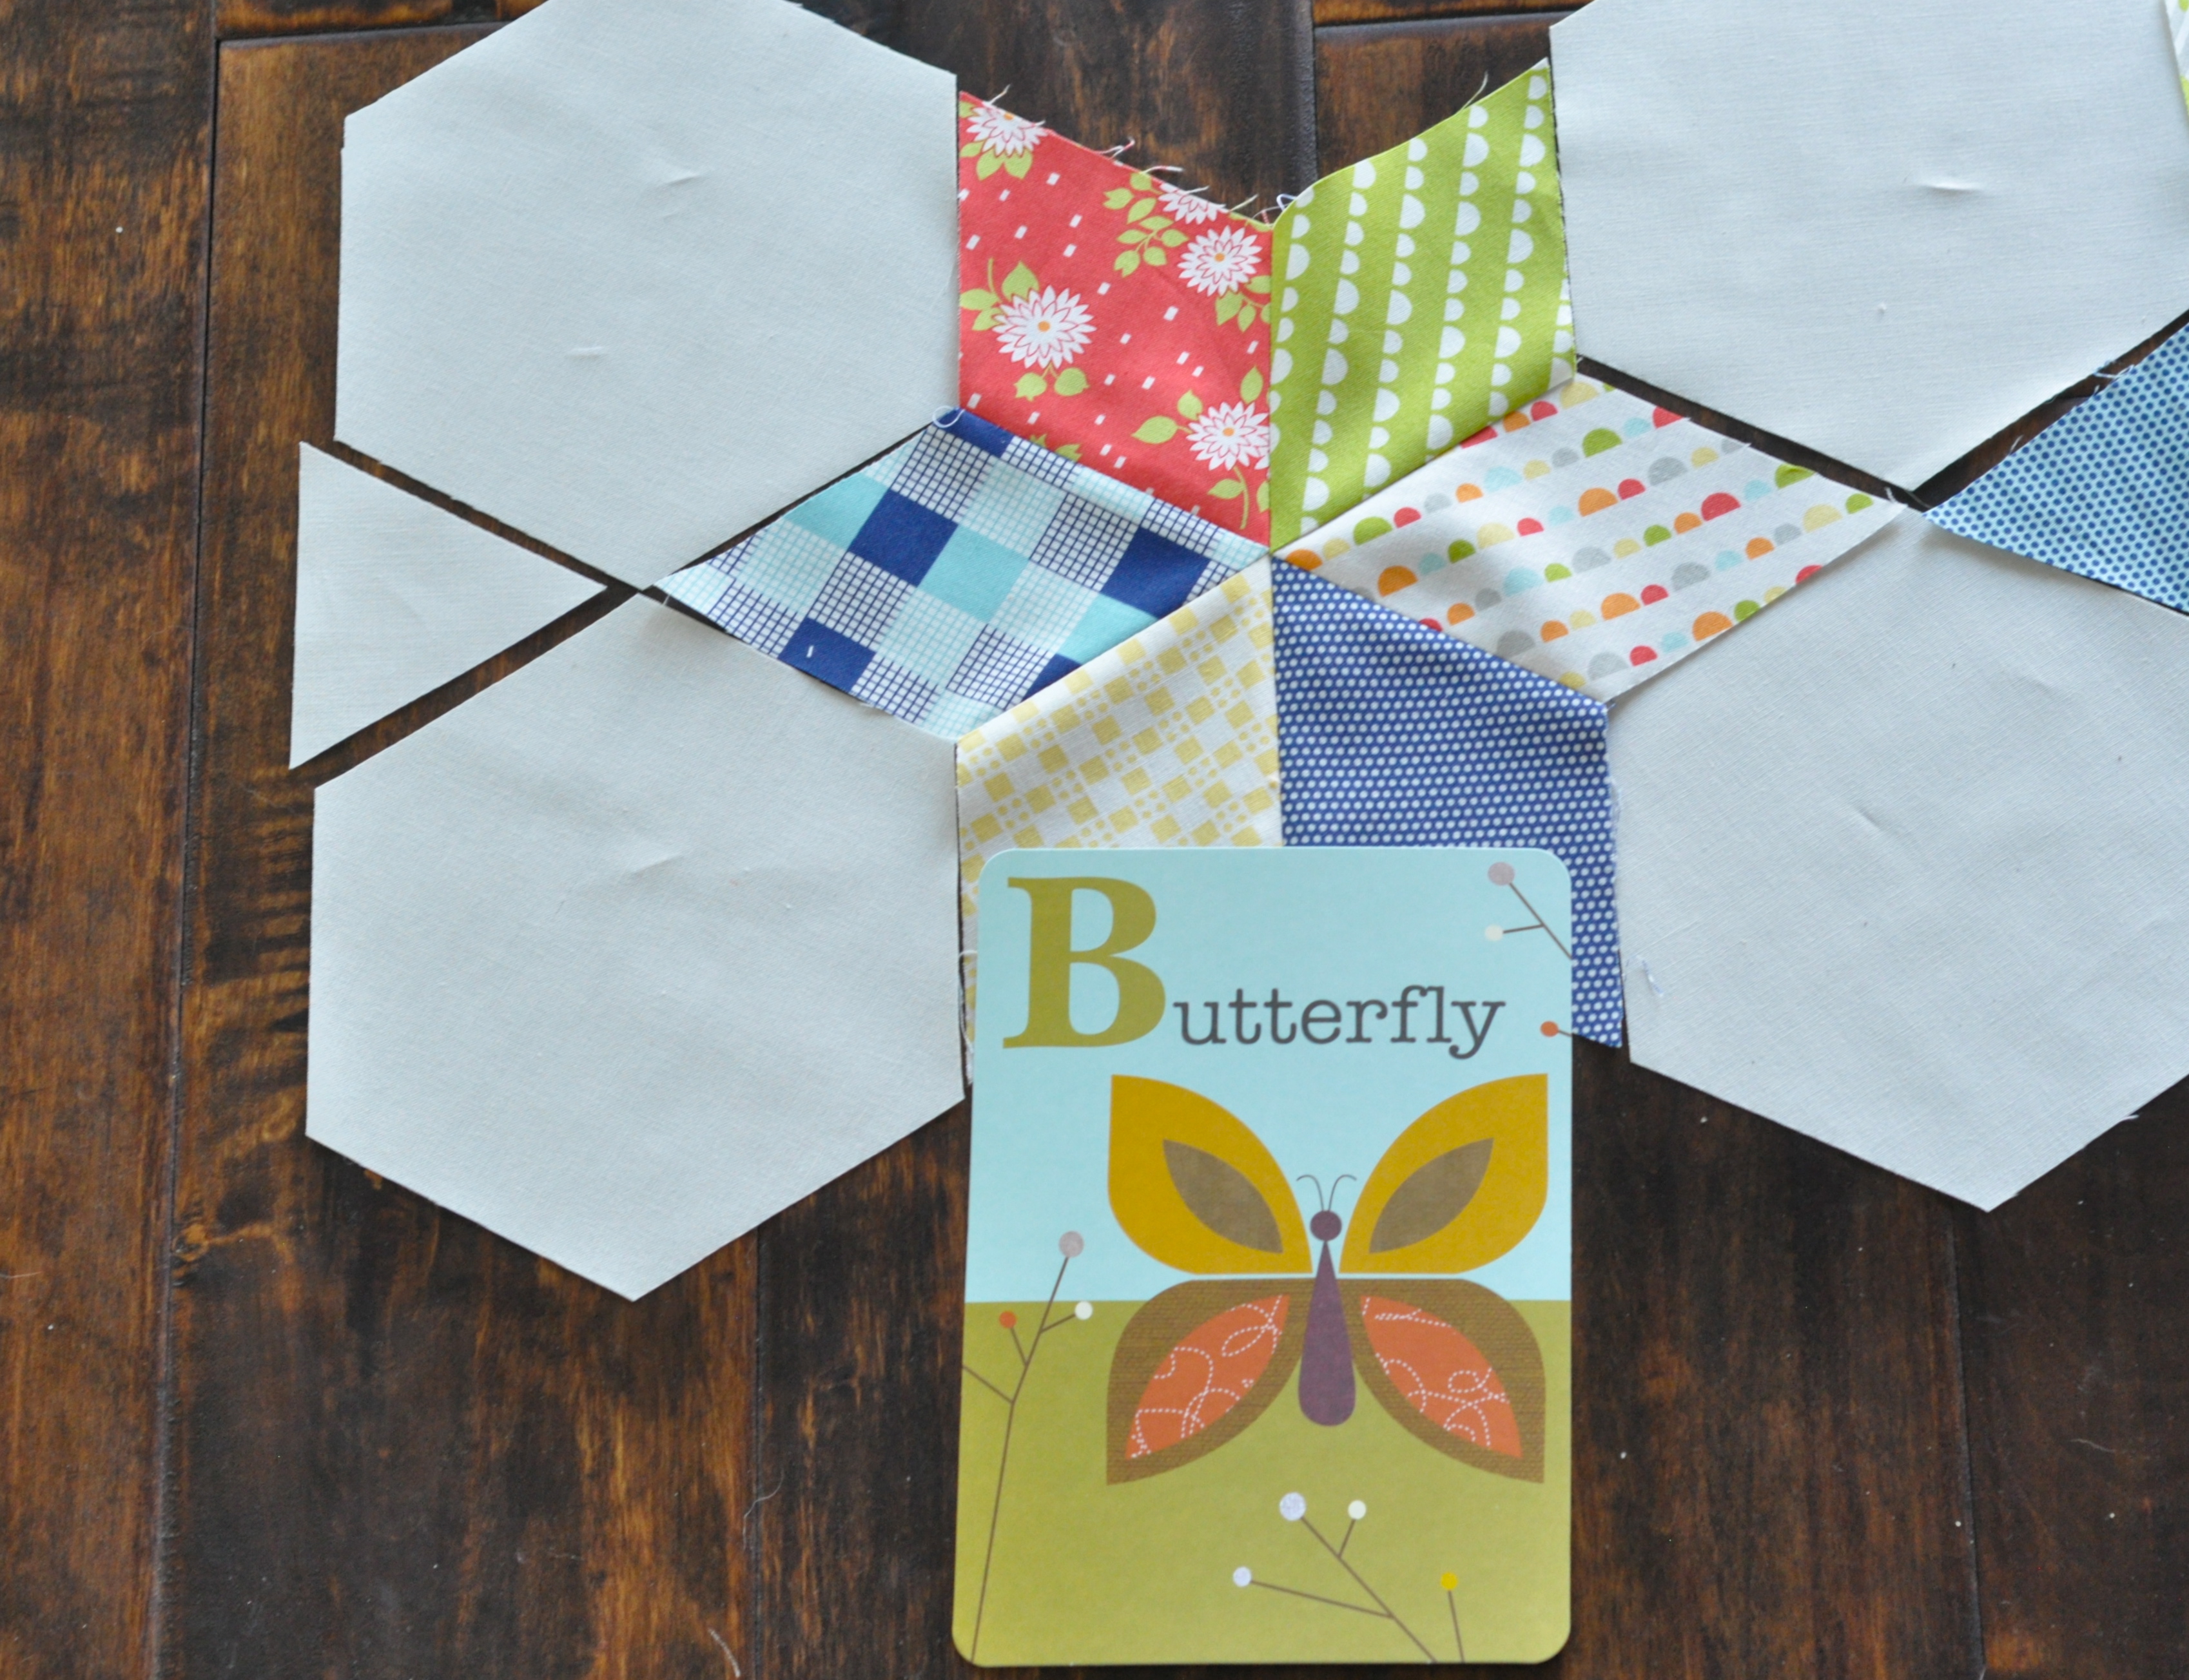
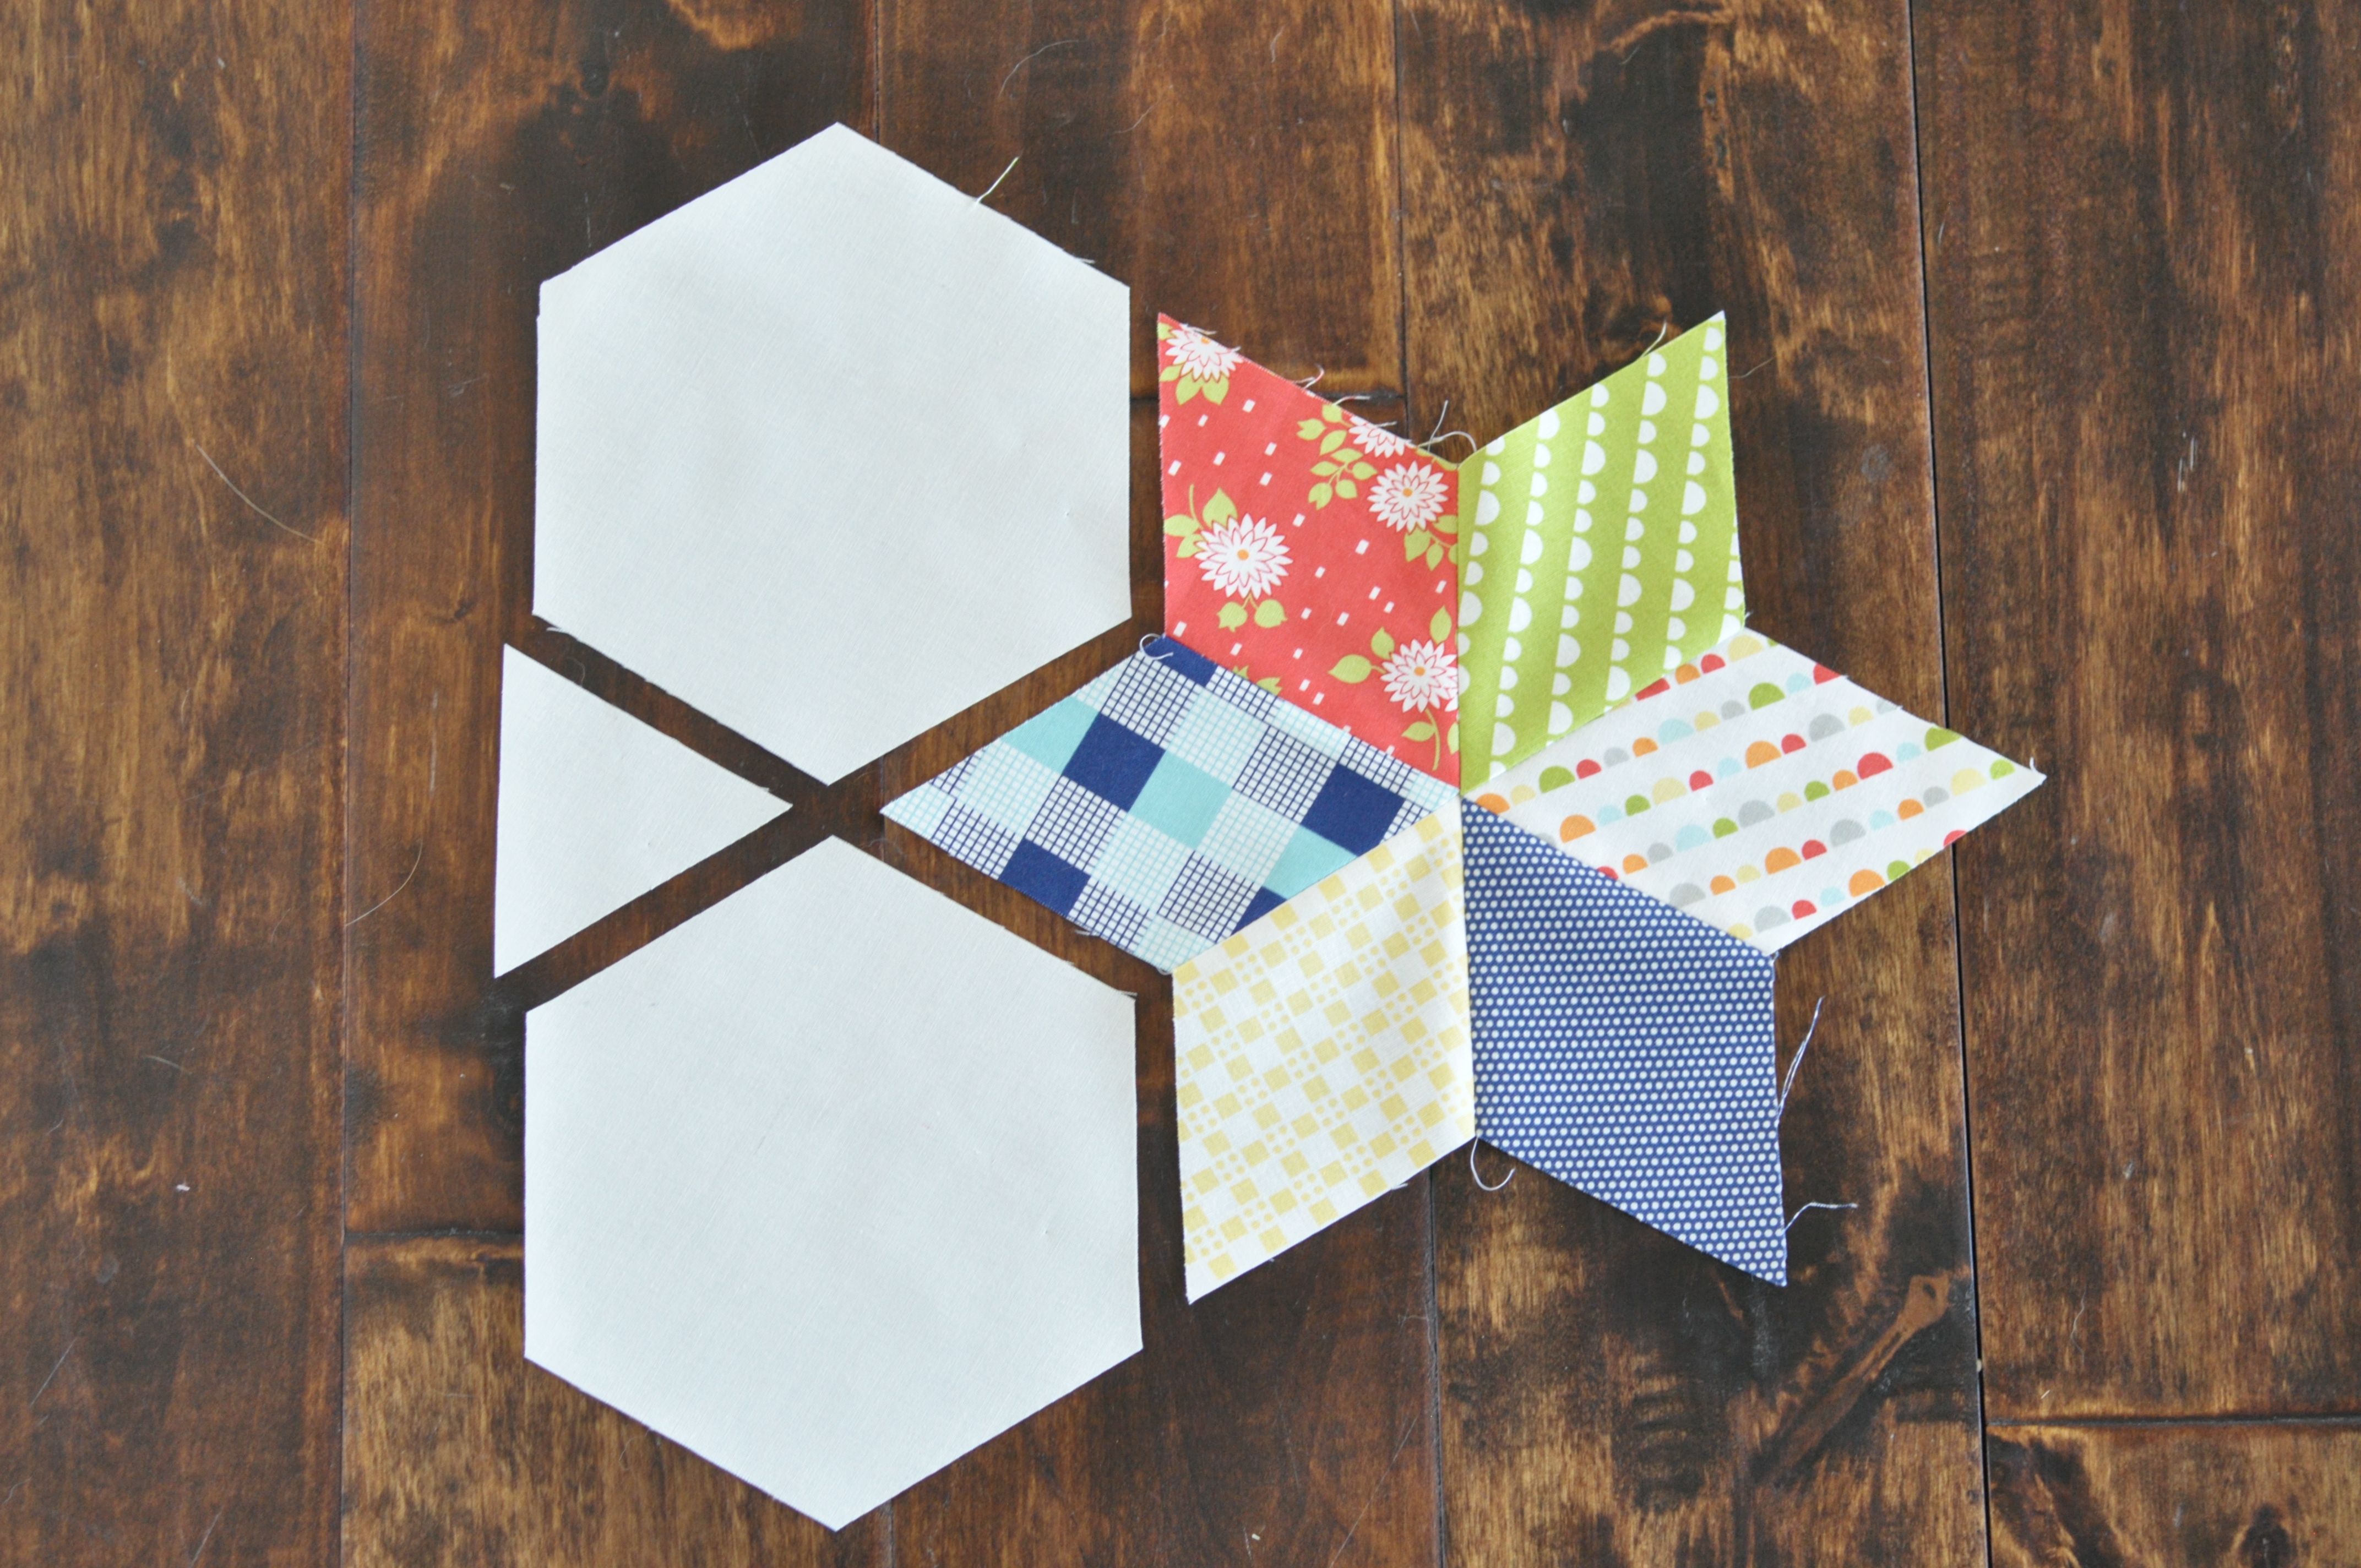
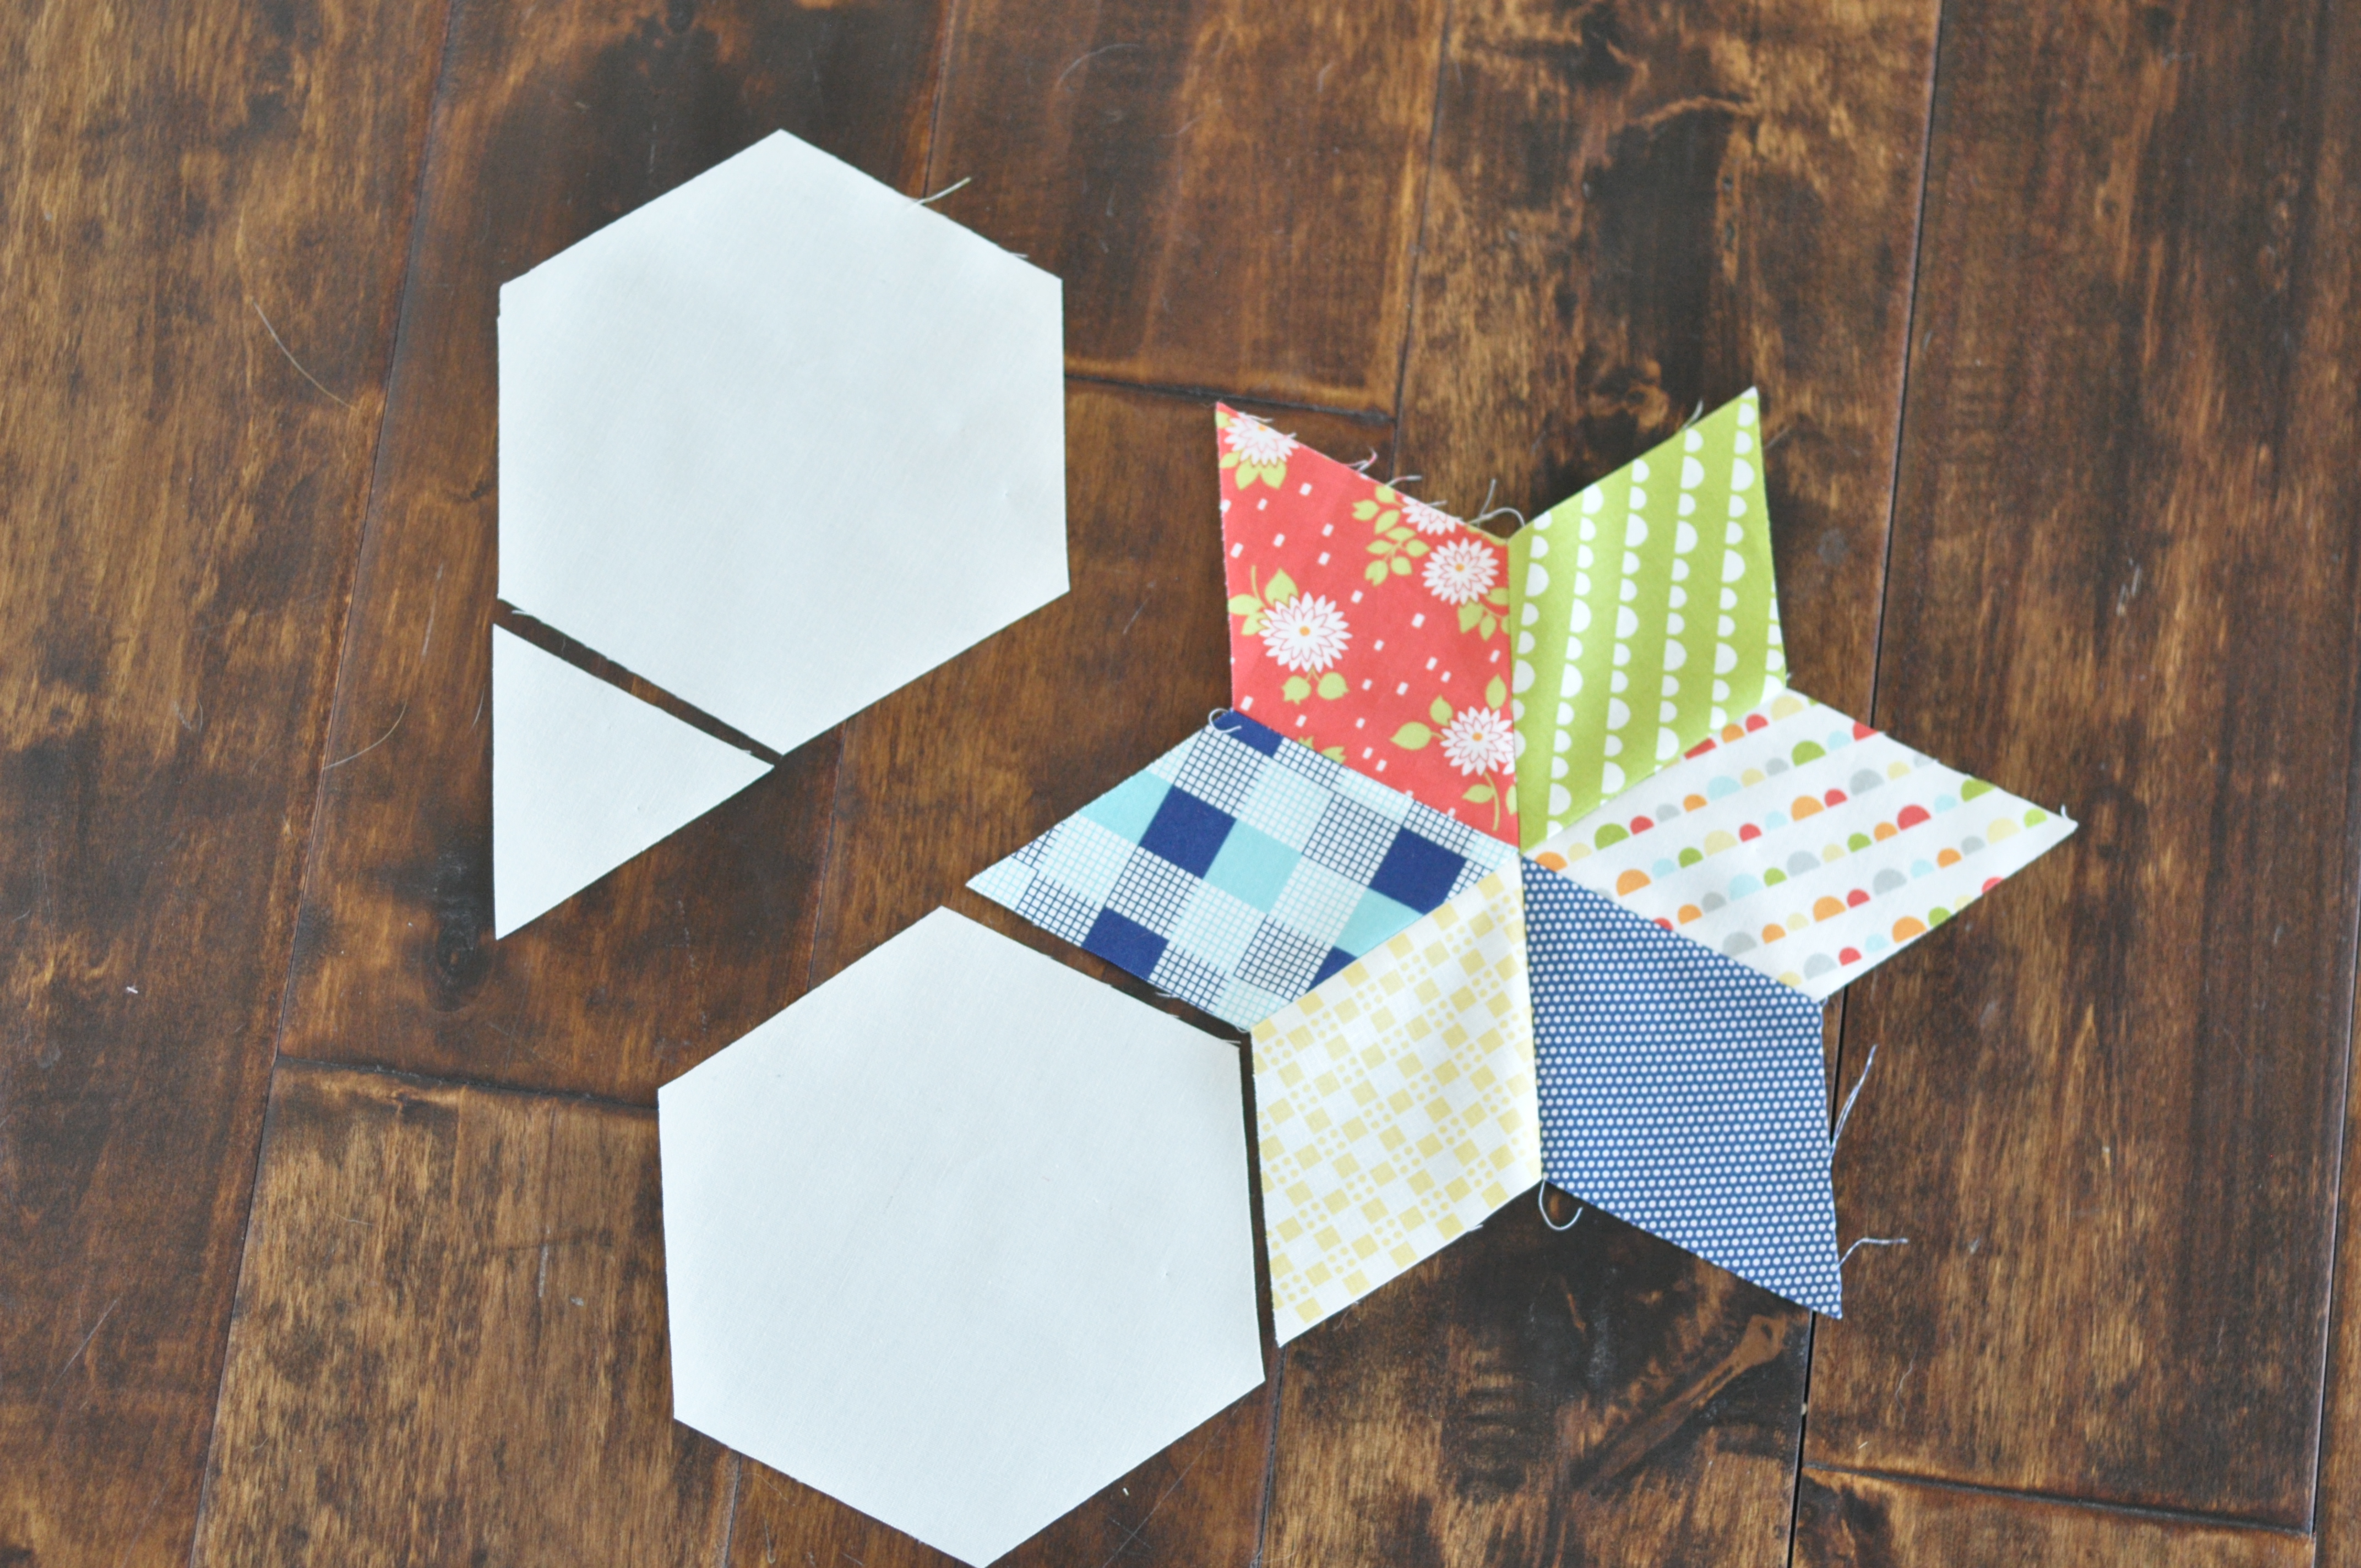
Lay out your first two star flowers from your first ‘A’ row and your first pair of hexagons that go between them like this. You are going to attach the top hexagon to the left starflower, and the bottom hexagon to the right star flower.
I prefer stitching the starflower in this order. Flip the hexagon over the point that will join with the other star flower.
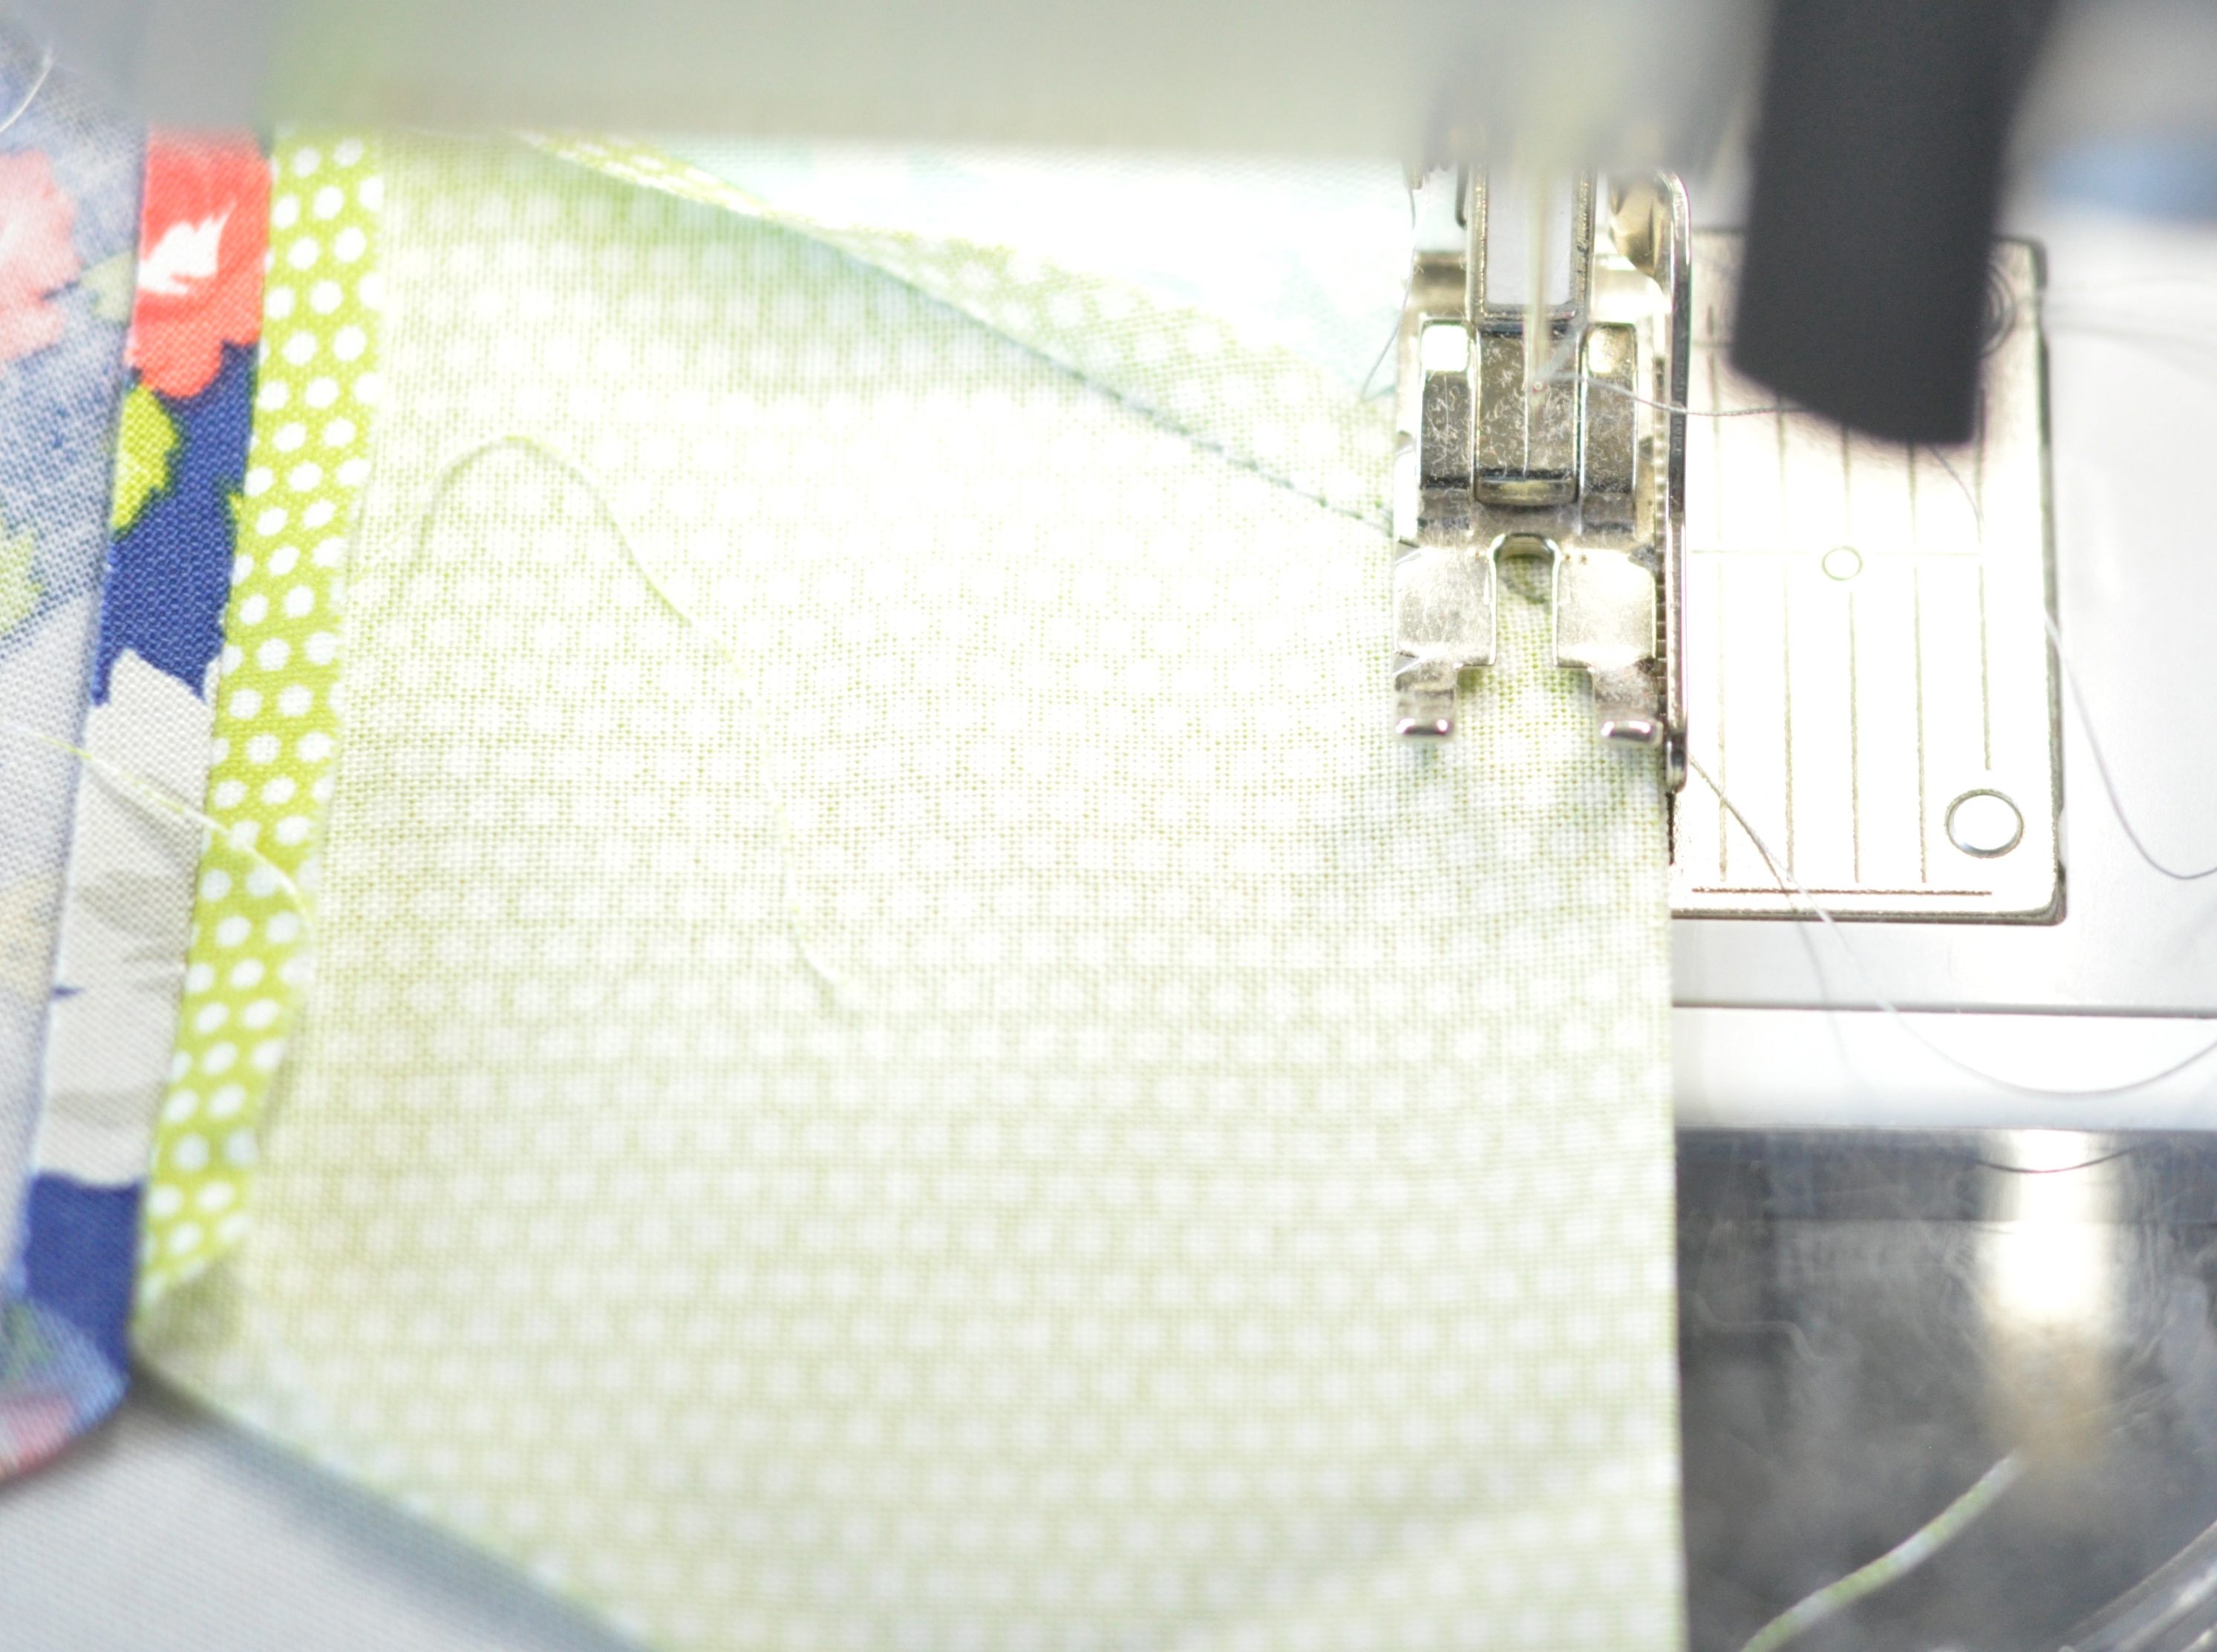
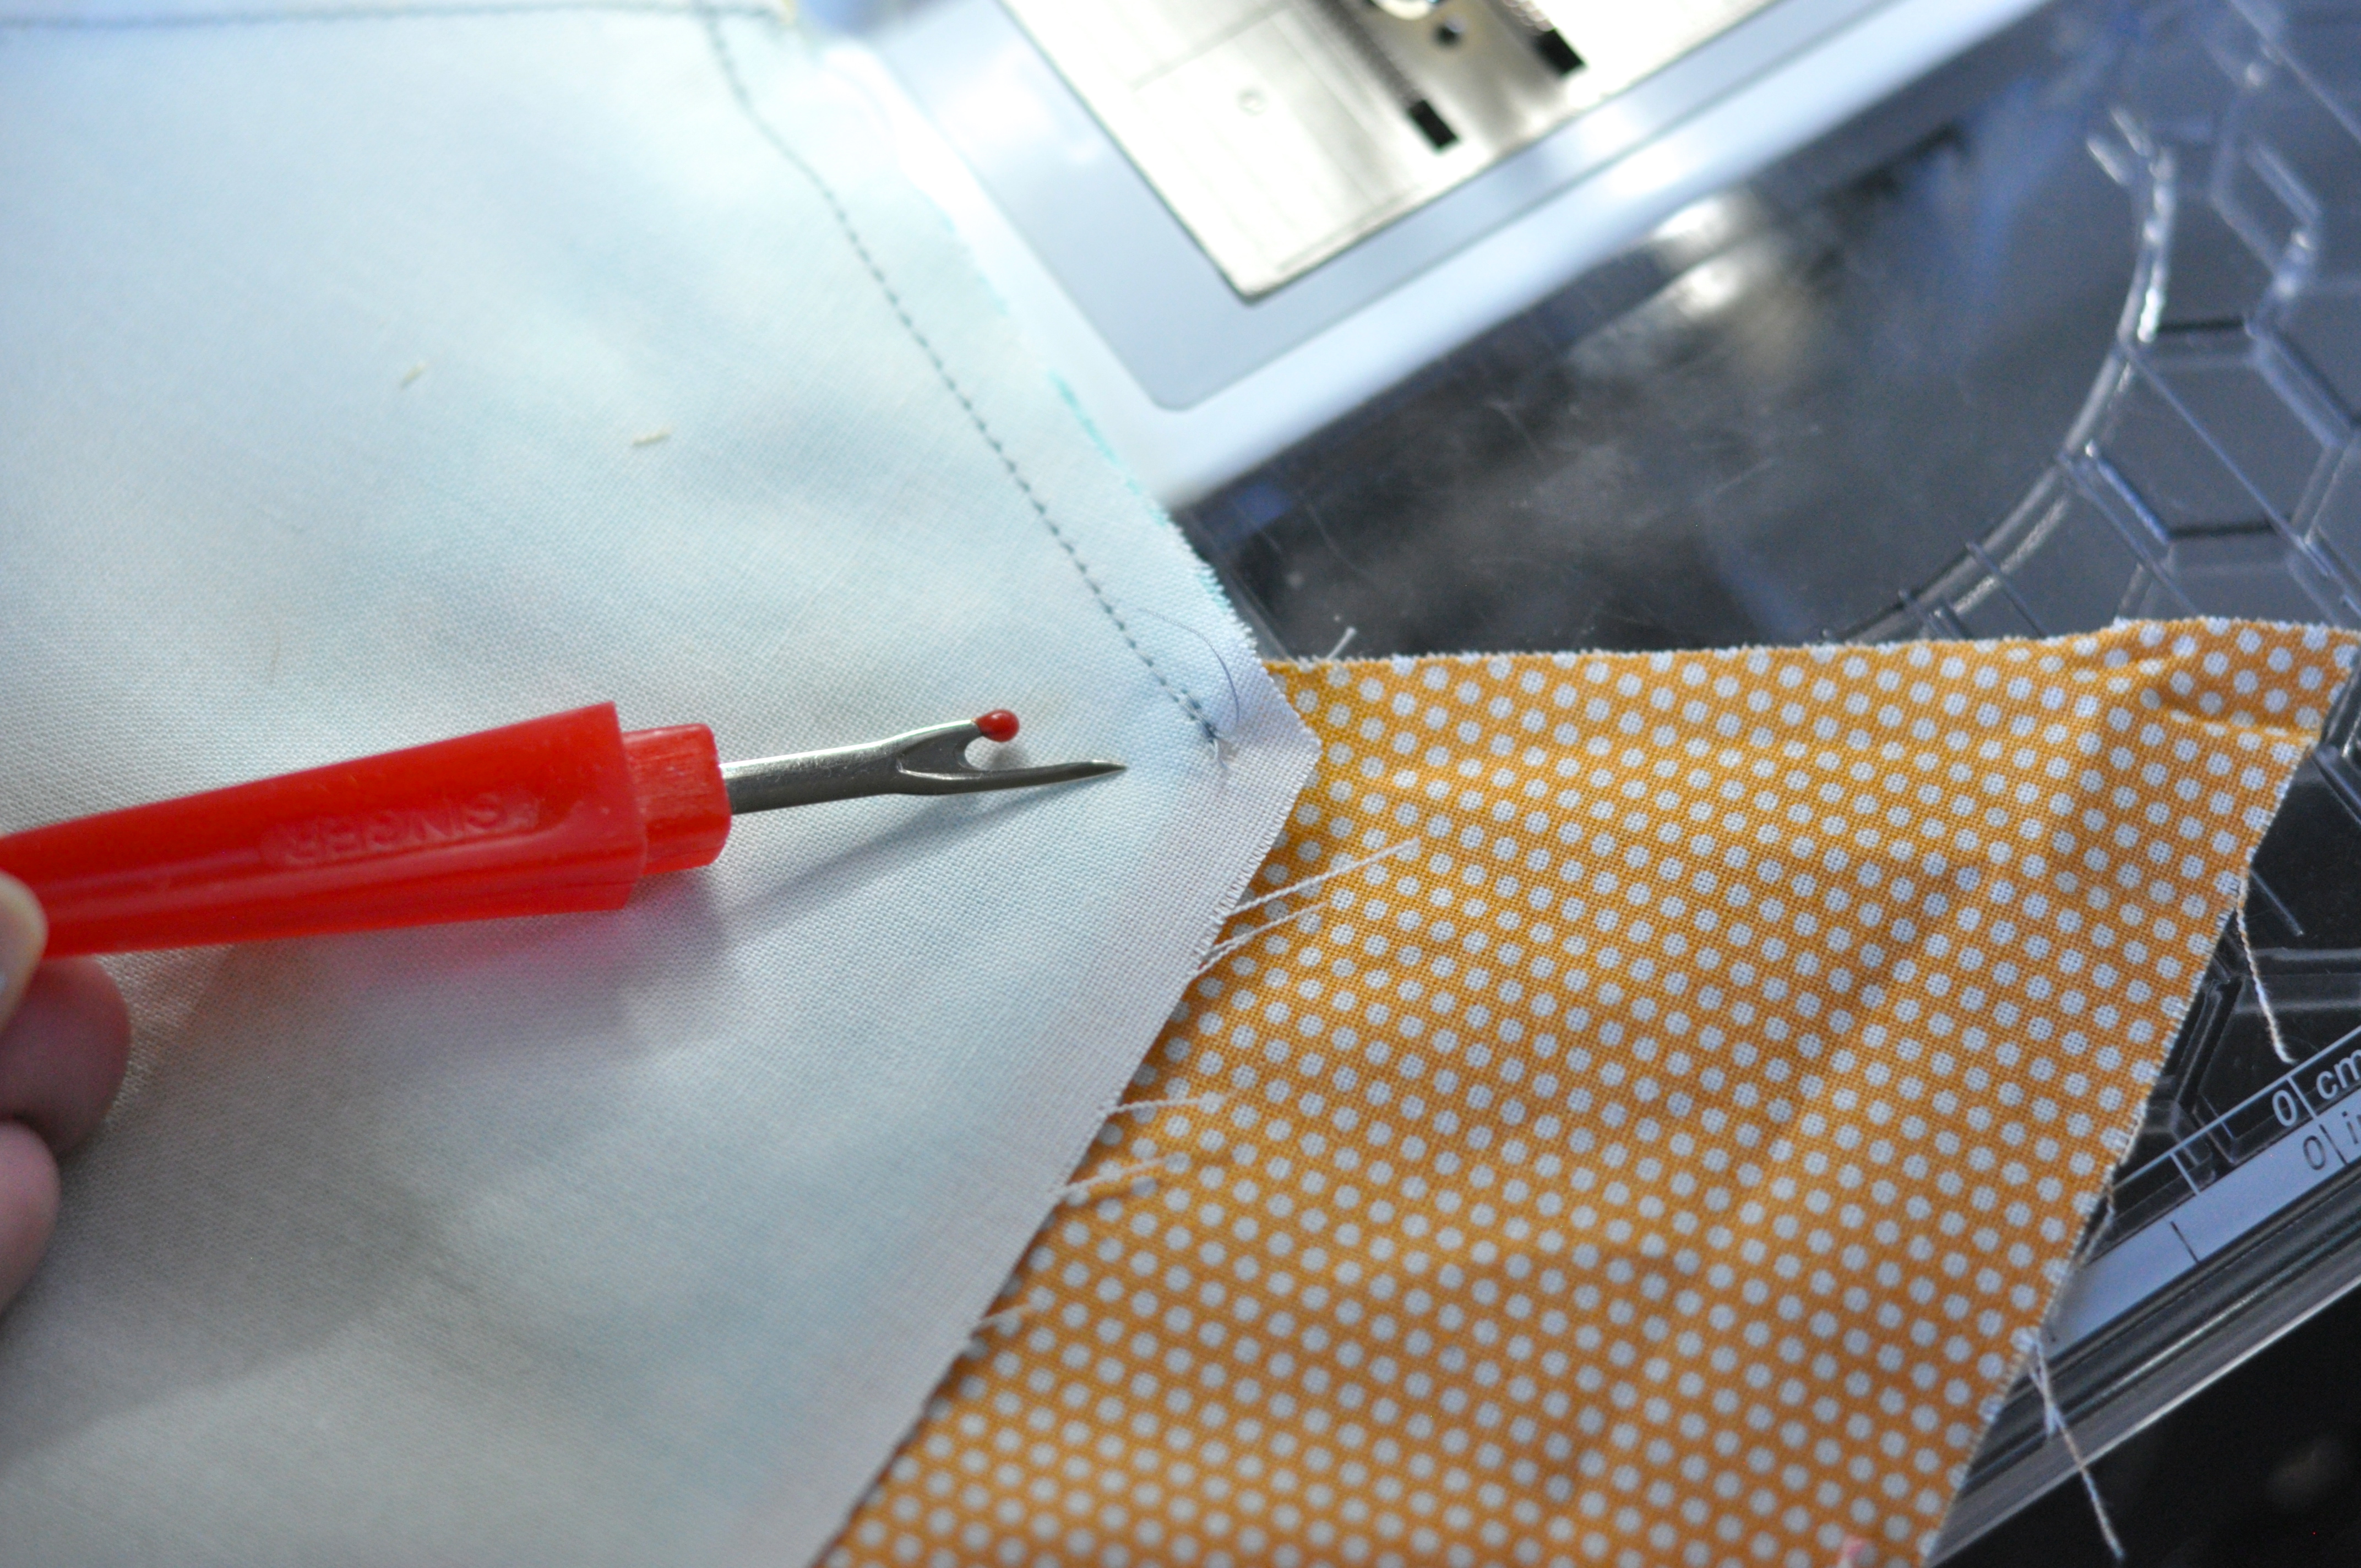
Starting 1/4″ away from the where the diamonds are stitched together, sew the diamond to the hexagon. Sew all the way to the end of the fabric.
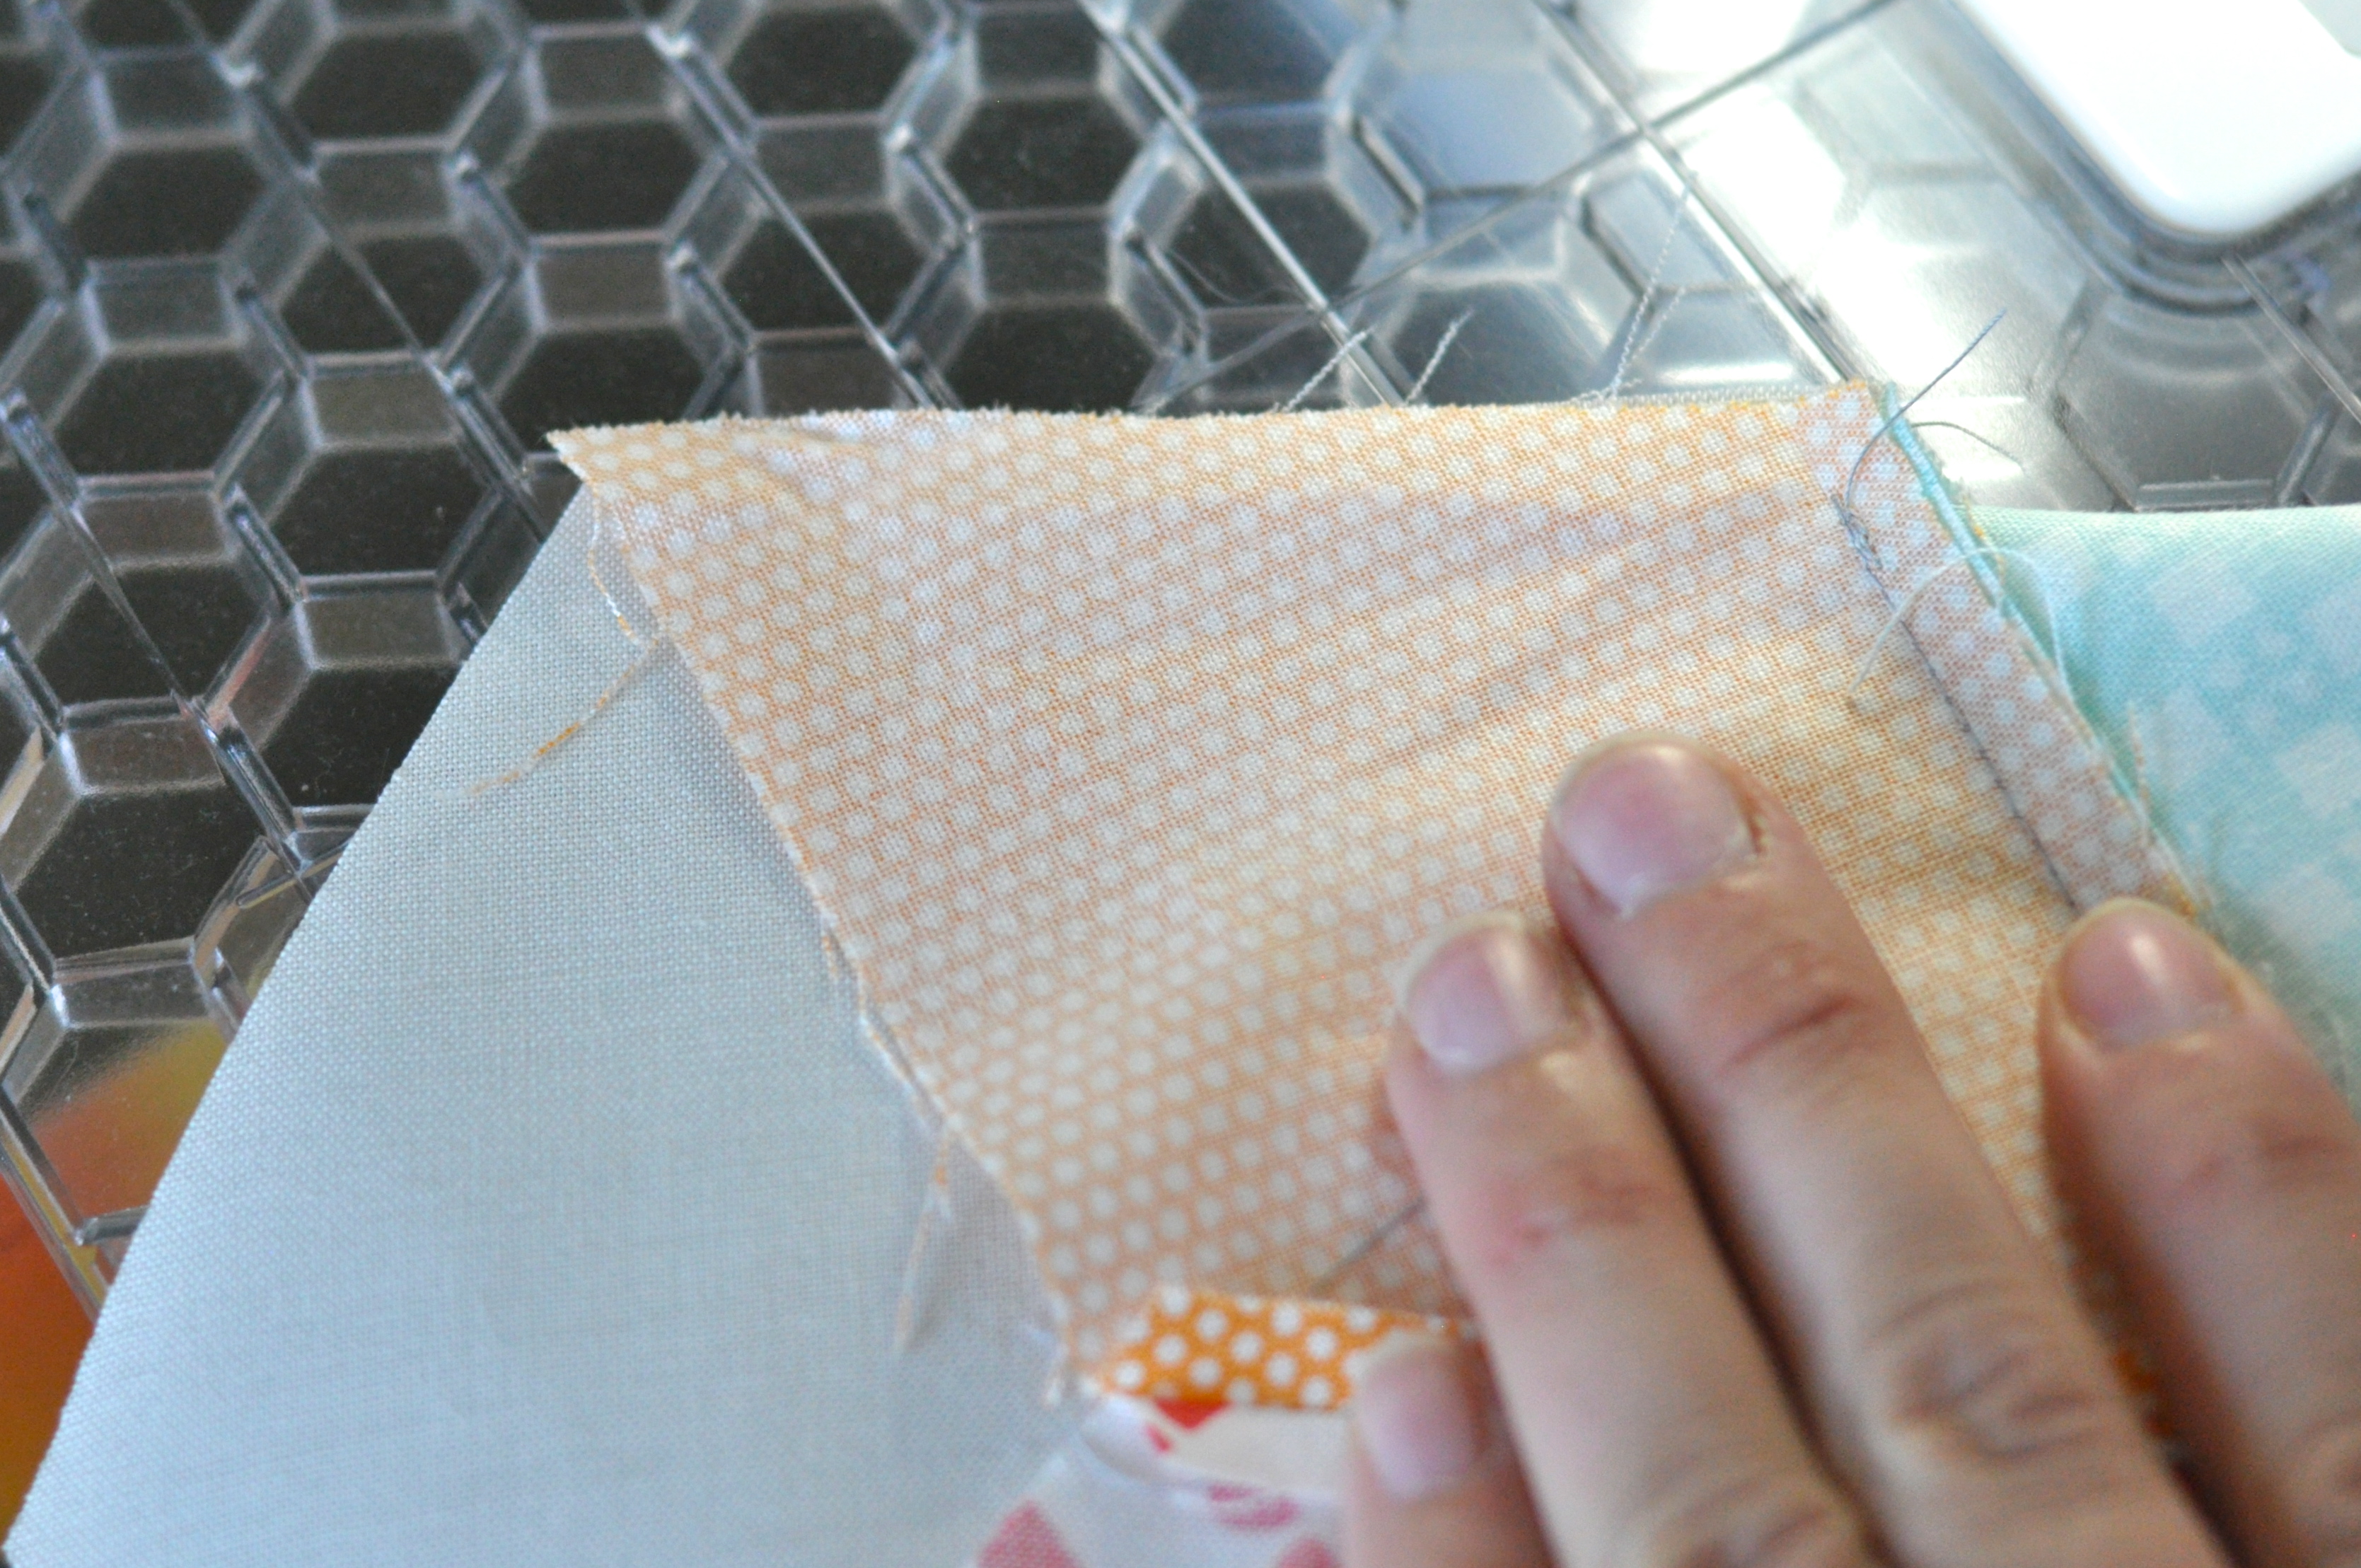
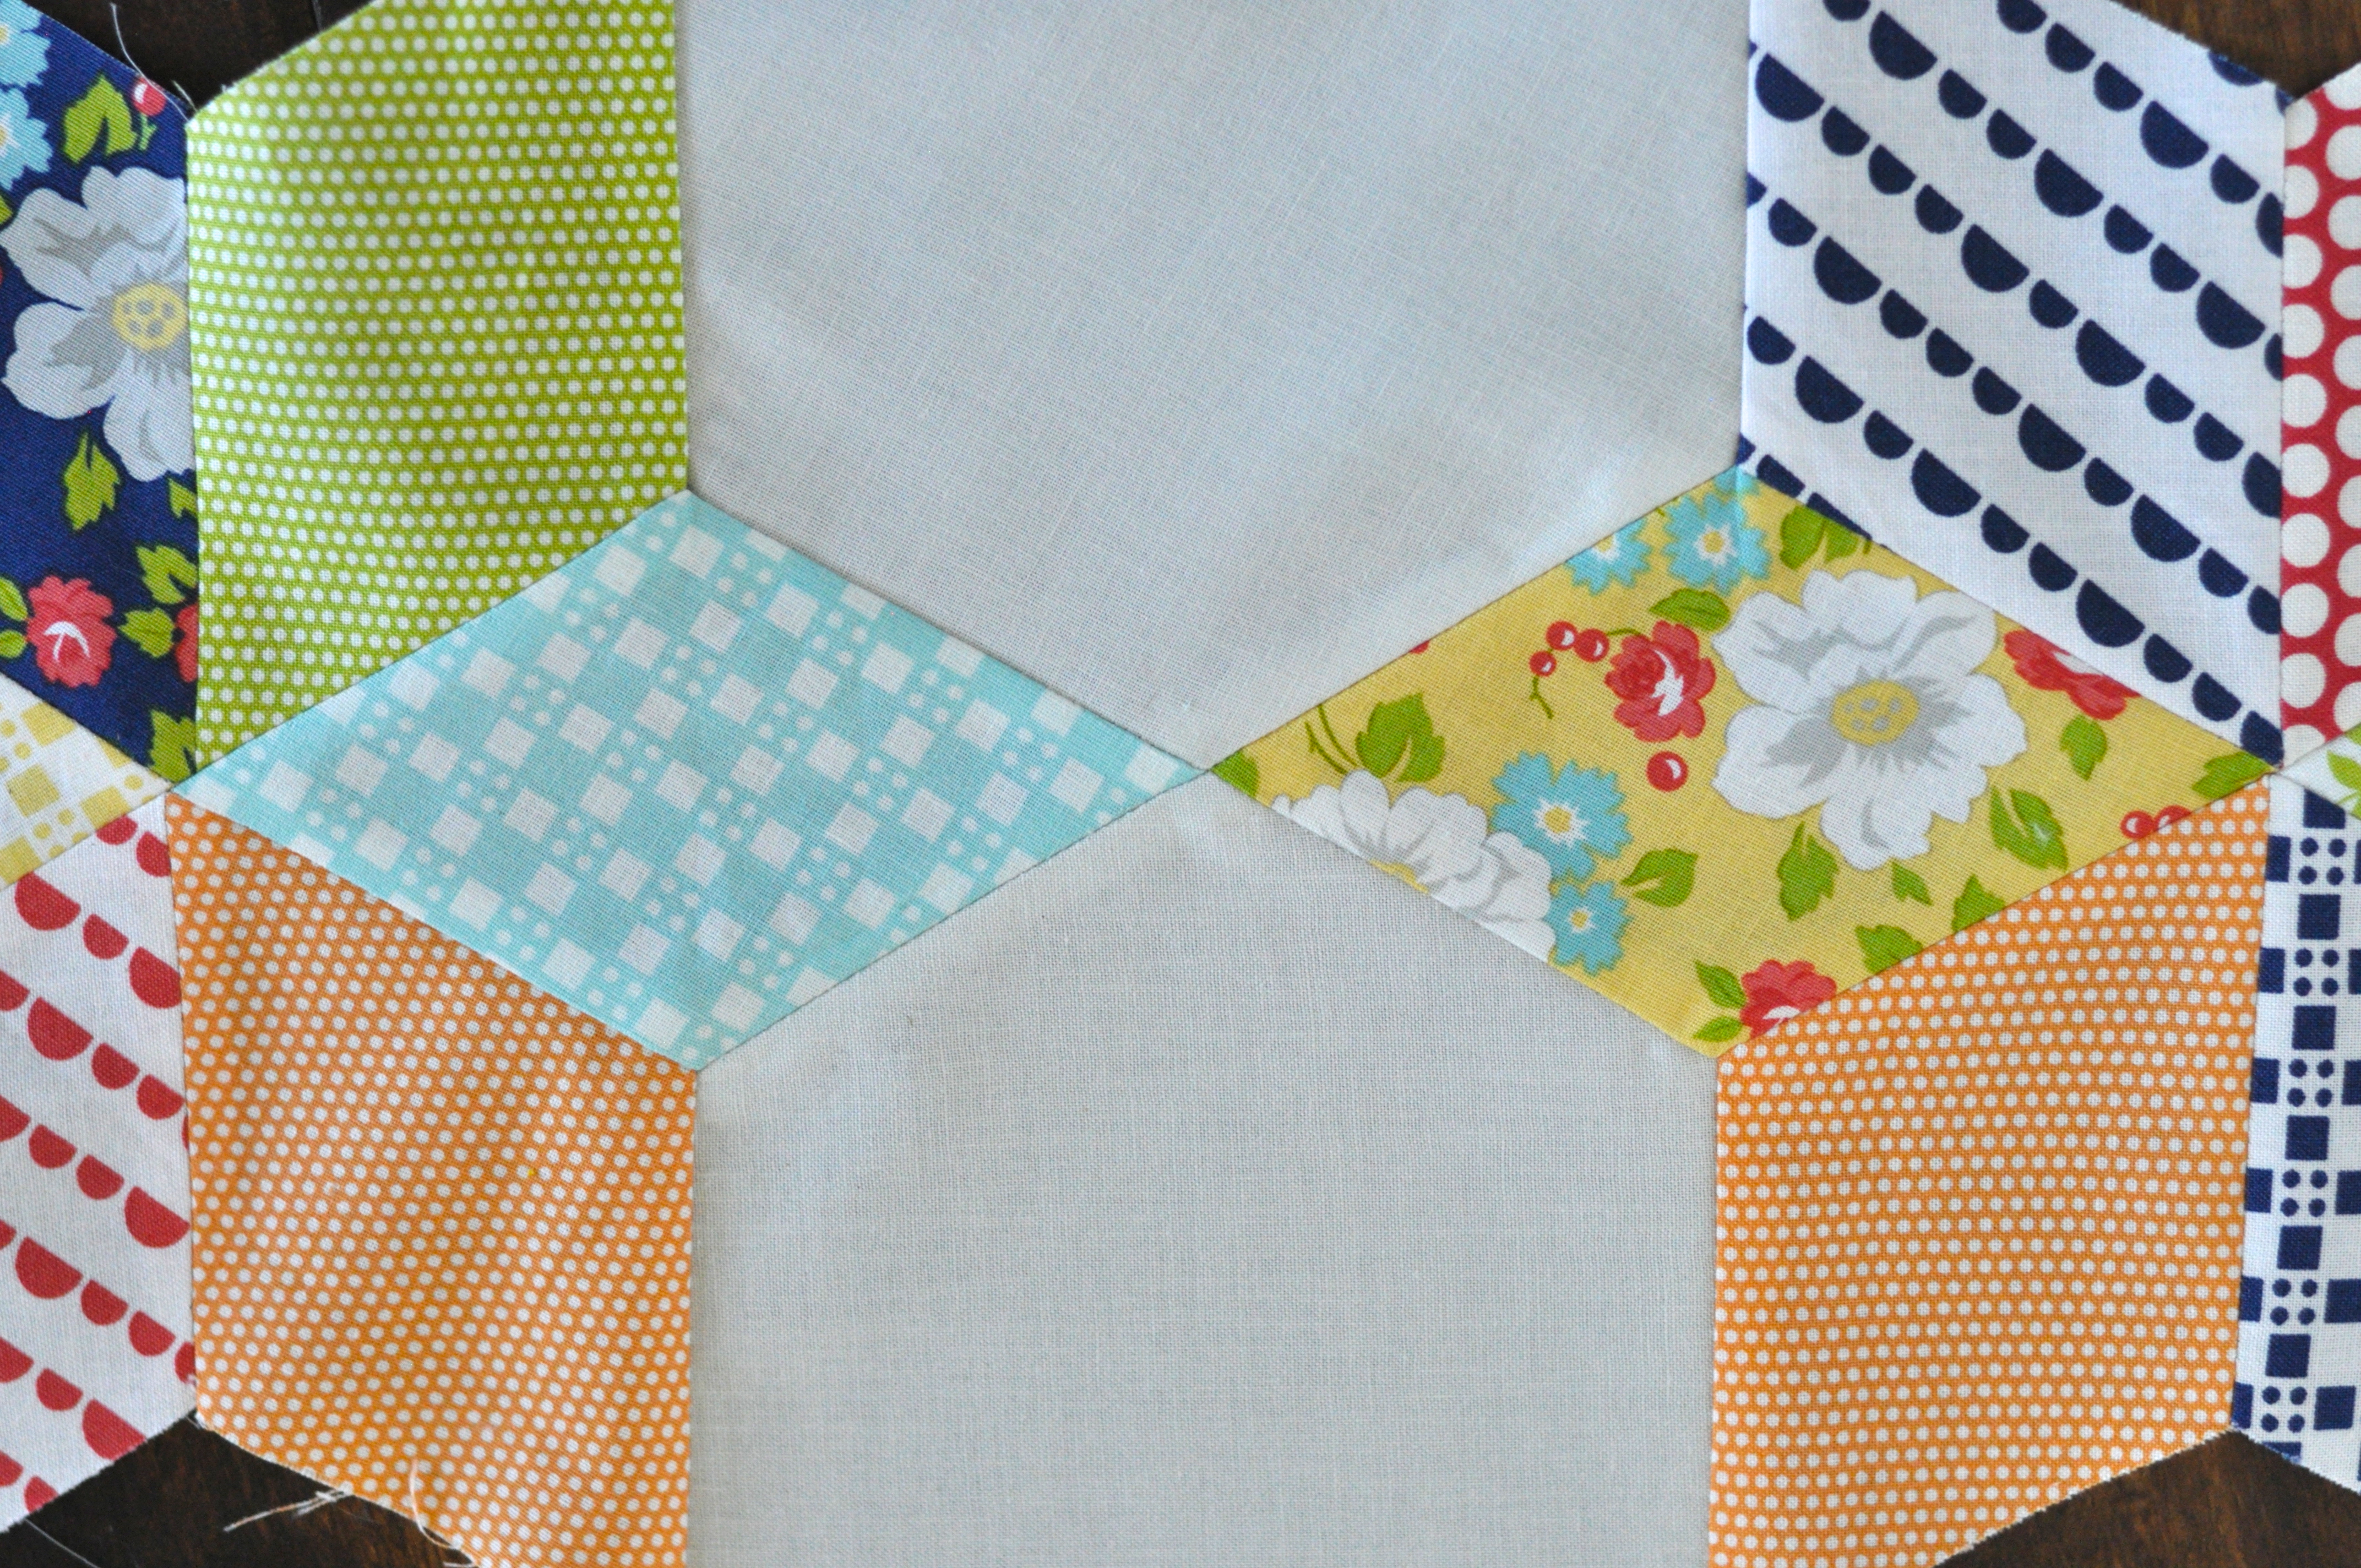
Now, twist the hexagon up so that it is laying flush with the adjoining diamond. You will NOT break your fabric! No need to be rough, but don’t stress about this. Make sure that the corner of the hexagon lines up with the obtuse corner of the diamond. There should be a very slight overhang of the acute angle of the diamond on the other side. This allows the 1/4″ seam allowance to produce a straight edge.
Stitch from the starting point of the previous seam all the way to the edge of the fabric.
Are you doing ok? Cause that was the tricky part, and it is all smooth sailing from here!
Finger press the new seams towards the prints. 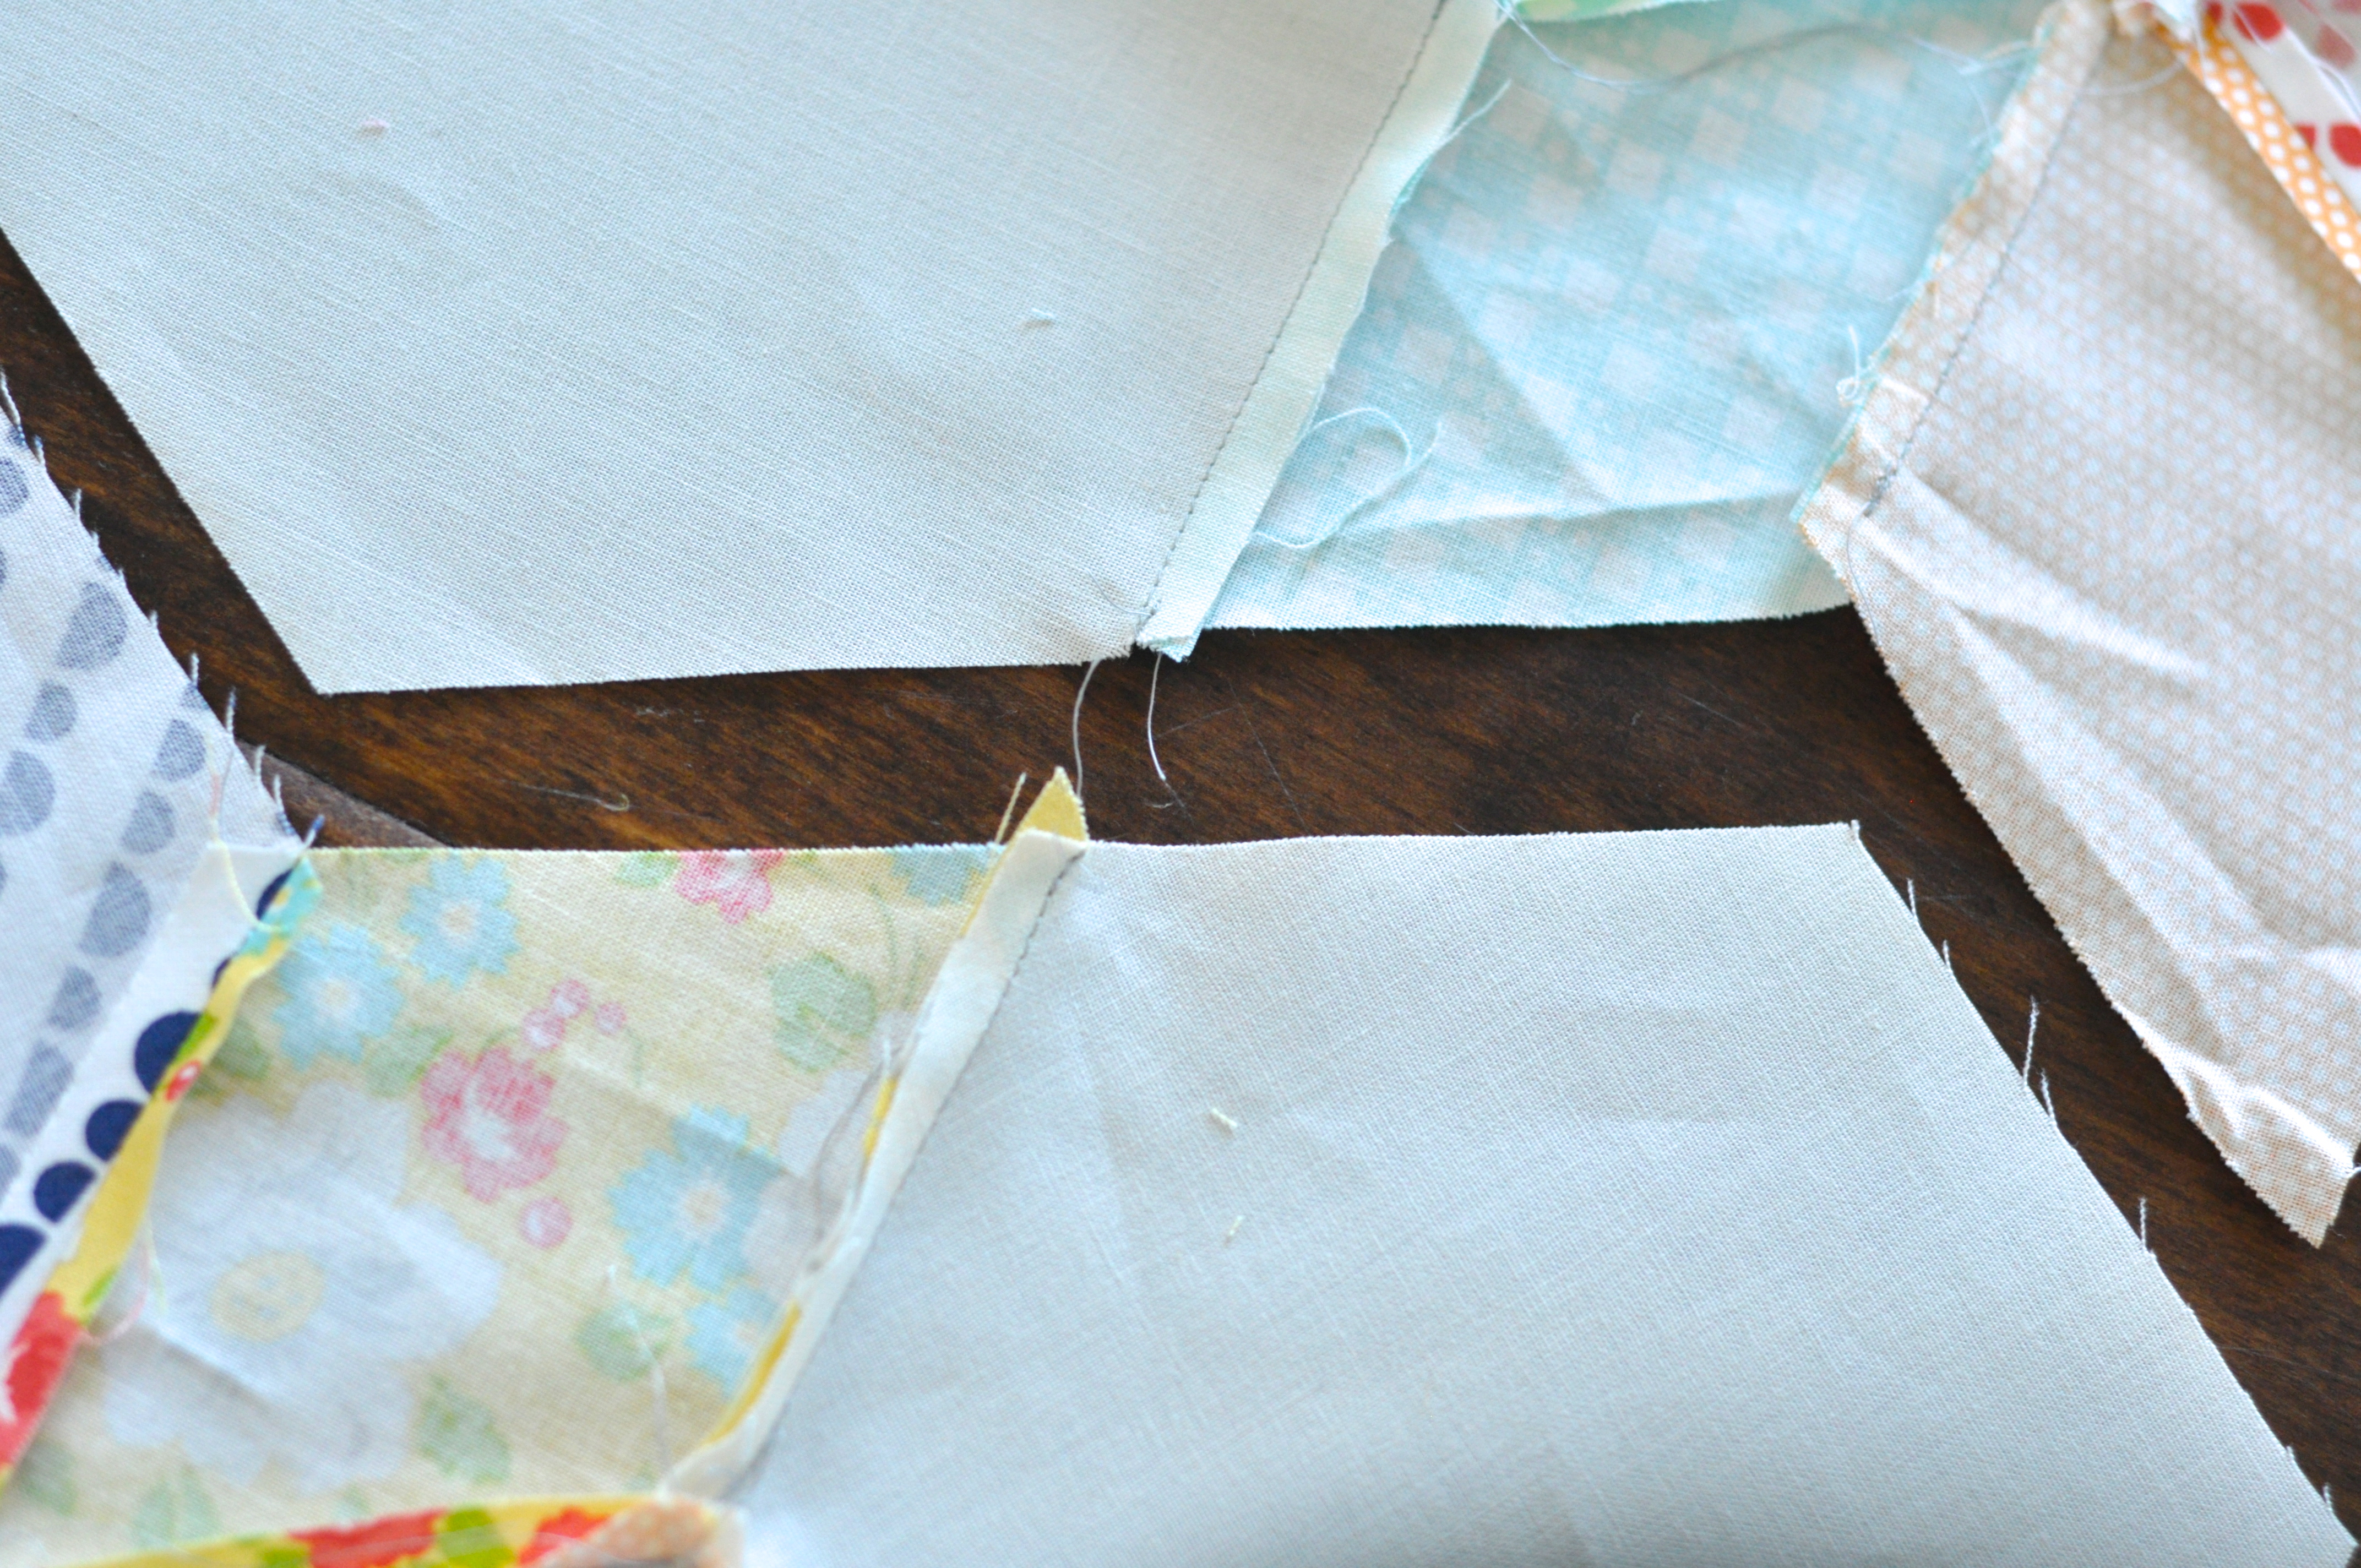
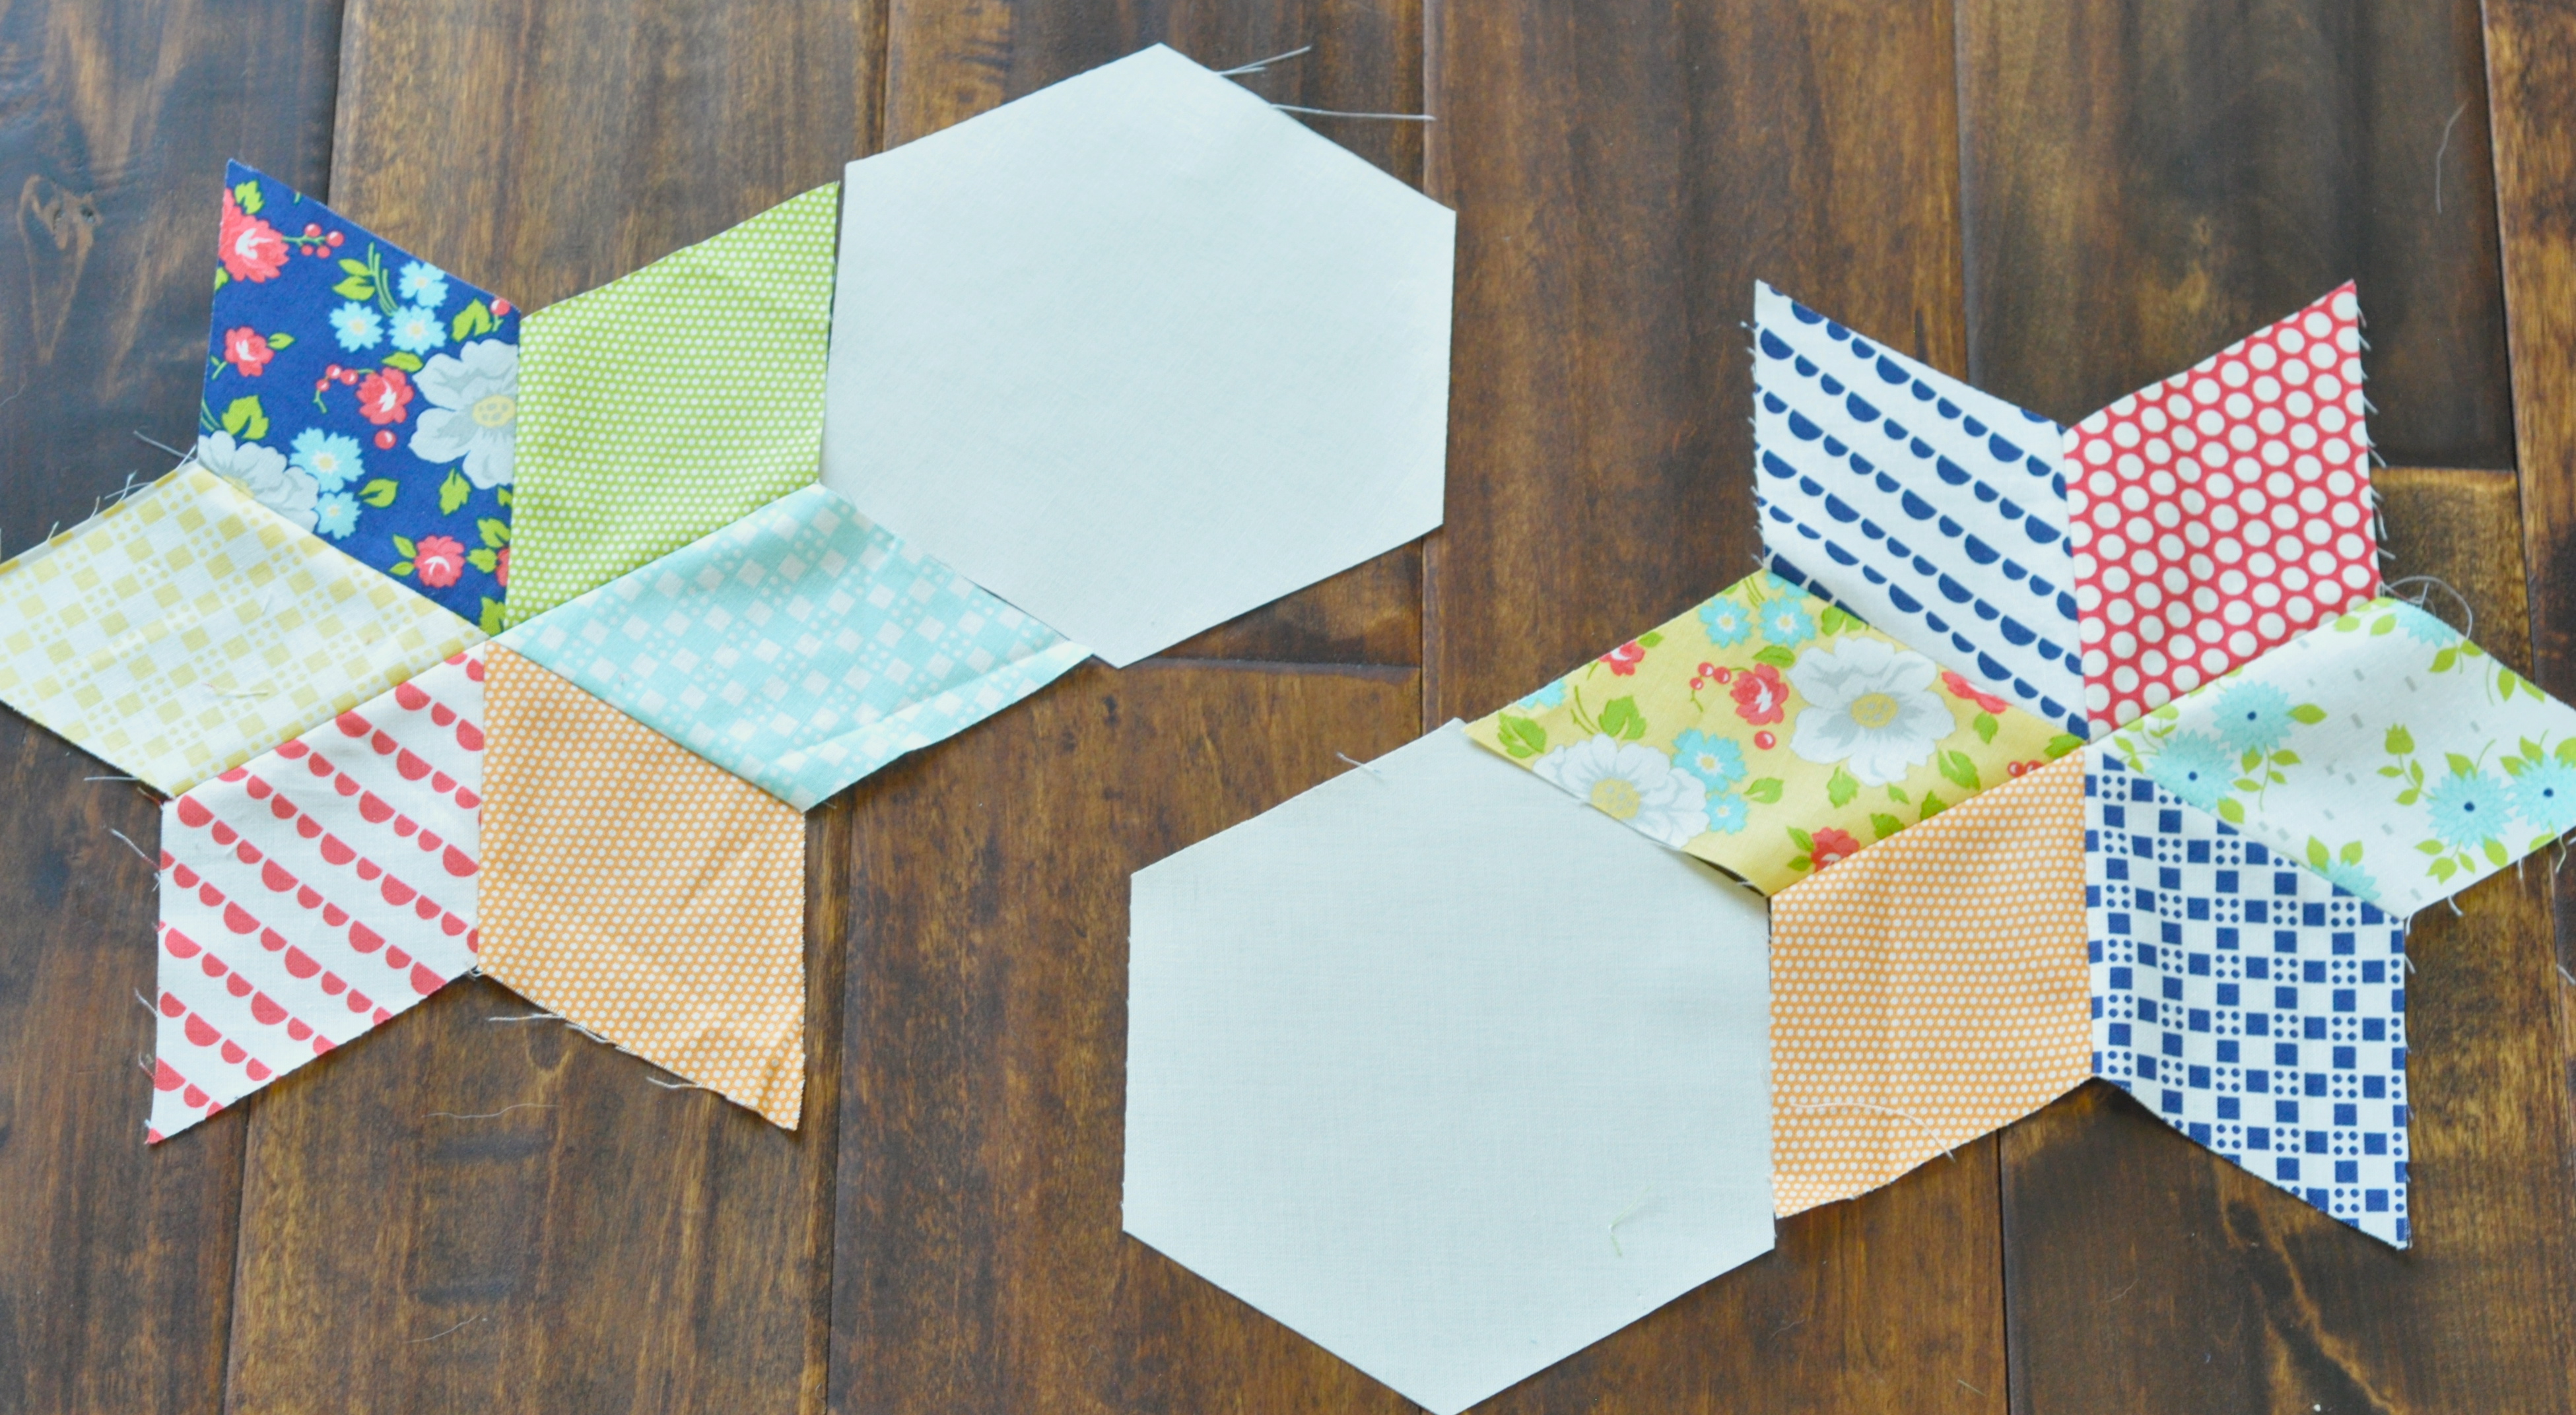
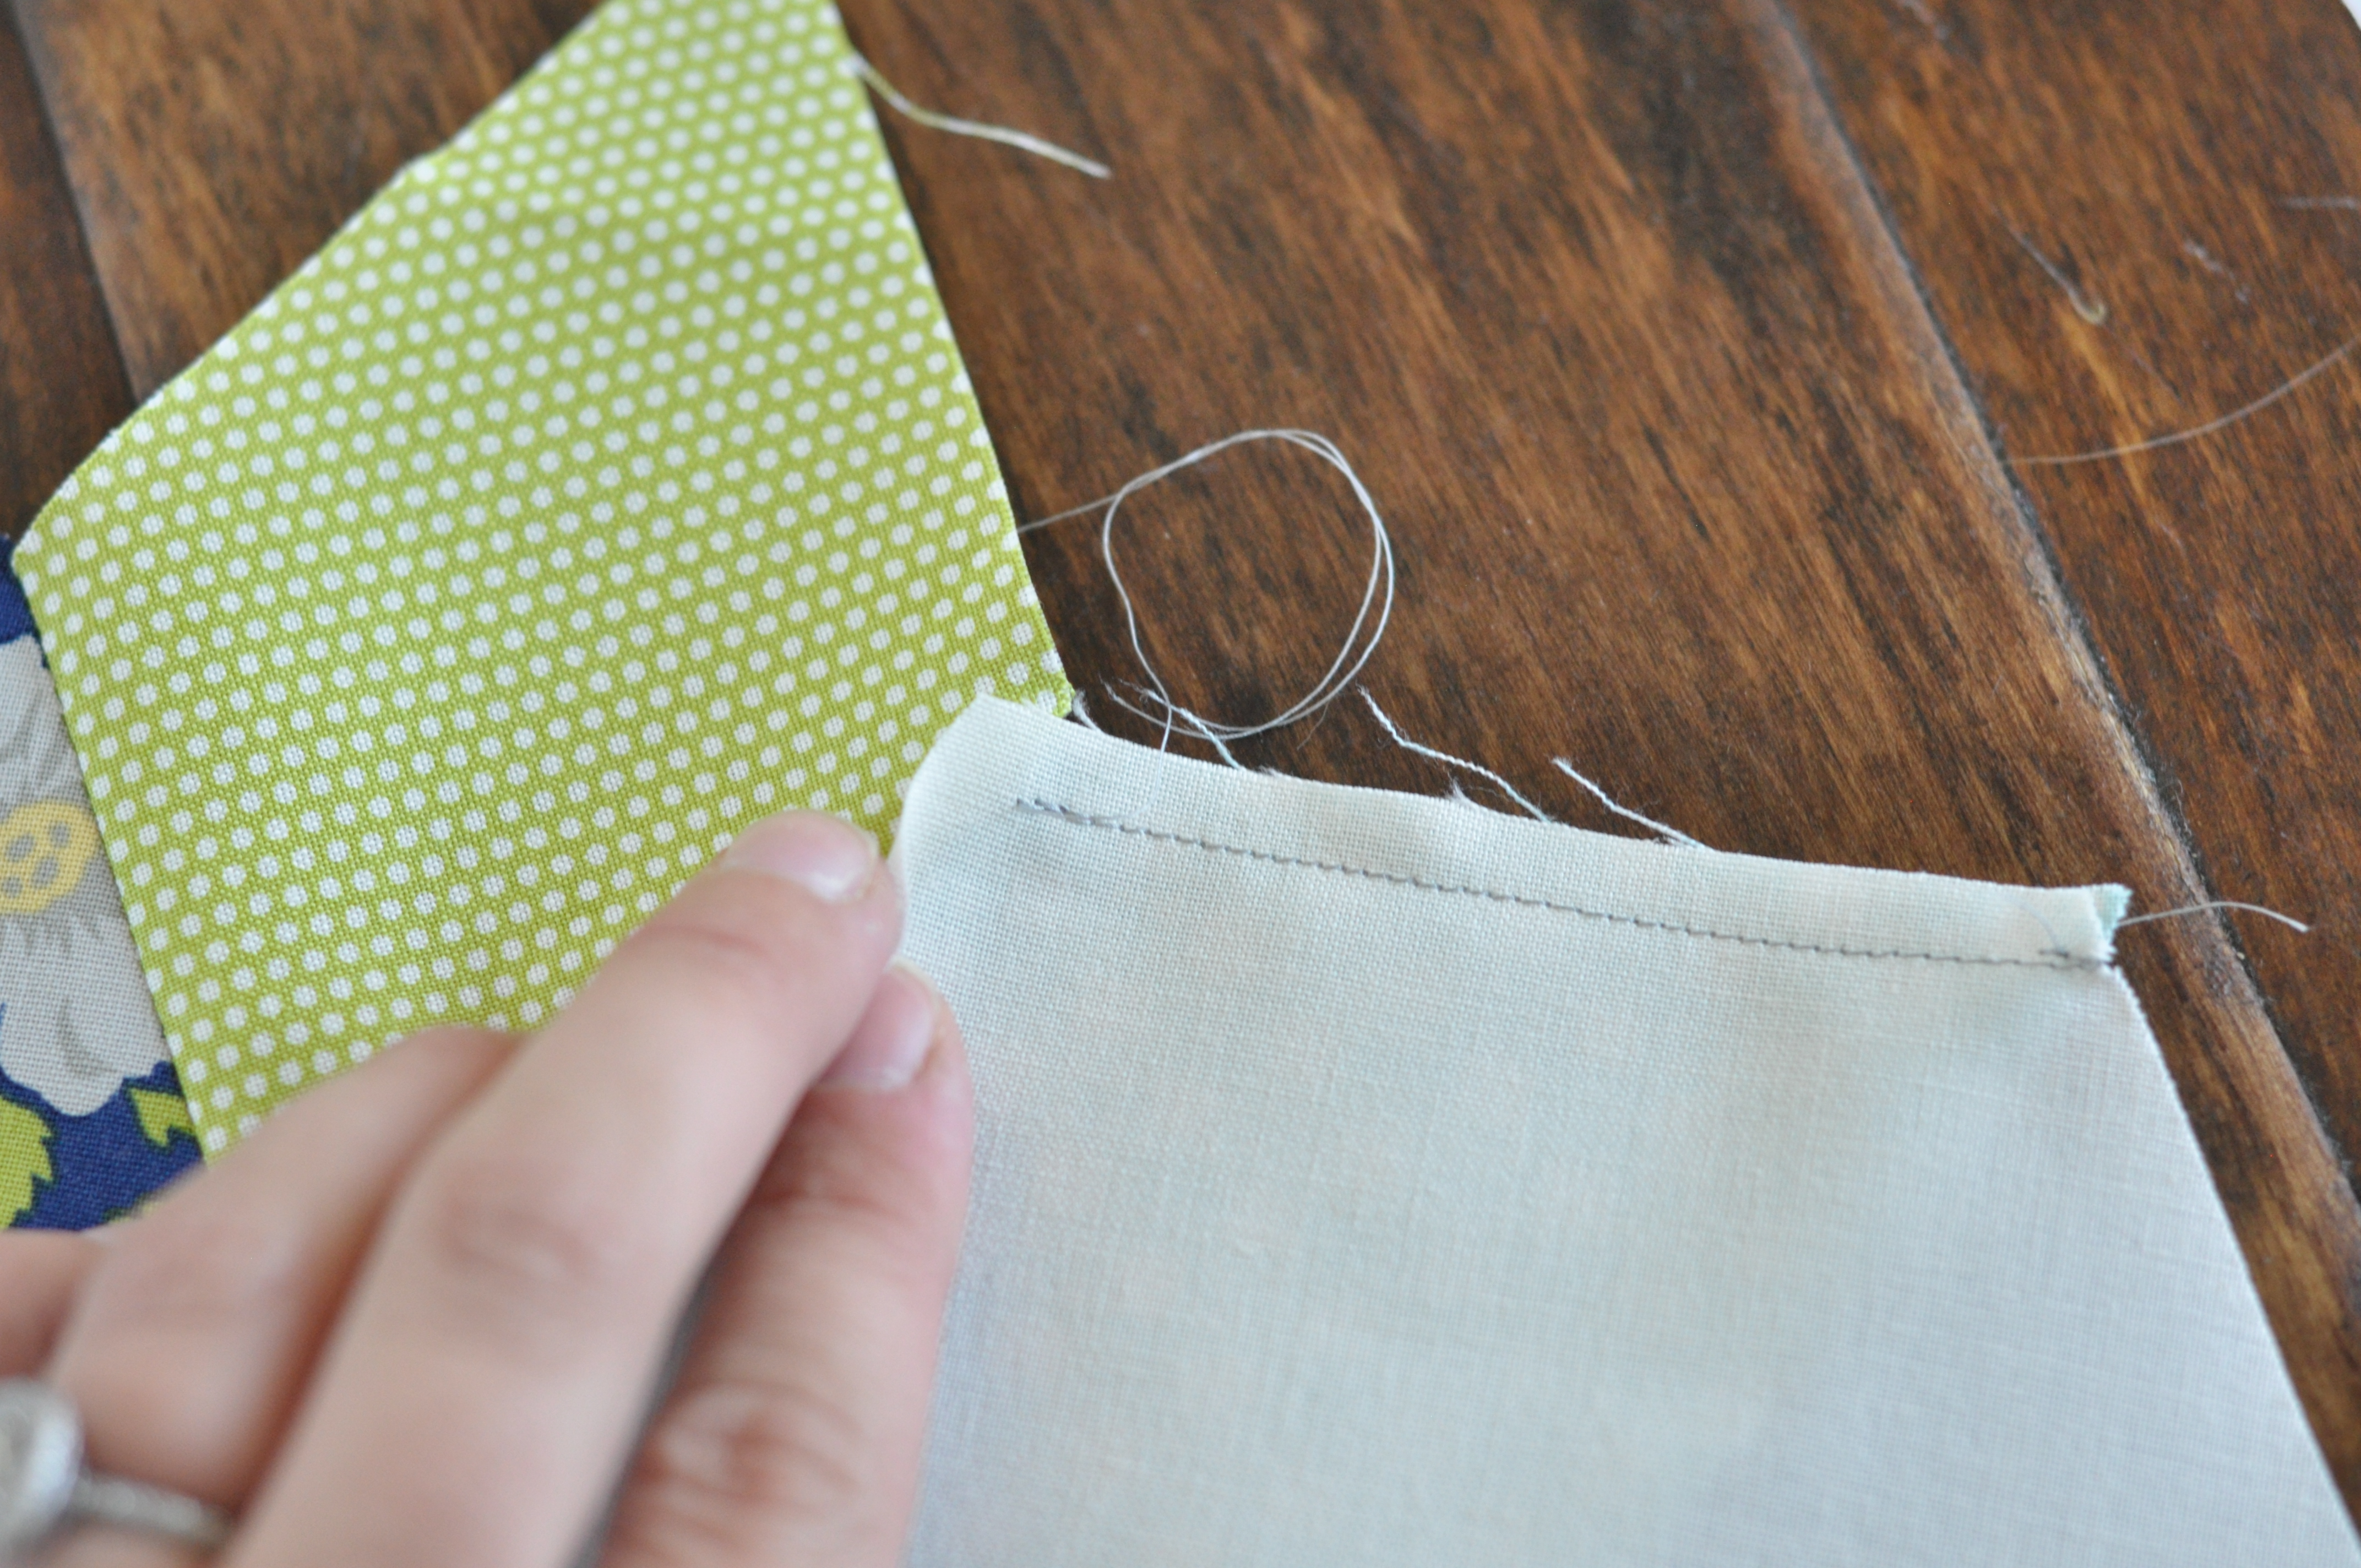
Lay our your blocks like this. Just like in the last step, use the little triangle overhangs to line up your seam.

For this step, I use a pin. Pin the triangle tabs together with the edges of the seam lined up.

Start sewing at the previous line of stitches, 1/4″ away from the corner of the hexagon.
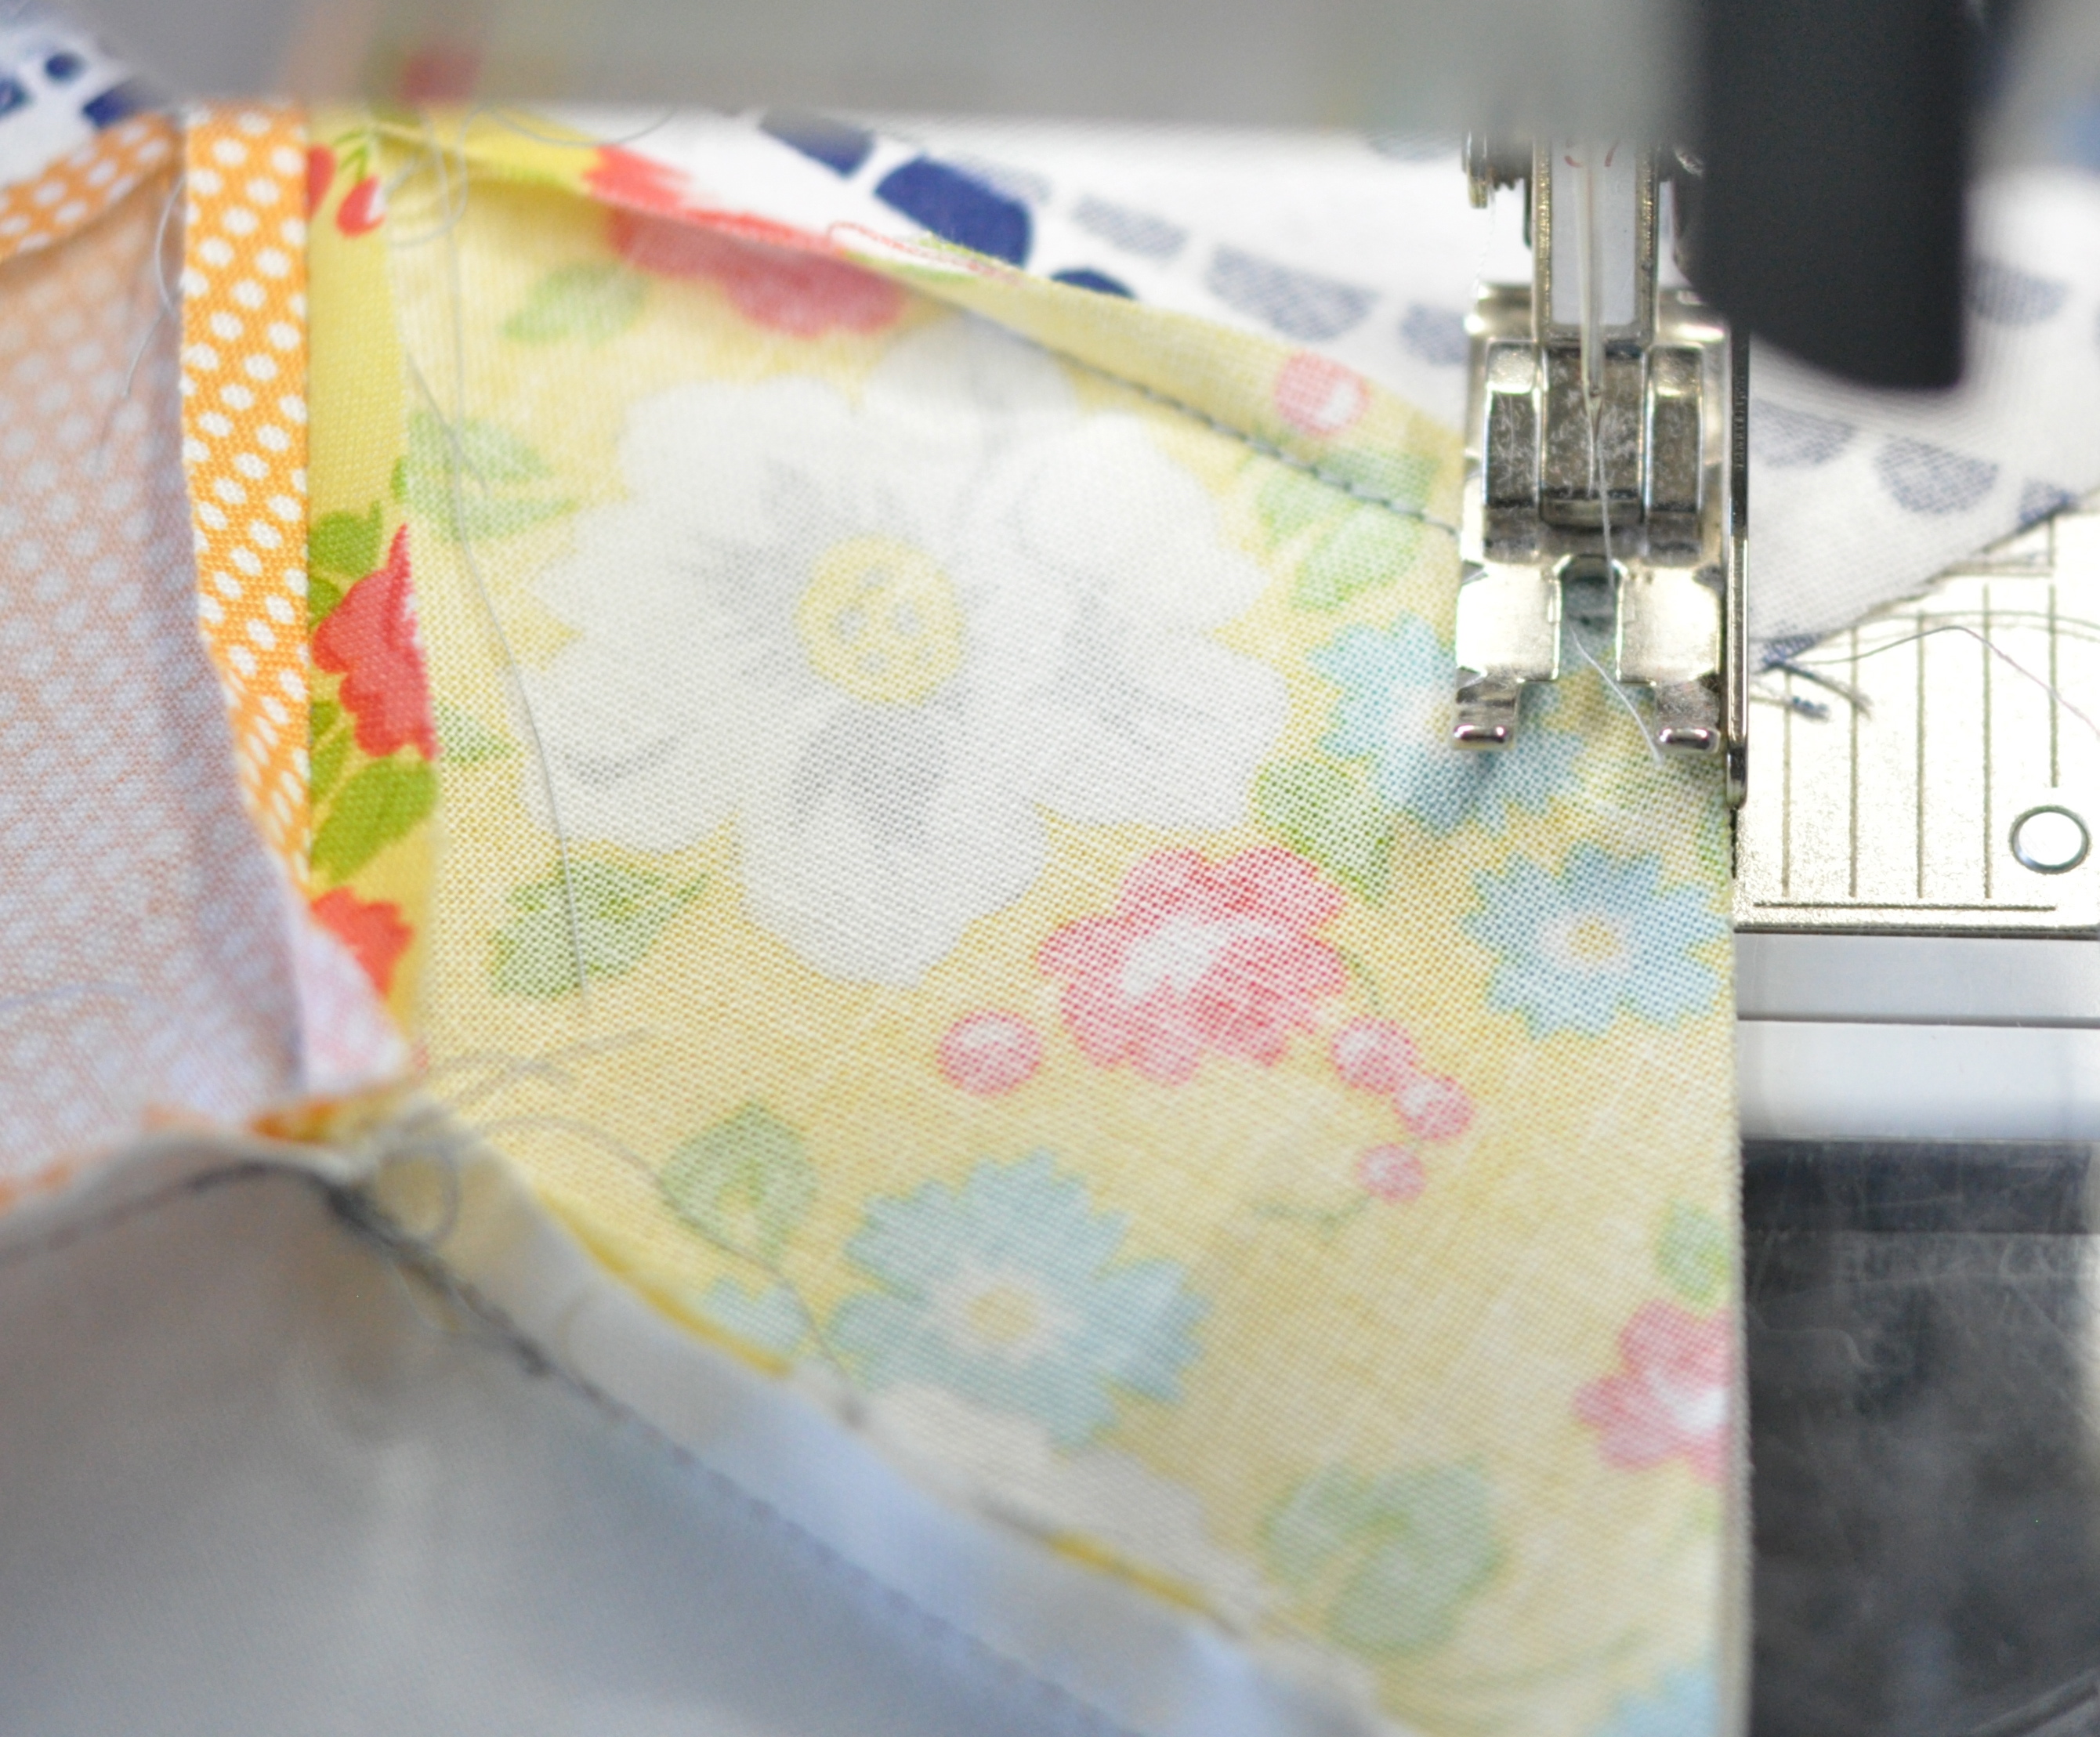
Stop sewing 1/4″ away from the far edge.
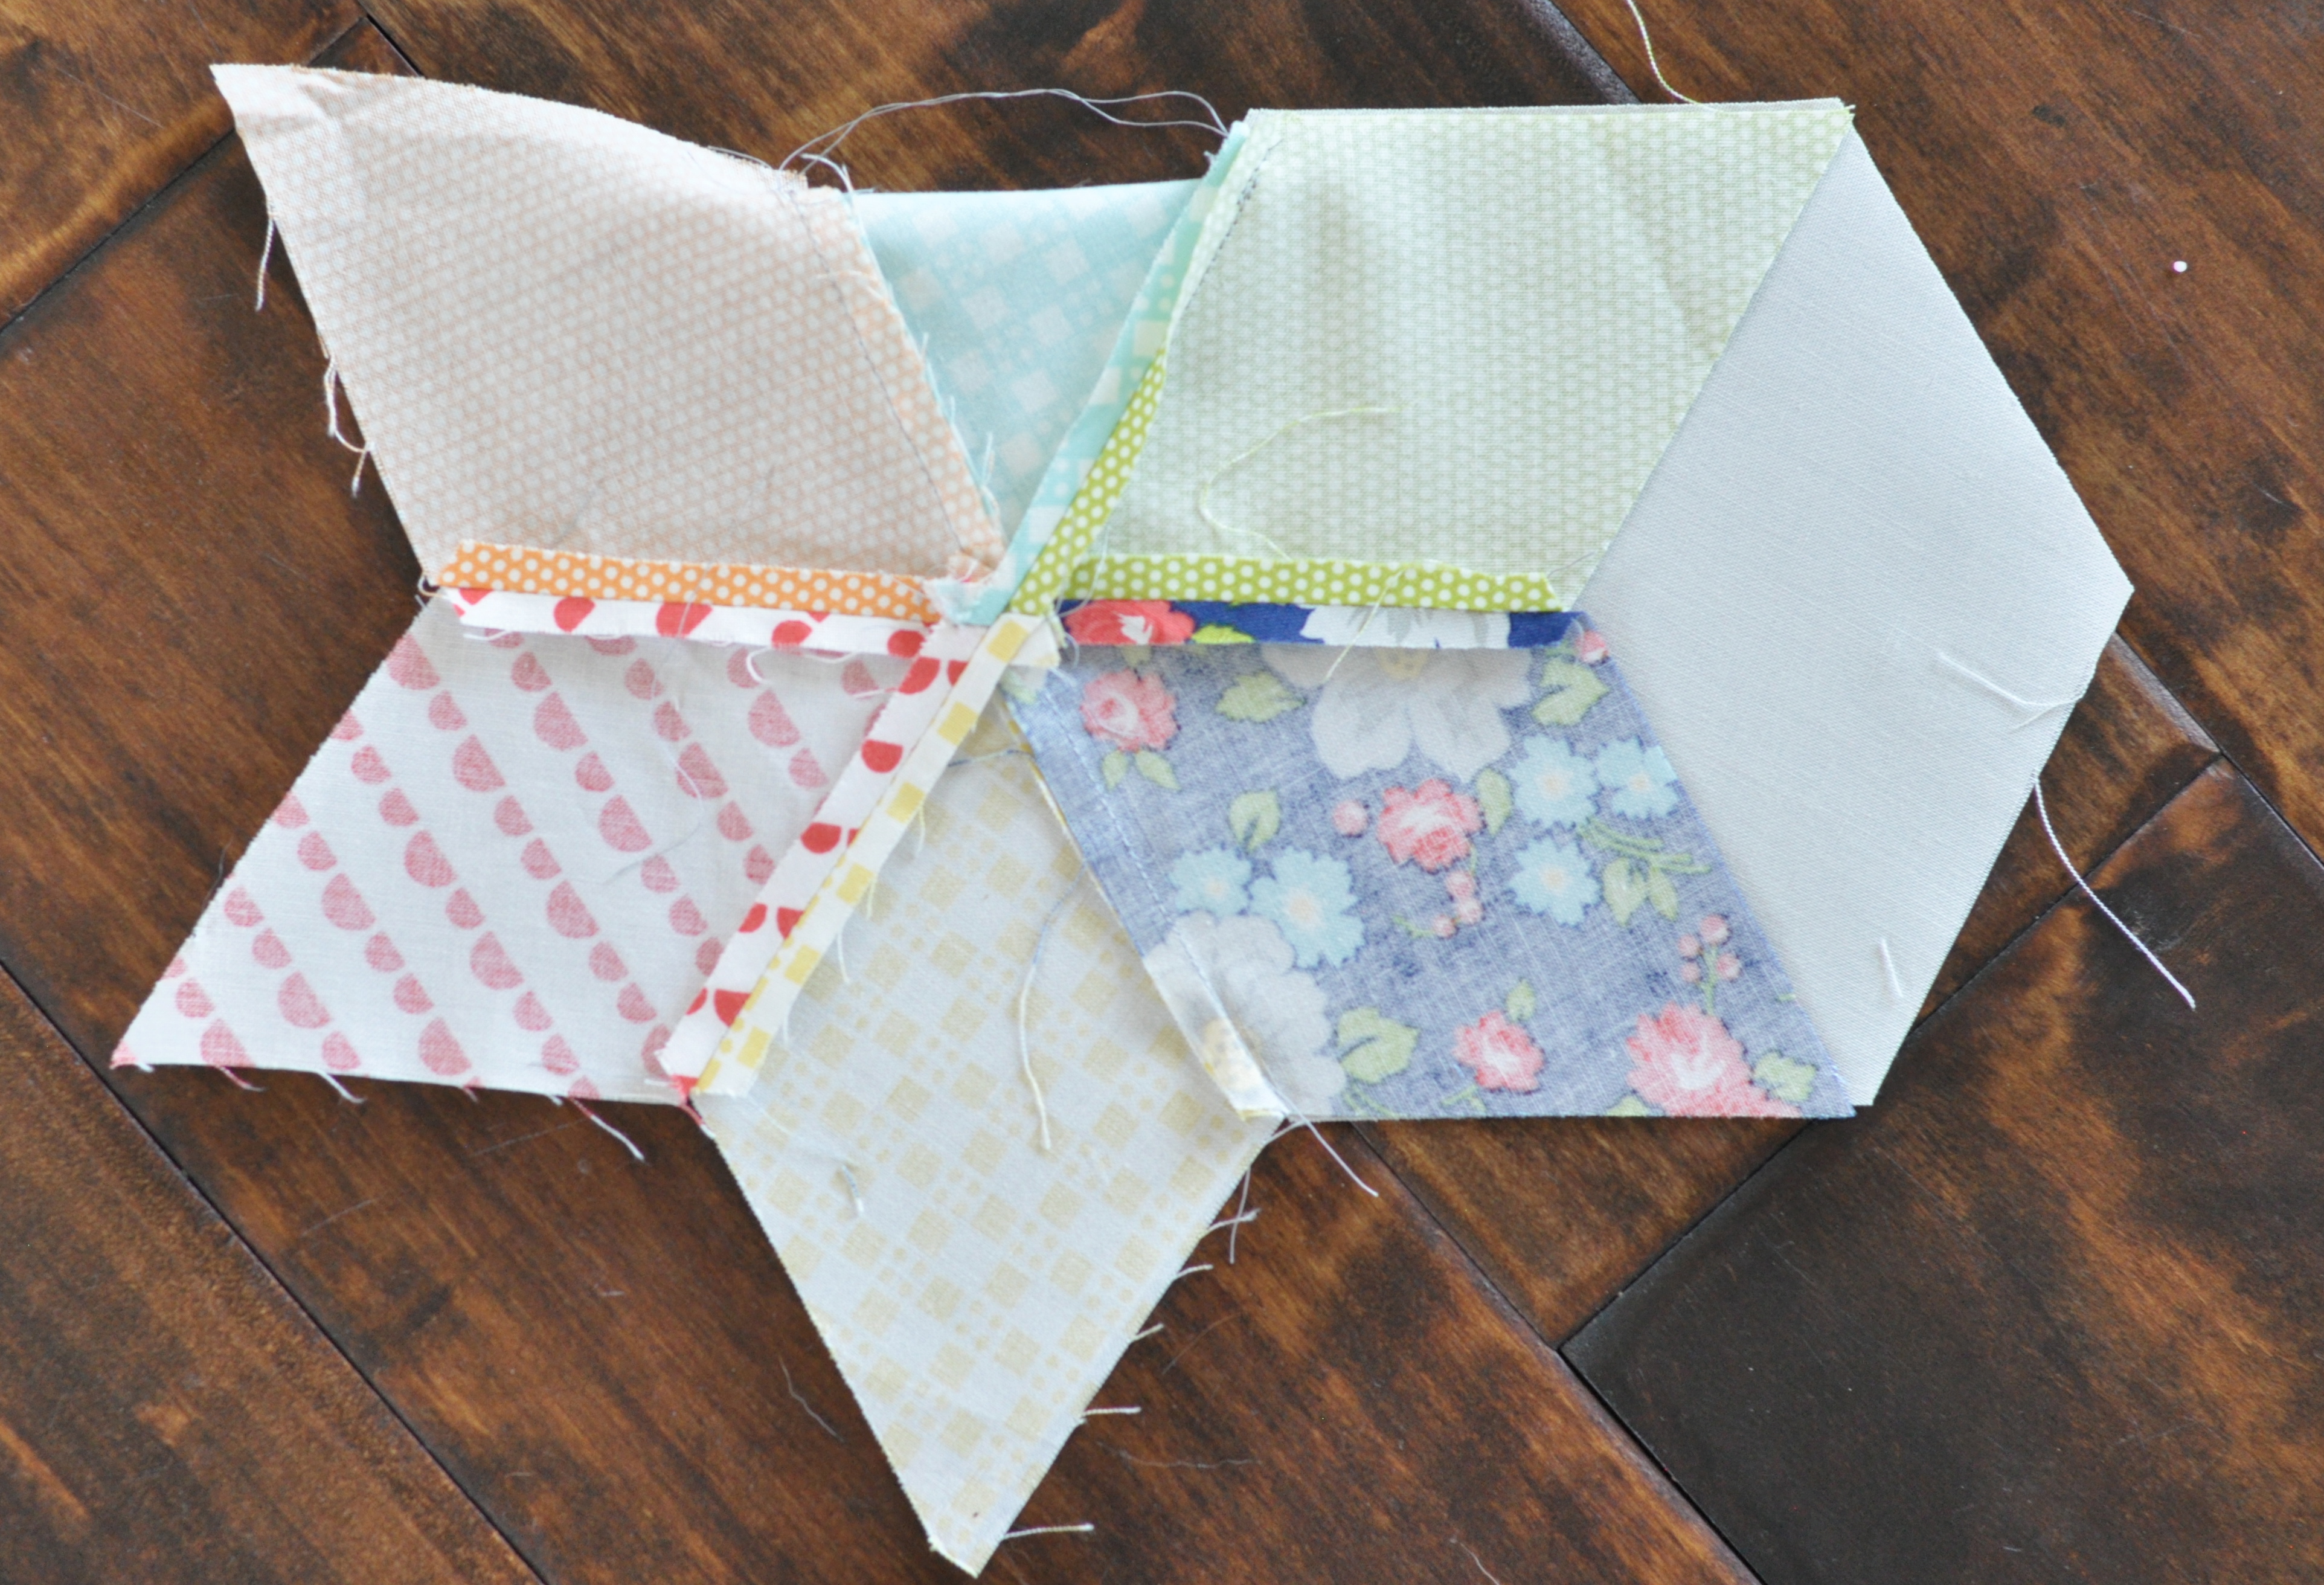
You should have two seams left before your star flowers are joined, top right and bottom left. You will sew these together the same way that you stitched the ‘y’ seams before. Twist your fabric so that the edges of the diamond and hexagon line up.
Sew from the end of the previous seam to the edge of the fabric. Repeat with the last seam.
Ta da! You have joined your first two star flowers. If these feel a little awkward and slow, that is totally normal. I bet by the time you finish the first row, you will be much faster. By the time you get to the end, there won’t be anything in the world of quilting you can’t do 🙂
And I think those perfect points are worth a pat on the back!
For ‘B’ rows, the technique is mostly the same, with the exception of how they begin. You will use your triangle piece to fill the gap for where a star flower would normally go. Except, if you are using the triangle from cutting hexagons (like I am!) it is just a smidge to small. But, through a little tugging and a bit of stretching, it does seem to work. Once the border is on, you won’t even notice.
Separate them as before, but instead of a ‘y’ seam, center the triangle against the hexagon as best you can and sew them together.
Follow the steps above to join the starflower to the triangle/hexagon mix. ***If someone thinks up a more elegant solution, let me know and I will update this post.***
The result is that the triangle isn’t exactly flush with the edge that adjoins to the border and the point isn’t as perfect as the others. I don’t mind either, since most of the triangle edges are bias and won’t ravel and I feel comfortable leaving them scant. As for the not-perfect point, once it is quilted, since it’s all solid, you may not be able to tell. But, if this bugs you, just substitute a 3.5″ equilateral triangle.
I loved seeing your stars and can’t wait to see your rows! I’ll pop back in with step by step directions on how to sew the rows together this weekend! eek! You are going to have 90% of your quilt top done by Monday/Tuesday-ish!!!

oh, you make sewing these together look so easy. This quilt is going to be amazing!
I love how easy you make this look. Can’t wait to get these blocks together. I’m so excited by how beautiful your quilt is. Hope mine comes together as well.
PS: I love your little alphabet cards! =)
I agree with my prad4tim2 buddy, signed up for email, I love this shape working on a much smaller version right now, Hand piecing. yes the cards were an eye catcher. ??
Now, twist the hexagon up so that it is laying flush with the adjoining diamond. Make sure that the corner of the hexagon lines up with the obtuse corner of the diamond. There should be a very slight overhang of the acute angle of the diamond on the other side. This allows the 1/4″ seam allowance to produce a straight edge. ( I couldnt see this clearly? ) could you show an example with diff colors where its obvious
I love the look of this quilt, so beautiful. Wish I was a little more talented at precision piecing! 🙂
When you said to substitute with a 3.5″ equilateral triangle at the border, does that mean that it’s a 60 degree triangle with all 3 sides measuring 3.5″? Sorry for the dumb question I’m new at piecing with triangles. Thanks for your help!
Wow you really do make it look easy 🙂 I hate the dreaded Y seam, but this quilt is so pretty I’m tempted…
Just finishing my sewing for the day at one in the morning here! THANK YOU so much for taking the time to do this quilt-along! This quilt is pushing me and I am learning so many new skills which is so great! I am slow at sewing these hexagons in! Whew! so I am loving the extra time.
I have found if I cut an equilateral 3 3/4 triangle for the triangle piece that I get perfect points. I center the triangle next to the hexagon with equal 1/4 overhang on each side and it matches up perfectly!
You, ARE amazing- I live the inspiration that your blog brings me! Looks like more hexagon quilts are in my future!! I do love a hexagon! Thanks so much!! I look forward to seeing you at the sewing summit- maybe we grab a tea and chat??!
Xoxo
You, ARE amazing- I live the inspiration that your blog brings me! Looks like more hexagon quilts are in my future!! I do love a hexagon! Thanks so much!! I look forward to seeing you at the sewing summit- maybe we grab a tea and chat??!
Xoxo
Amazing!! You do make this look easy!