It’s day one & we’ll be sorting our scraps & fabric & cutting where necessary. For this quilt, I really recommend cutting as you go along, but you’ll want to have enough strips & squares to make the blocks.
So, let’s start! Grab your pile of scraps.!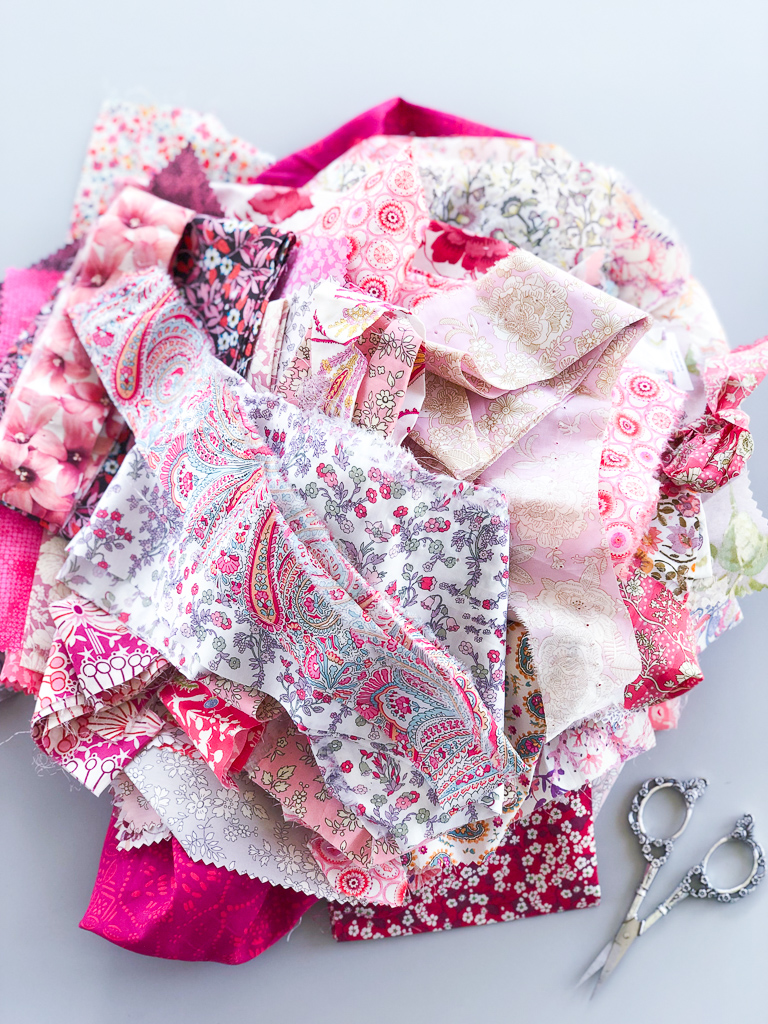 The first step is organizing your fabric acording to it’s hue and volume. For your first 9 blocks, you’ll want entirely low volume for the bulk of your fabric. But even within low volume fabric, there are degrees of density of print. I chose less dense prints for the first 5 blocks & increased the density and the saturation of the print for the next 4 blocks to establish the beginning of the ombre effect.
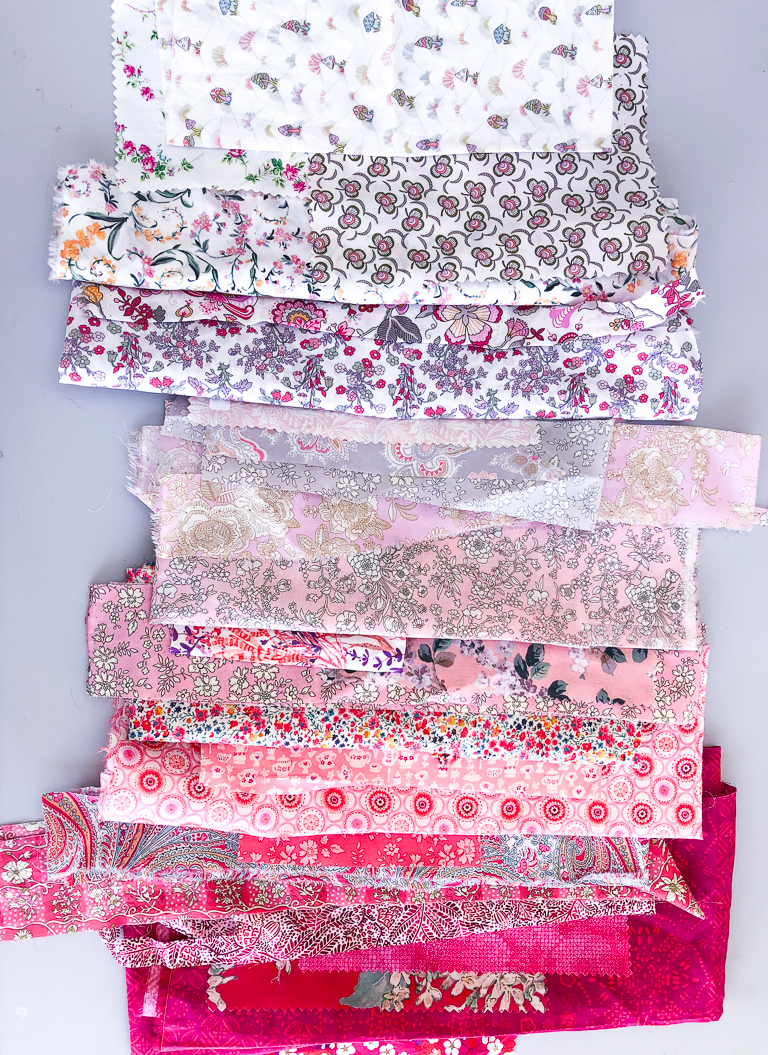
Next, I separated these fabrics into 6 groupings based on color.
- Very Low Volume (mostly grey & white with flecks of pink/blue)
- Low Volume with strong pink accents
- Pastels & Faintly Pink (this included some lightly grey pieces)
- Coral Pink (mid level prints that include both lighter & darker hues in their prints)
- Vivid Pink
- Red
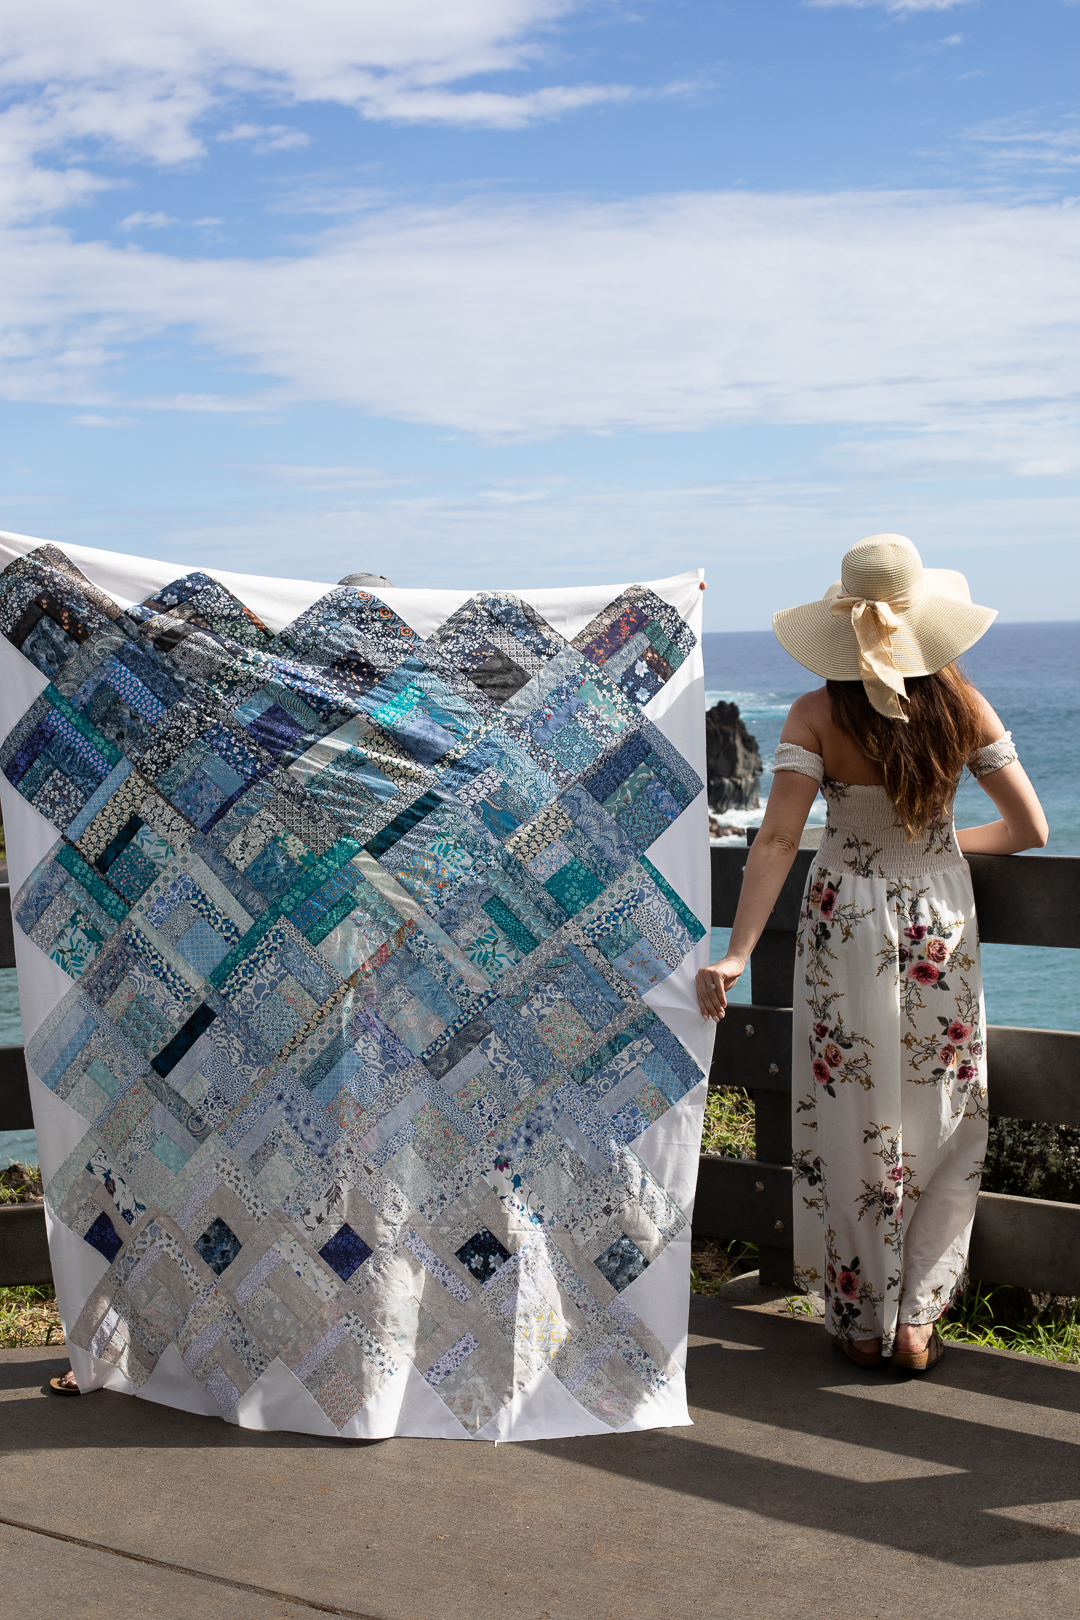
I also chose an accent color of orange and focused primarily on pinks that edged towards orange rather than blue. And to accentuate that, I included actual pieces that include aqua to make that orangey pink pop. Think about what colors might make your chosen focus color glow just a bit more. In the navy version of this quilt, I chose orange to really bring out that contrast. It’s not noticeable in the final quilt, but it did feel odd as I went along. I love the overall effect!
Cutting:
For the quilt, you’ll need 50 4″ squares.
- 9 Very Low Volume
- EITHER 5 Very Dark or for a smooth ombre 5 very light pastel
- 4 very light pastel
- 9 medium-light
- 9 medium
- 9 medium dark
- 5 very dark
Everything else is thin strips ranging from 1.5″ to 3.5″ . Your smallest strip needs to be at least 4″ long. If you have odd sized pieces like I did, I cut them into strips with a variety of widths. 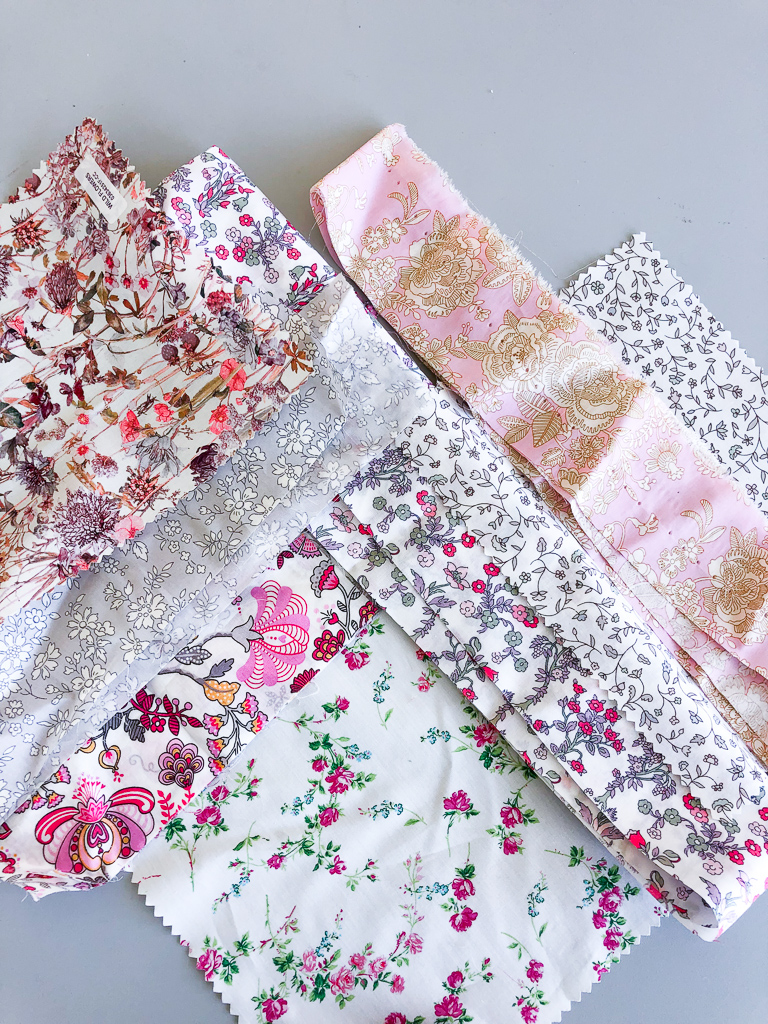 Next week, we’ll start stitching our blocks!
See you then!
Amanda

I have been trying so hard to get your free cross back apron pattern. I hope you can help me. Thanks so much!