A few weeks ago, I added some gorgeous Oakshott Cottons to my stash. These fabrics are absolutely gorgeous. The pictures don’t do them justice. In real life, they shimmer.
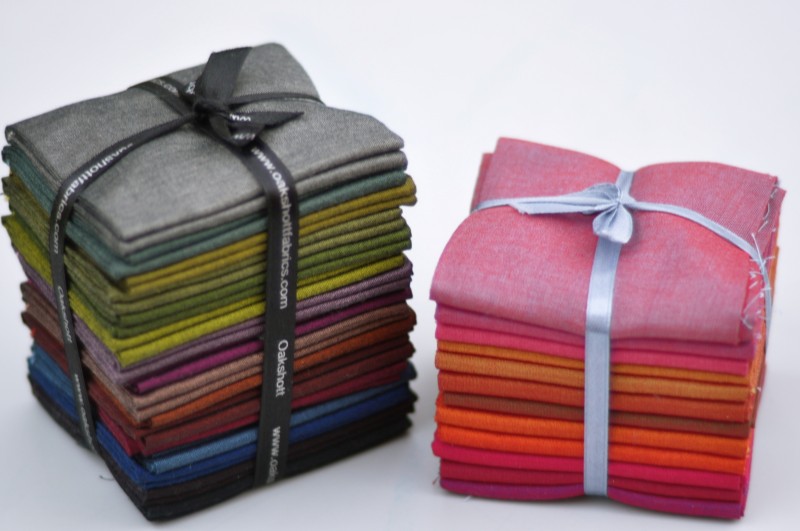
These are the Lipari and Ruby bundles. I’ve been savoring them, pondering them, and trying to find something ‘just right’ to use them for.
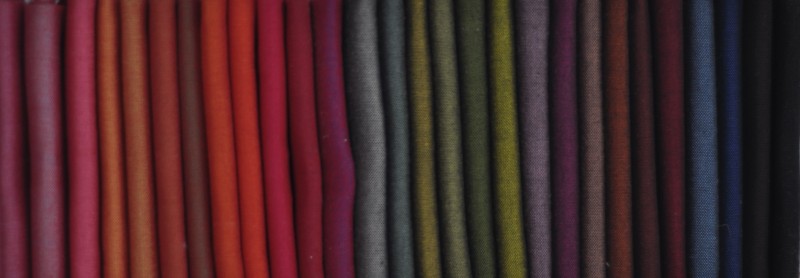
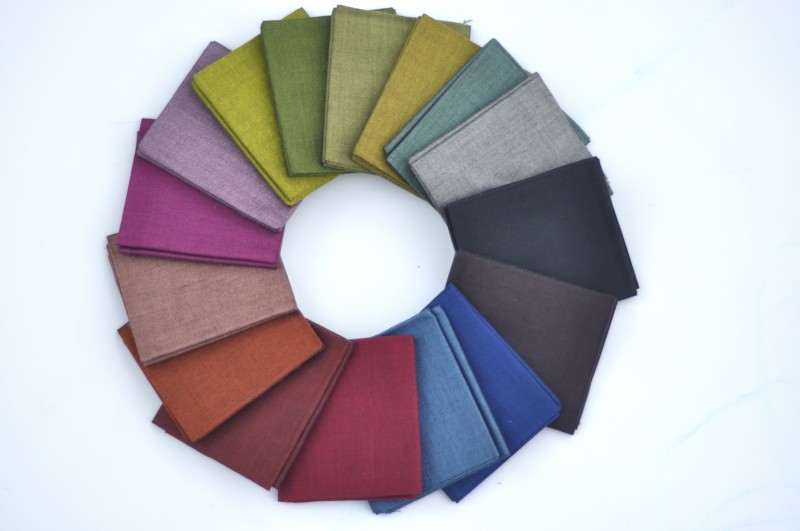
These ‘shot’ cottons are made by weaving two different colors together. The Lipari are the colors of the rainbow crossed with black which give them a deep, rich feeling. The Ruby are the rainbow hues crossed with red. The result is stunning.
After much soul (and pattern) searching, I’ve decided to make these into a fabulous winter quilt for curling up on the couch this winter. If you’d like to quilt along with me, I’d love to have company! Each Monday and Friday for the next six weeks or so, I’ll post a new tutorial for a ‘snowflake’ block. At the end, I’ll sash them, add borders and have a quilt that is 82″ x 64″. I know this is a busy season, so each block is going to be fairly large at 16.5″ finished. I have a couple alternate layouts if you are looking for a bedsize quilt.
Today we are going to make this ‘Montana Snowflake’.
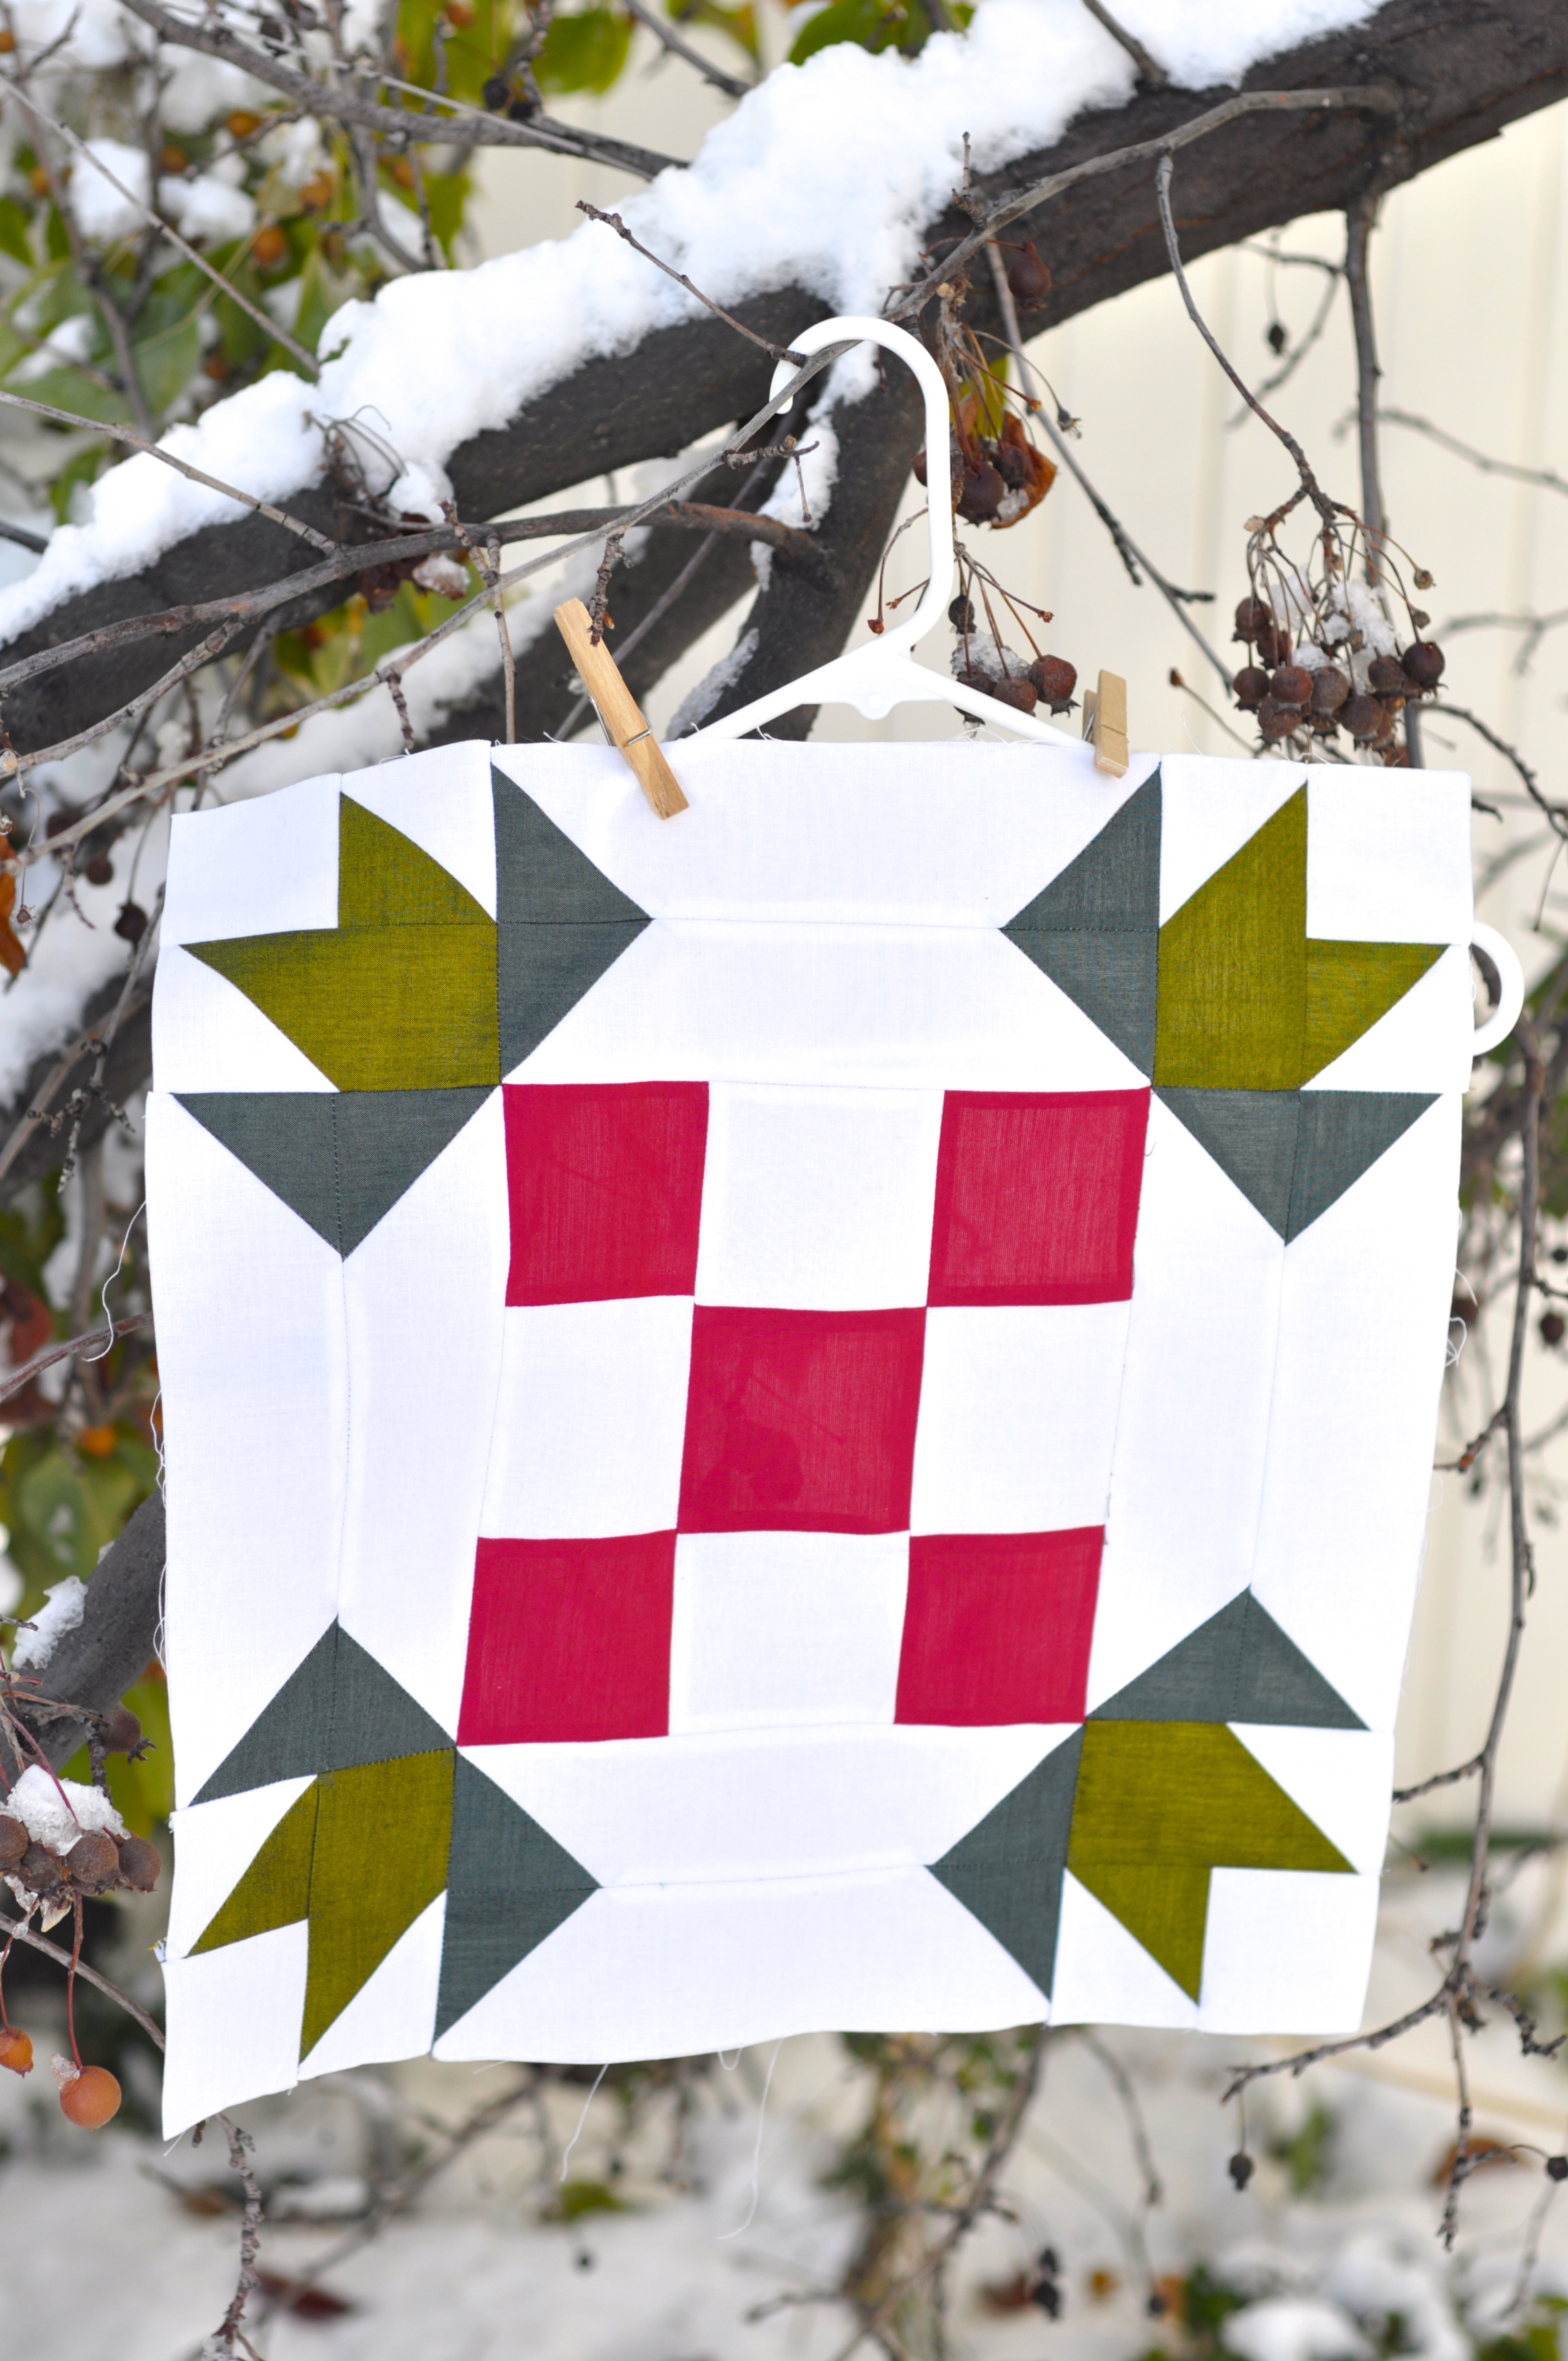
For the quilt, I’m using:
Oakshott Ruby Red Bundle
Oakshott Lipari Bundle
4 Yards of White Solid (I’m using Moda Bella Solids)
You are going to need to start by cutting. If you’d like to use the same Oakshott colors, Michael’s shipping is PHENOMENAL. You would probably have it withing 48 hours. From the UK. Which is crazy.
For this block, You will need 3 Fat Eighths and 1/8 yard of white solid
Cutting for the Montana Snowflake:
5 3.5″ Squares from your Red
4 2.5″ Squares from Green
4 2.5″x 4.5″ Rectangles from Green
16 2.5″ Squares from Grey
4 3.5″ Squares from your solid
8 2.5″ Squares from your solid
8 2.5″x9″ Squares from solid
First we’ll assemble the middle:
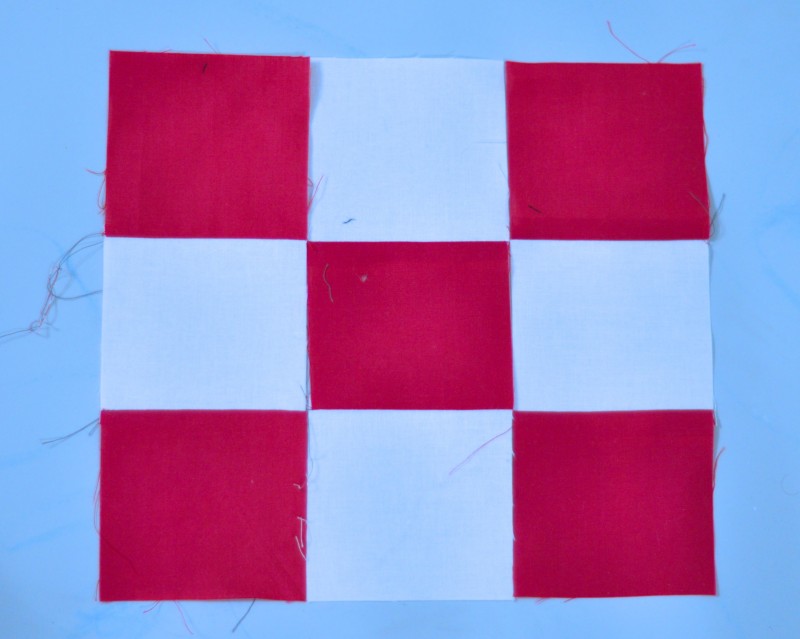
It is a pretty basic nine patch. Sew into rows of three and then assemble those rows into a 9 patch block.
For the corner pieces, you will need your greens and the white 2.5″ squares. Draw a line from corner to corner on your solid. You are going to stitch ON THAT LINE. Not 1/4″ away like a HST. I also stitch 1/2″ towards the edge from the first line and tuck the extra HST away for a future project.
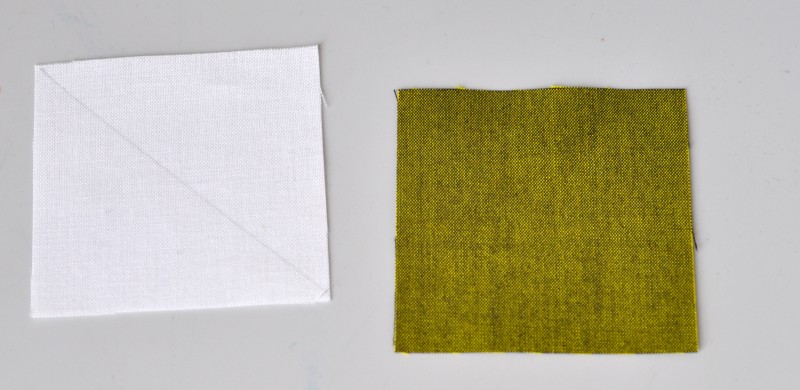
So first, sew the green squares to the white squares. Chain piecing makes this quick!

Now, place the white squares on top of the green rectangles like so:
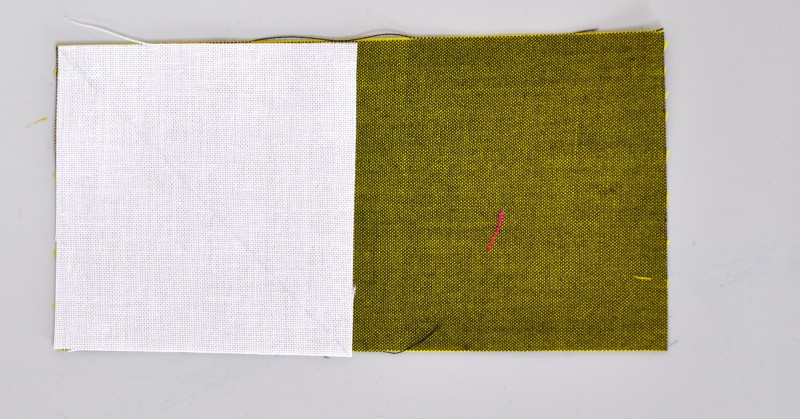
Sew them corner to corner. Then, sew 1/2″ toward the outside to create an extra Half Square Triangle
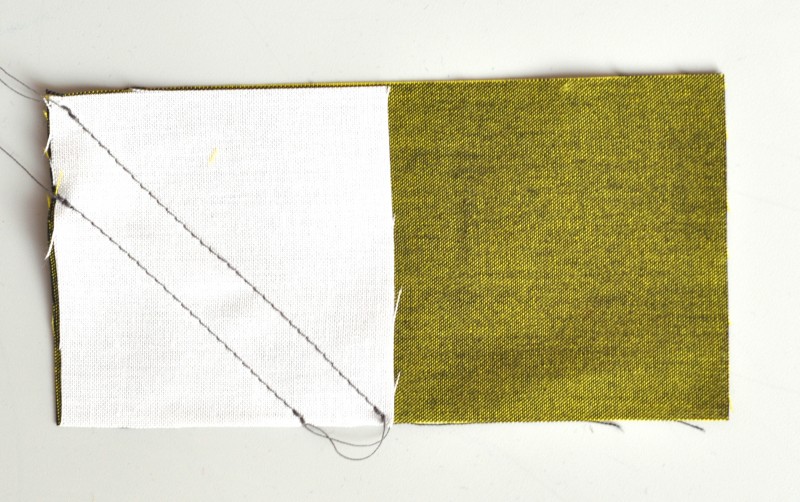
Cut between the two stitch lines:
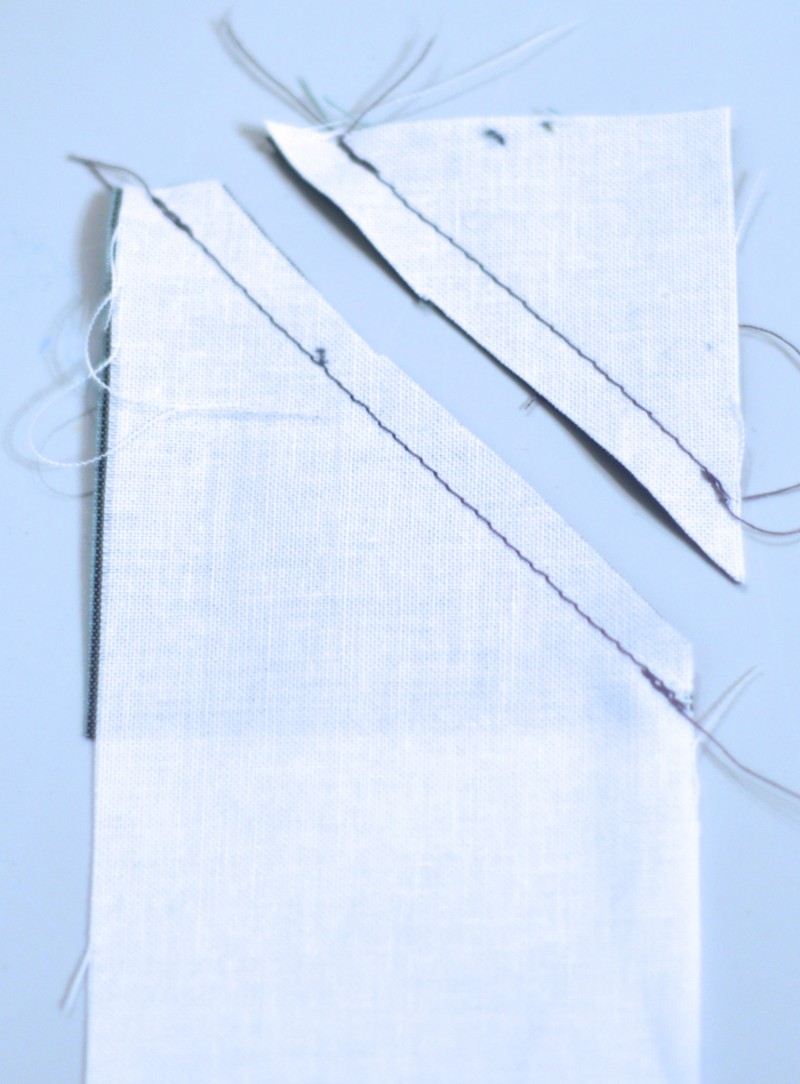
Set the half square triange aside.
Press the seams to the dark side and Assemble the corner block. First sew the two squares together.
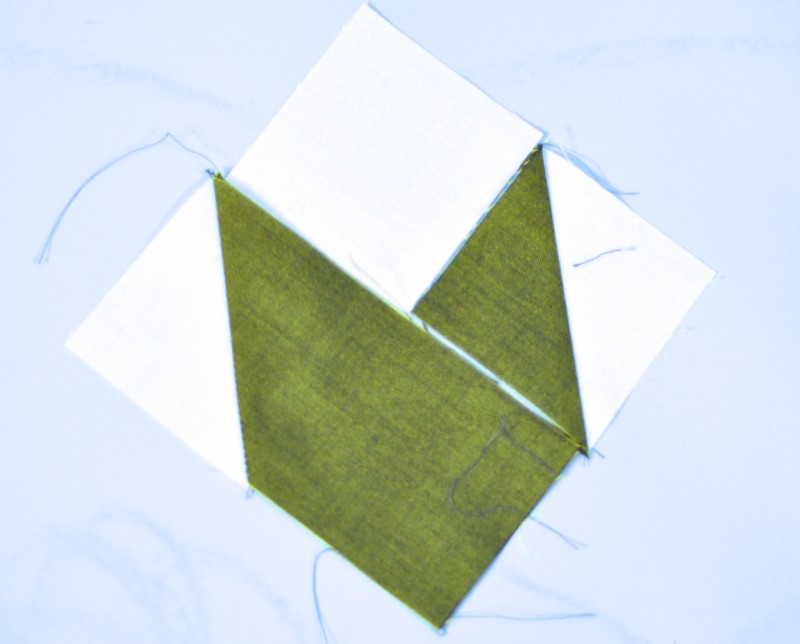
Then, sew together the rectangle and the joined squares. to form the corner Squares.
Lastly, We’ll assemble the borders. Place the grey squares on the white 2.5″ strips on each end.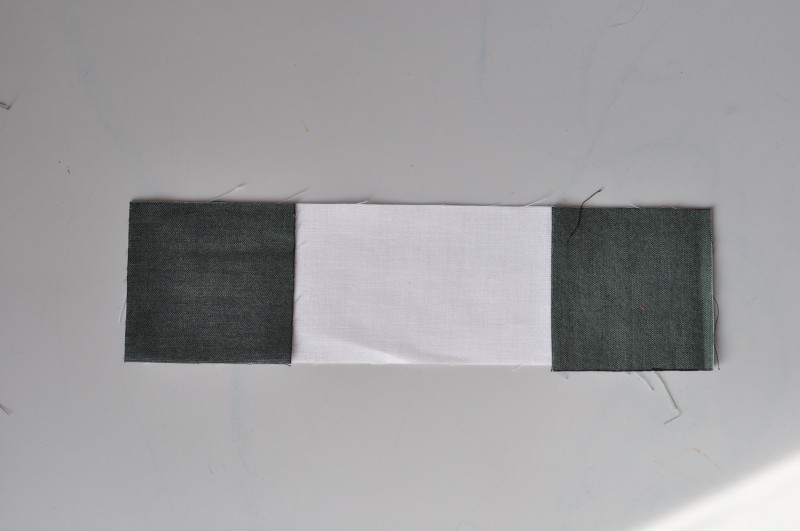
Sew corner to corner for each square Making sure to start at the far top corner and sew down towards the middle on each side.
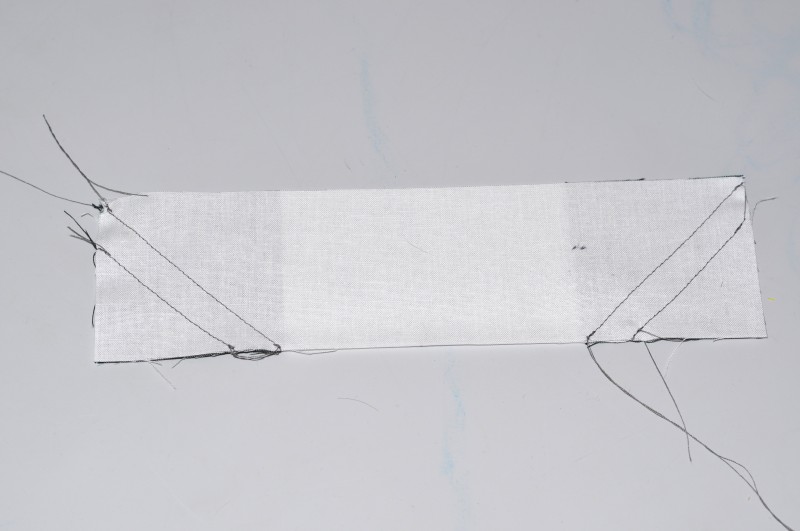
Clip between the seams and press your seams to the dark side
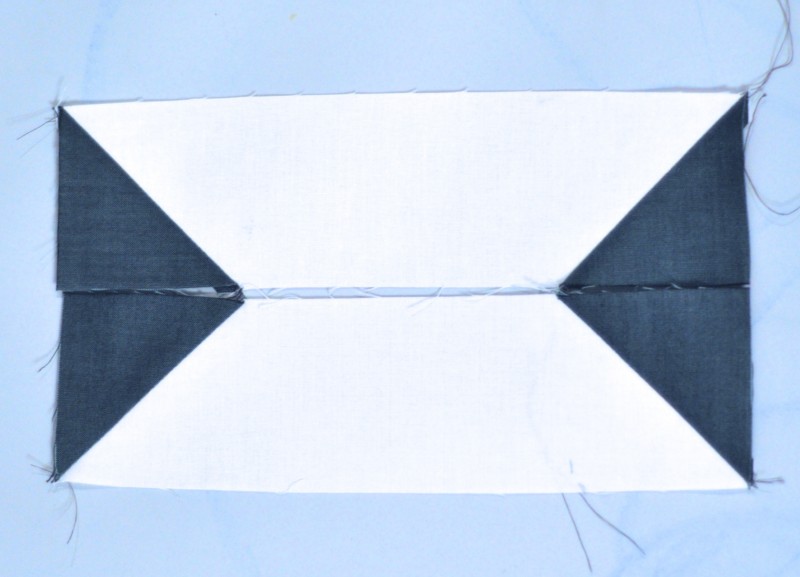
Now, sew two of the strips together as shown above to form the grey triangle shape.
Now we are ready to assemble our block!
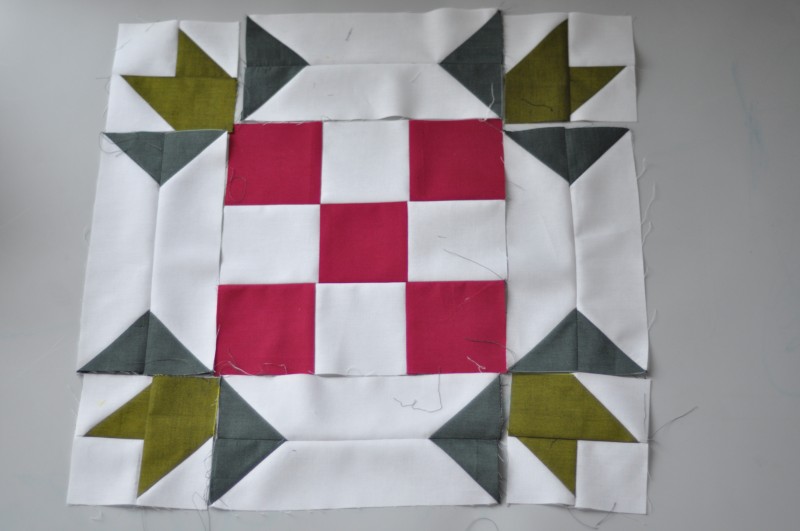
Sew two sets of corner-border-corner making sure that the corner blocks ‘point’ the correct direction.
Sew one set of border-9patch-border.
Sew those three rows together
And voila! You have your very first snowflake!
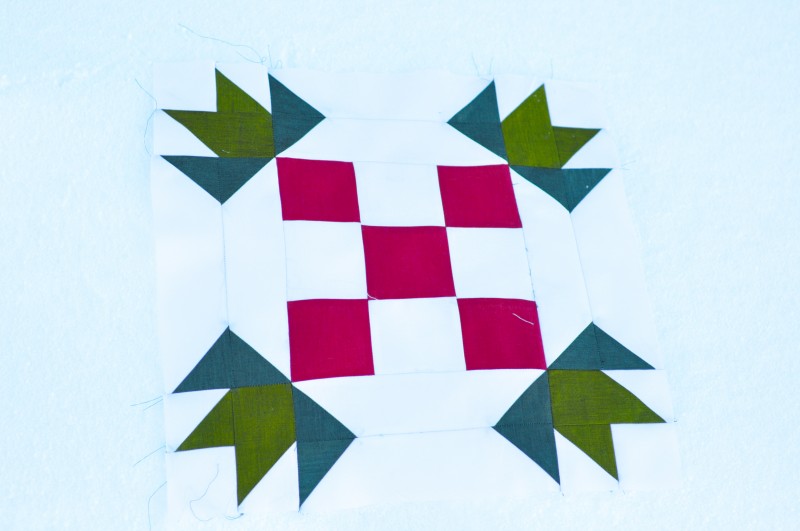
If you want to quilt along, we have 11 more to go. I’ll be back on Friday with number two 🙂 Each snowflake takes about an hour-ish to make. I’m hoping to start a second set out of Cherry Christmas and some Ruby for a christmas quilt for my little girl!
Thanks for stopping by!

What a fun idea!!! And those fabrics are gorgeous.
This looks so good!!! Pinning the heck out of it and will definitely stop back on Friday for more! 🙂
I am 100% joining you on this!! I have a bundle of Dear Mr Claus that I’ve been waiting for the perfect project for and I LOVE sampler quilts so I’m sold! I’ll have to get my background fabric this weekend! Any idea on yardage for background if we do an alternate layout for a bigger bed sized quilt?
This is going to be stunning – absolutely love those shot cottons!
What a great idea, Amanda! I’ve heard so much about these fabrics. Someday I’ll have to take the plunge!
Oh, what a pretty block! I’ve seen these fabrics featured on other blogs too… makes me want to go out and buy some!
The shot cottons are so pretty in this block ~ thanks so much for the tutorial ~ this is going to be a lovely quilt.
Beautiful fabrics & pretty block. I love this idea too. Are these fabrics only available in the UK? They remind me of the Kaffe Fassett shot cottons which are very thin and fragile to work with…how do they compare? I would love to have some of these if they are different. Thanks!
So are you using fat eighth bundles for the whole quilt? Thanks!