This year, I am going all out for the Fall season and Halloween. I want to make sure my little people have fond memories of the holidays. That includes dressing up our home for Halloween, reading ‘It’s The Great Pumpkin, Charlie Brown’ repeatedly, and going so far as to let my children wear glow in the dark pajamas. 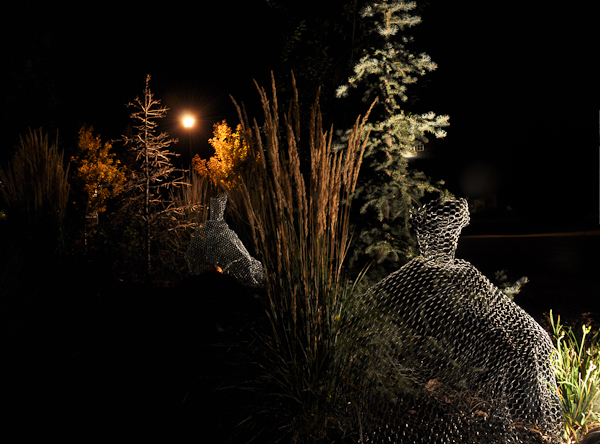
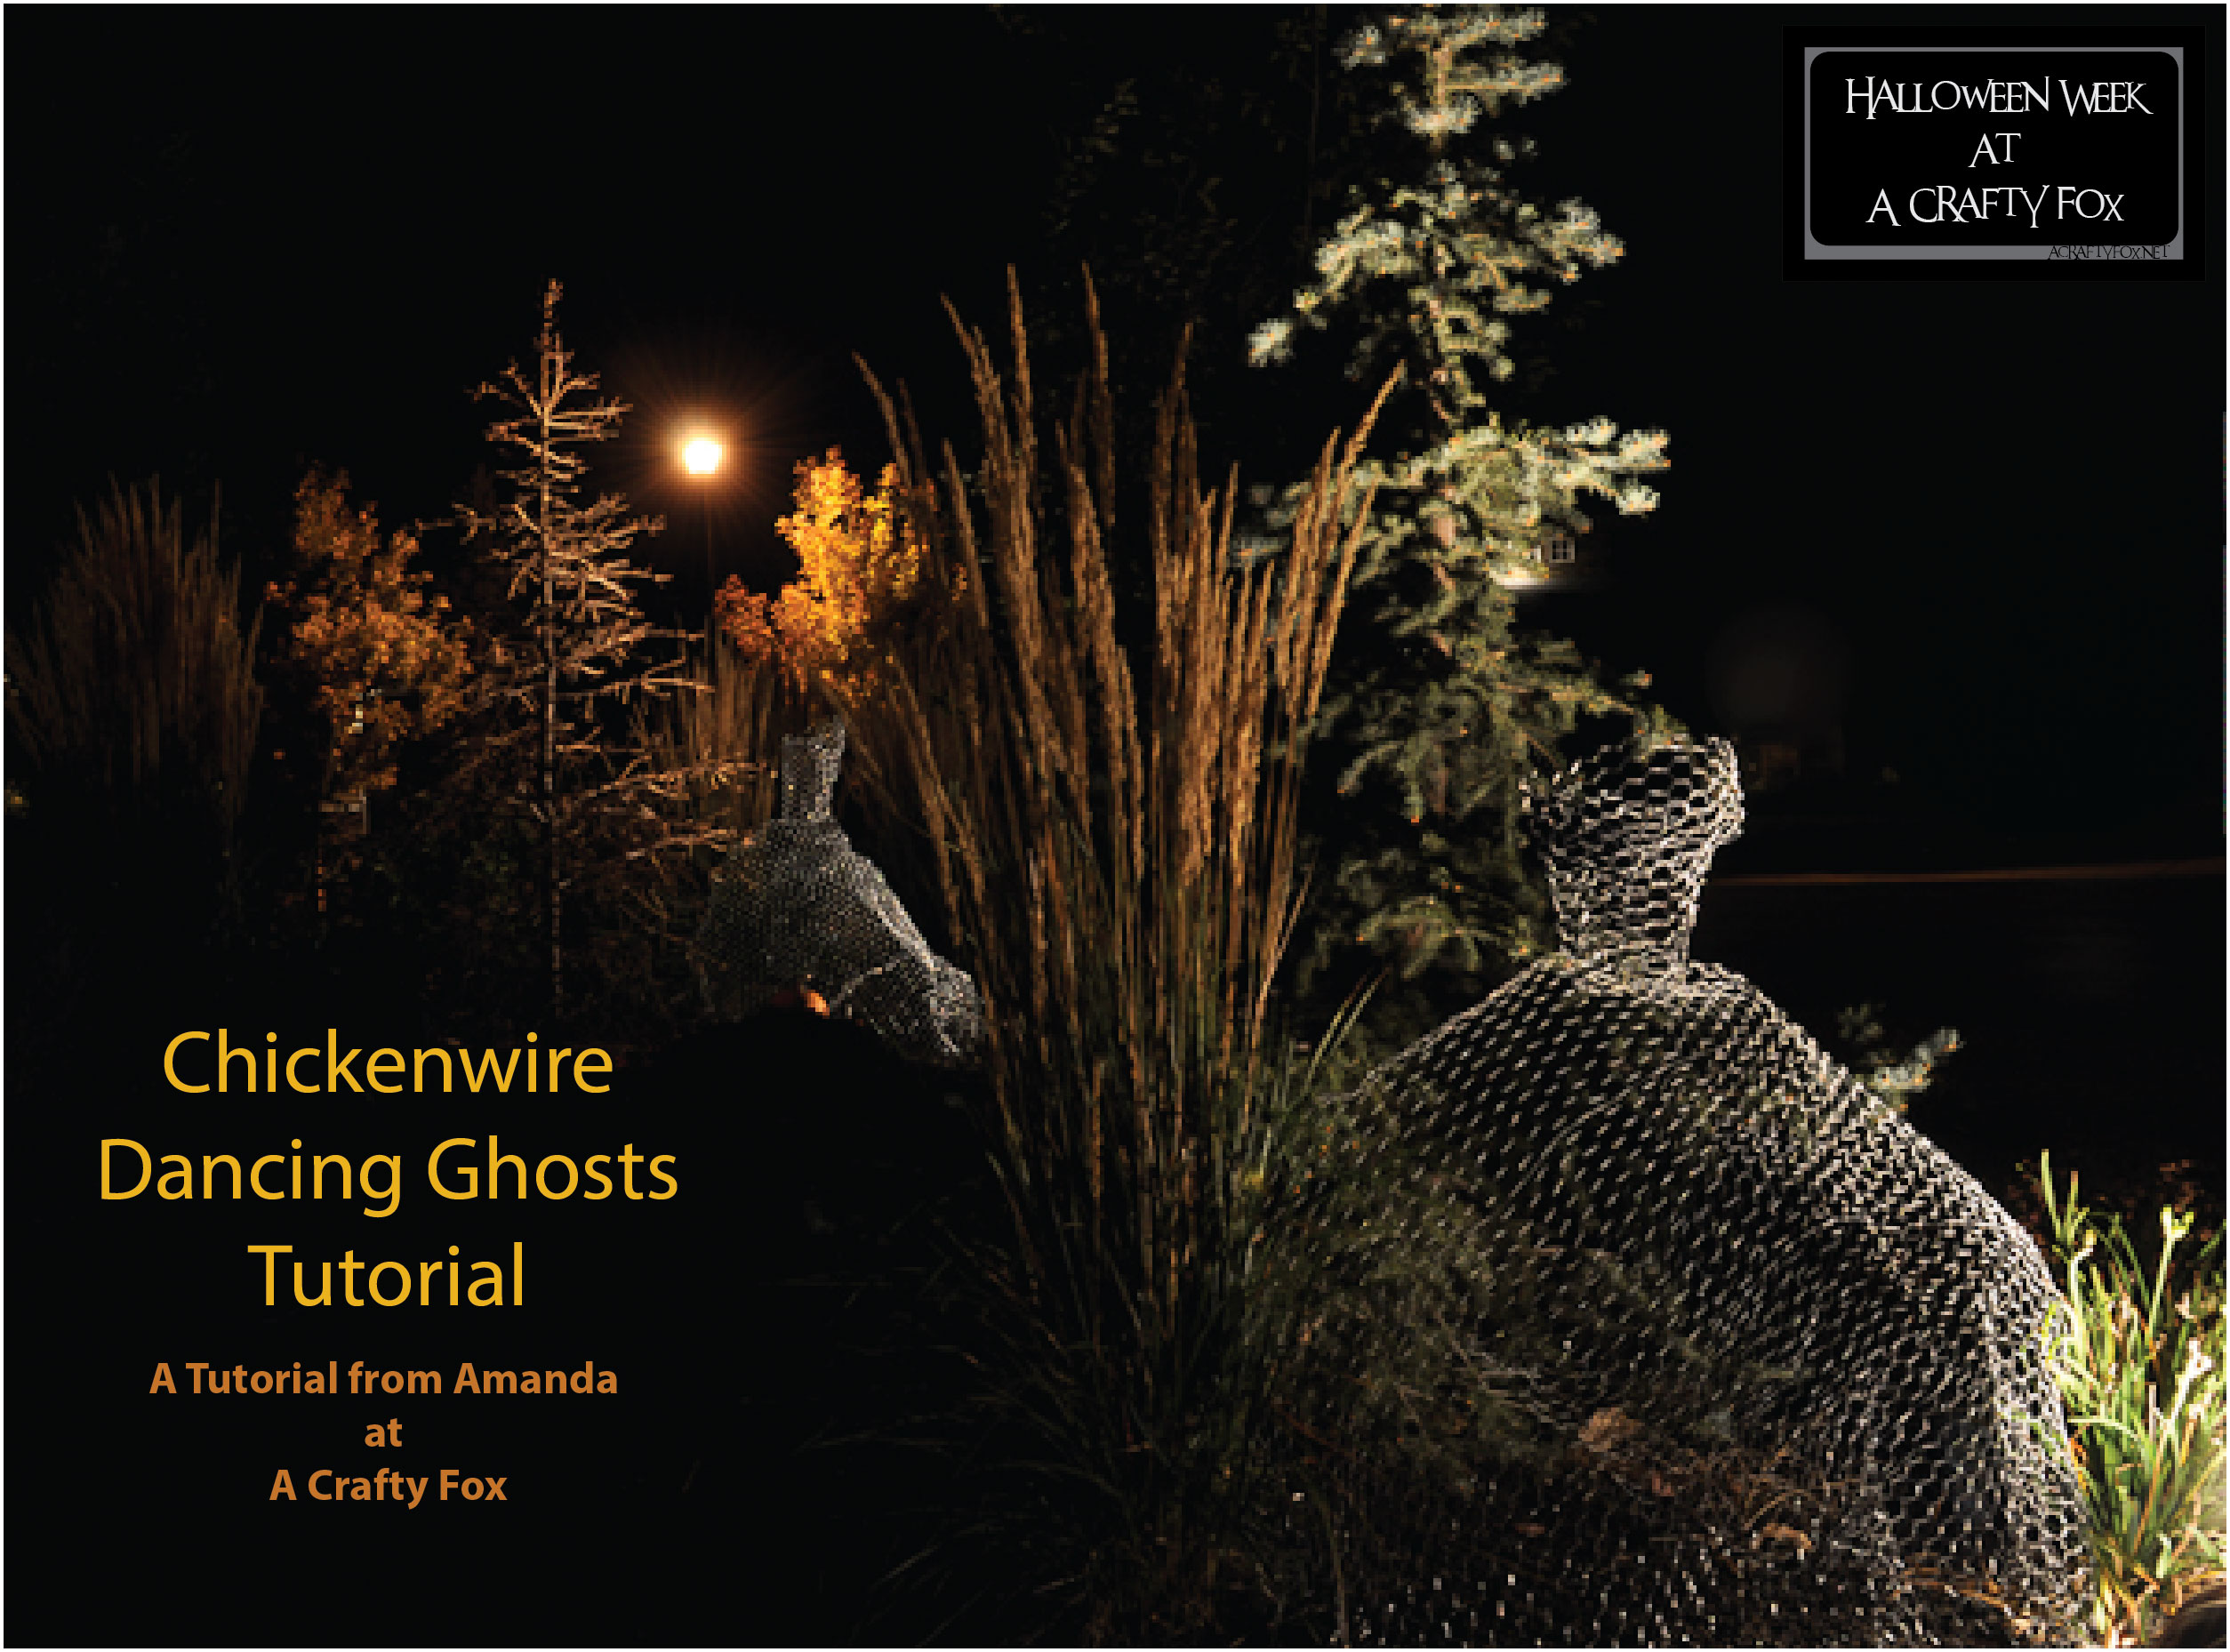
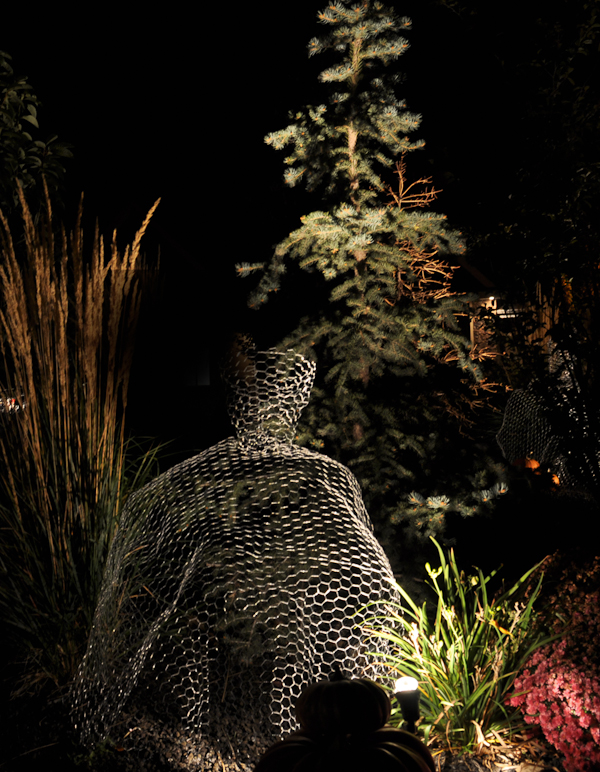
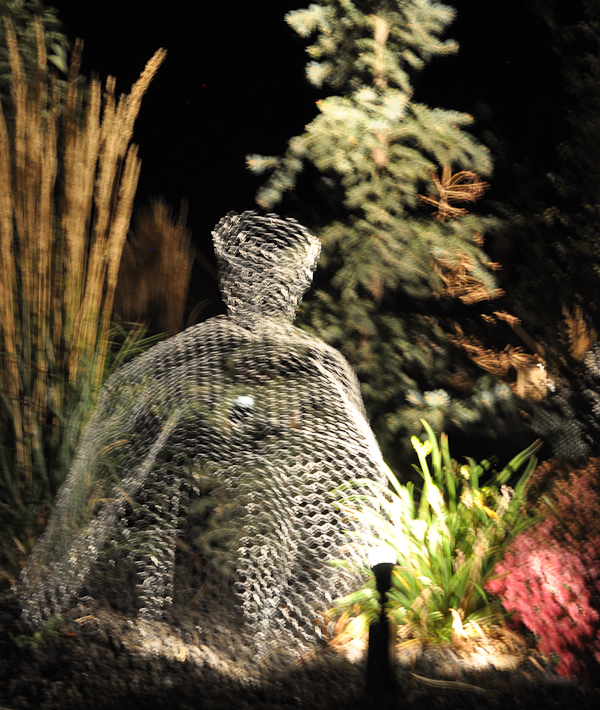
Today’s tutorial is a little different from my usual fare, but I put my garment making skills to the test and created these dancing ghosts I have been obsessing over for four years. I found this picture on pinterest, but it was one of those black-hole-doesn’t-lead-anywhere pins.

No time like the present, right?!
These are SO EASY to make. I wish I’d made them four years ago when I first saw them but I somehow figured they would be too hard. After pondering them, I’ve designed a ‘pattern’ so easy anyone can follow it. You are going to need
- a roll of 43″ wide hexagon chickenwire
- tin snips
- gloves (do not try this without gloves!)
- Sidewalk Chalk
- Tape Measure
- Small but heavy things to hold the chicken wire flat while you cut.
Each roll of chickenwire will yield 3 ghosts with just front skirts OR 2 ghosts with skirts front & back. The measurements and curves are approximate (just eyeball it when cutting). I found the BEST way to get these cut to size was to draw your ‘pattern’ on the driveway with a tape measure & chalk, then lay out your chicken wire on top, weight it to keep it flat, and then clip along the lines with your tin snips.
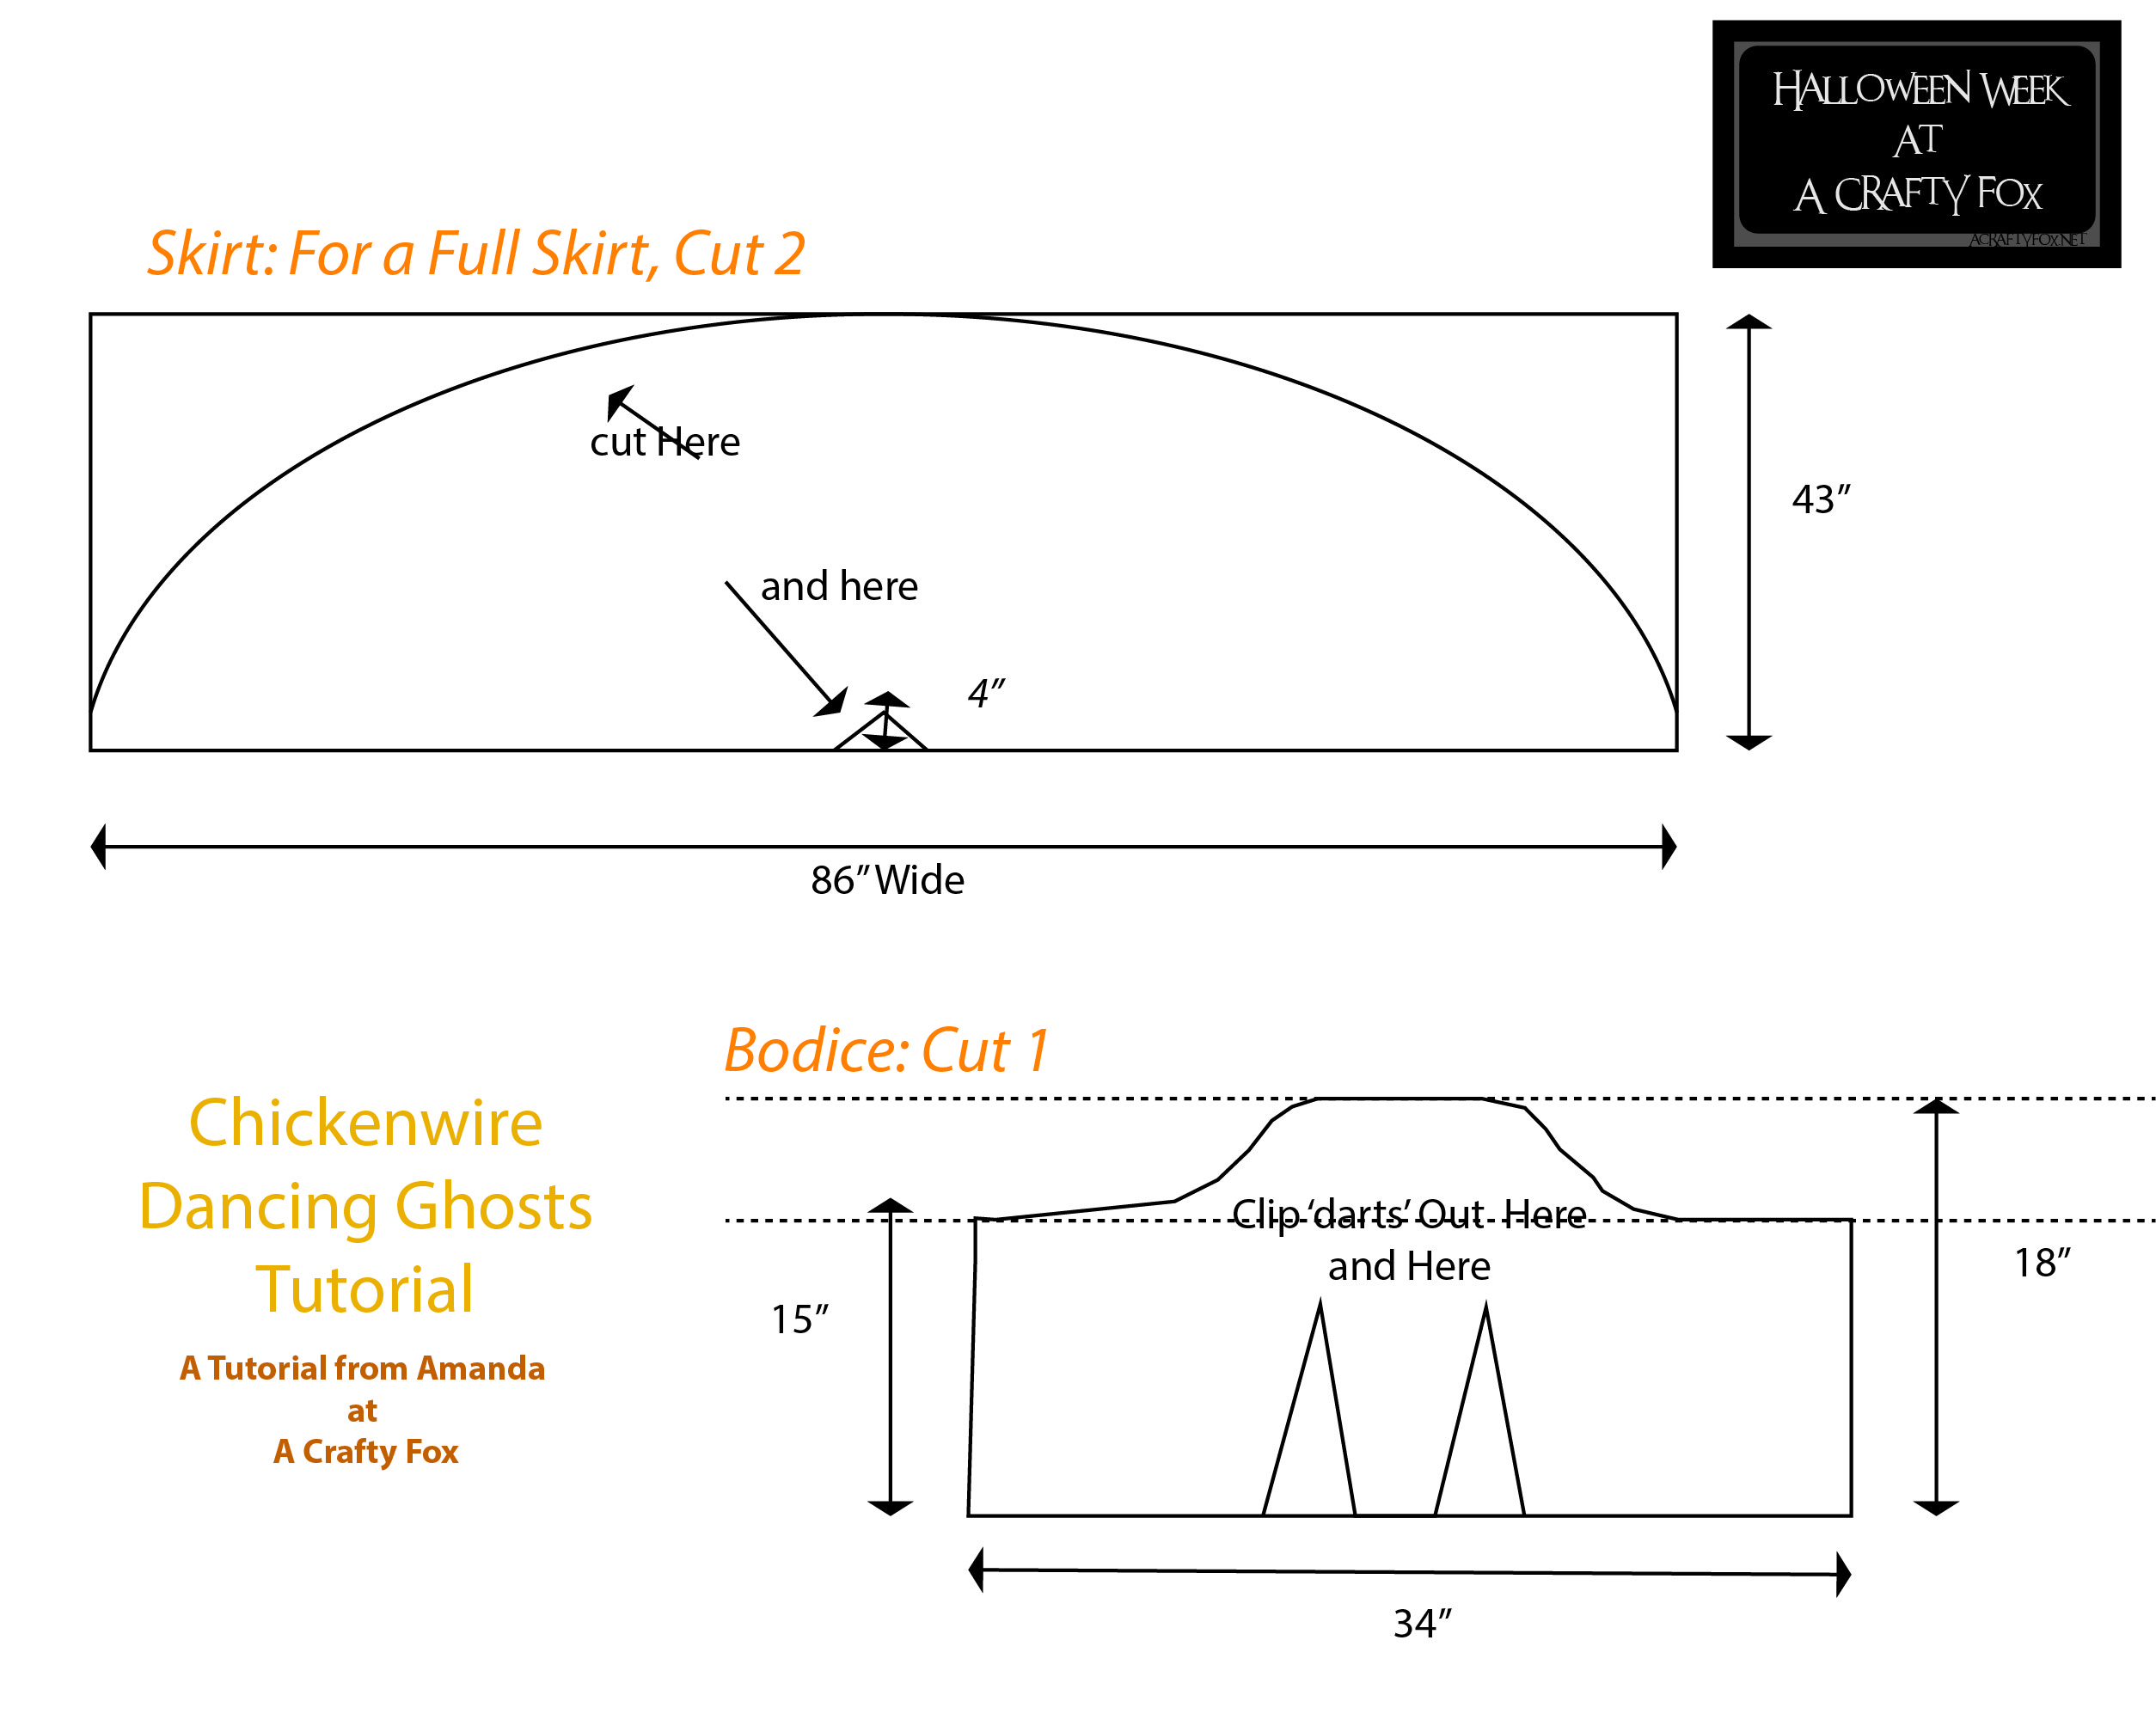
Once you have your pieces cut out, join the two 15″ edges from the bodice by wrapping the loose wires around each other as you go up the back seam. Next, join the ‘darts’ to give the bodice shape. You don’t need to be gentle with the chicken wire, and sometimes it takes a little more pressure than you expect to shape it. Once your bodice is shaped, give the same treatment to the skirt. I found that folding the long, outer curve (the hem) accordian style and then poofing it back out helped. Once the skirt is shaped, join the small clipped ‘waistline’ to the bodice.
Then use the loose wires in the skirt to join to the bodice.
Each ghostly lady took me about an hour, maybe less. And I’m very happy with the results. I’m thinking they each need a simple sash around the waist, but I’m having trouble choosing a fabric. (Seriously, have you seen my shop?! How’s a girl to choose?)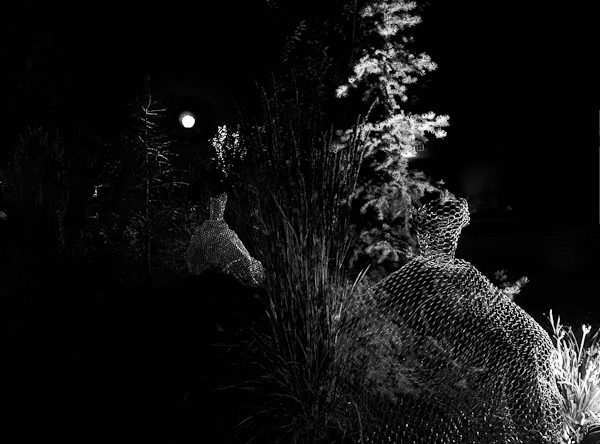
Thank you for visiting my blog. It is very much appreciated! And a very heartfelt thank you everyone who pinned my little mummy pillow tutorial! I’ve now made two and hopefully put an end to the ‘mom likes me best’ discussion. They really do come together in a flash! I’d LOVE to hear some of your Halloween or Fall traditions in the comments! Our children are still very young and we are trying to think of a few things that we can turn into family traditions!

These are really cute! Who knew they could be easy too? As for sashes, glow in the dark fabric, of course. Or at least something shimmery that will reflect light and look ethereal.
Thank you for this tutorial!! I noticed the same problem with the Pinterest photo. Now I just have to wait until next fall…
Very glad I found your site.
Cheers!