This week I’m getting my home ready for Halloween and I’m sharing a few of the little projects I’m working on to make this a fun, not-so-scary holiday for my little people. They still believe in magic, and I want to enjoy every single second of this age of make believe! To start things off, I made them each a mummy pillow inspired by this Pottery Barn creation but this tutorial makes a pillow that is 16″ (12″ is just too small!) and a bit more durable (my kids would destroy those loose fabric strips in an hour flat). 
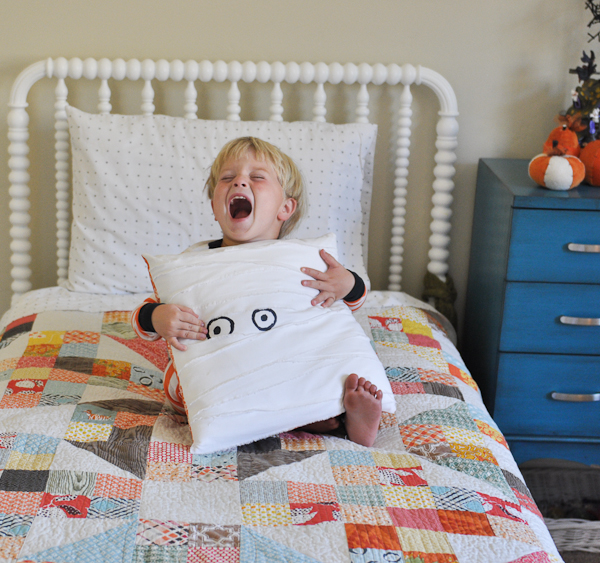
So, today you get to persuade your little people you have super powers! Try putting them down for a nap and have this sneaky mummy pillow peeking at them when they wake up! My little guy was pretty impressed 😉
To start, gather your supplies. You need
- 1 yard of white fabric (Available by the bolt here),
- a bit of dark colored craft paint (I had navy blue on hand and it looks perfect),
- a 14 inch or longer zipper and
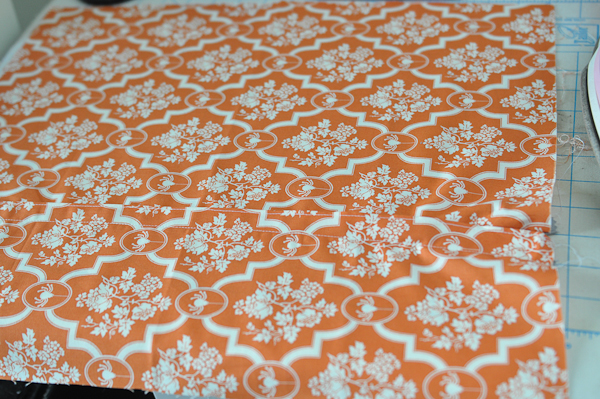
- a fat quarter of halloween fabric for the back.
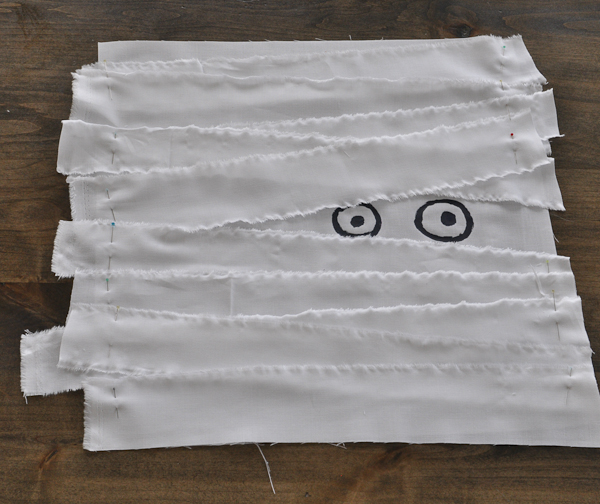
Start by cutting a 16″ square from your white fabric. Press it flat if necessary. Using a washable marker, pencil, etc, draw on your eyes.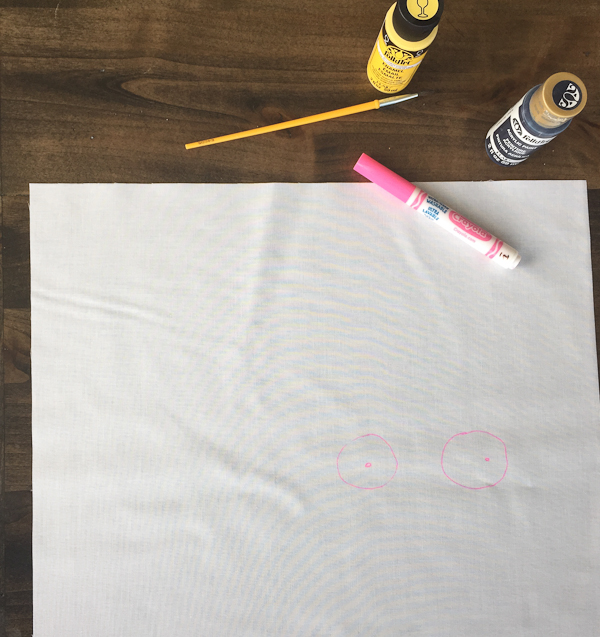
Paint the eyes and allow the paint to dry (or hurry it along with a hair dryer depending on how long naptime lasts!)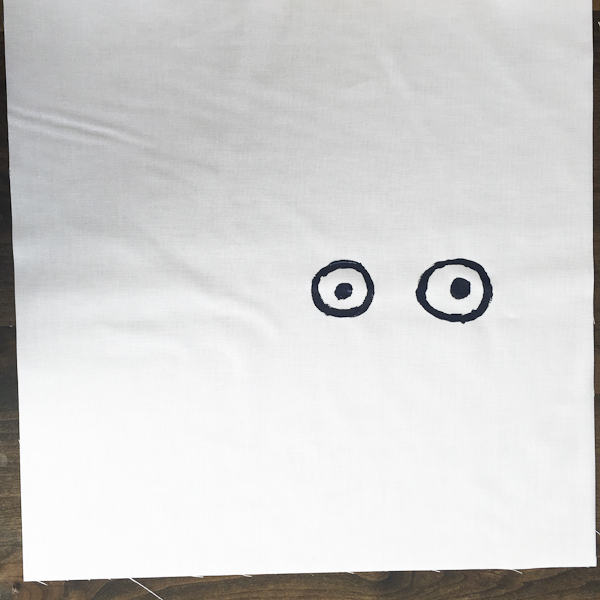
While the paint is drying, clip a selvedge edge of your white fabric in various widths ranging from 1.5″ -3″. Don’t measure, just eyeball. You don’t want these to look too perfect.
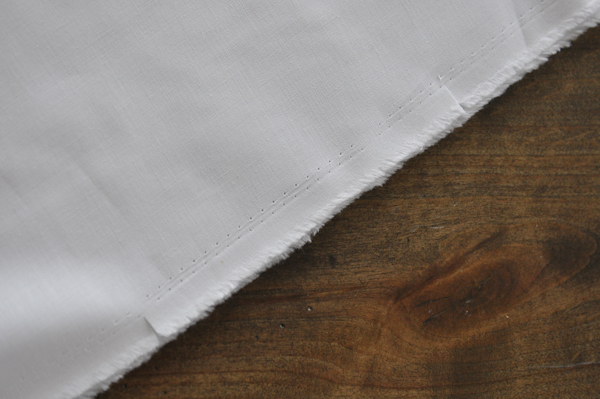
Rip along the width of fabric where you clipped the edge. Start laying out your ripped pieces. I started by framing the eyes.
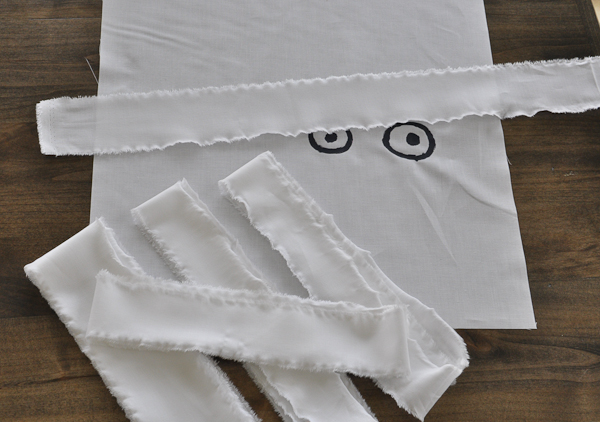
Lay out your strips and pin on the edges. Trim the strips as you go along since you’ll want to vary the angles as you lay your strips out.
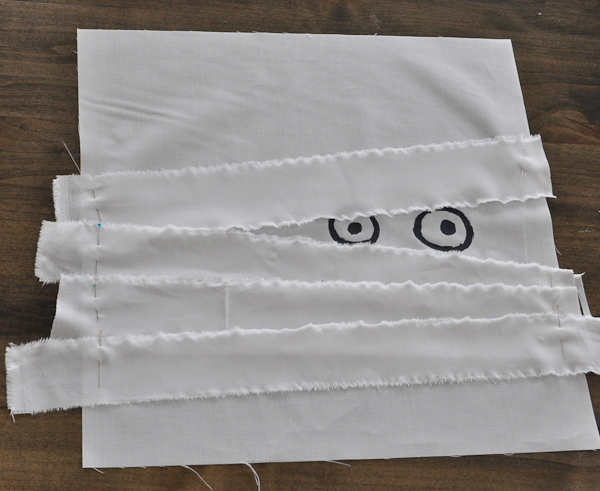
Use your edge pieces (where you have a cut edge on one side) on the outsides of your mummy.
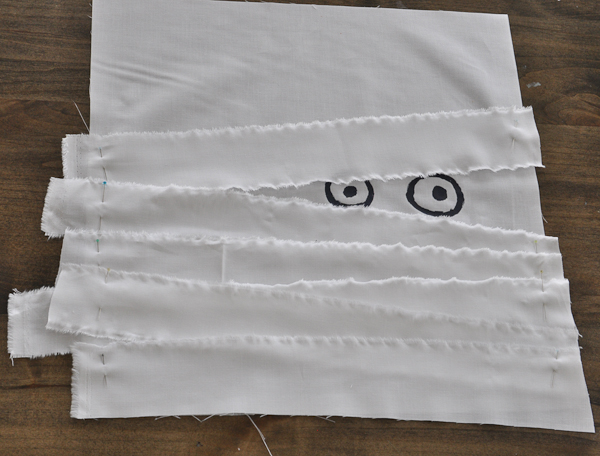
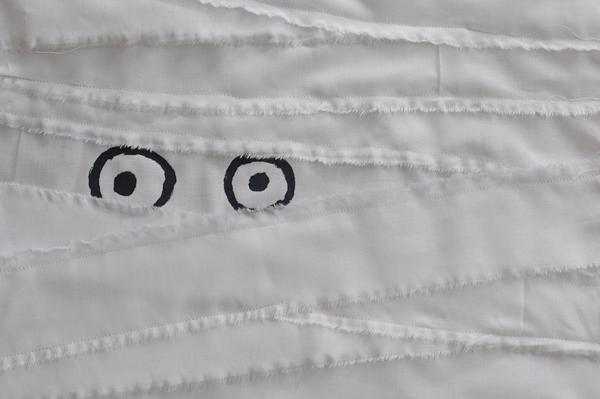
Once everything is layered and pinned, stitch down your strips (stitch as little as possible to preserve the texture!) and then sew along the backside on the edge of your pillow.
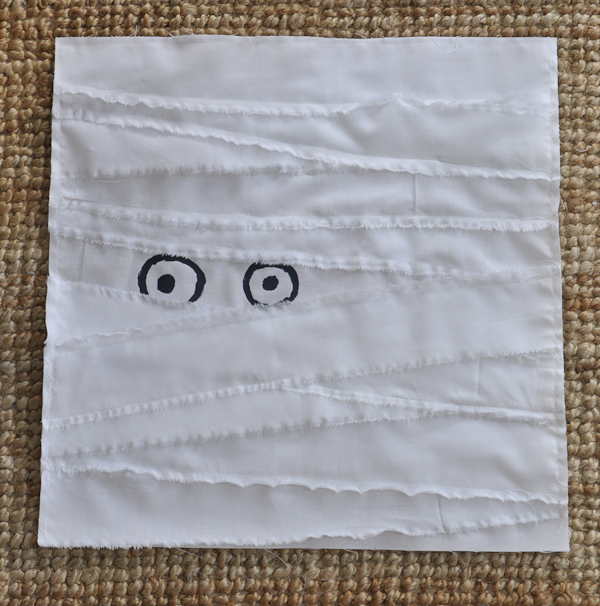
Using a rotary cutter or scissors, trim the edges even with your 16″ square.
Make your pillow back. I used this method (insert your email and it will email you the pdf with directions – we don’t keep these emails and you aren’t subscribing to anything).
With right sides together, sew with a 1/4″ seam allowance around the edge of the white pillow top. Make sure when you get to the last side, you have the zipper open to turn right side out.
Turn pillow and poke corners out. Stuff with a pillow that you have laying around or a pillow form.
And you are done! Make sure you pin this to your ideas board so you can find it the next time you need a quick ‘win’ with your sewing machine! Thank you very much for joining me for my first ever Halloween Week here at A Crafty Fox!


Oh my gosh! That is just too cute! And Britton looks so thrilled! I wish I’d been there to hear him squeal with delight!
I LOVE this! I must make one for my home too!