A few weeks ago, we found a really good price for some new dress pants for my husband for work. The only problem was that most pairs were 2-3 inches too long. And the price for the local tailor to hem them was more than the pants themselves! So, I broke my ‘No, I will not hem your pants’ rule and broke out my rusty garment sewing skills. Don’t tell, but it was kind of fun.
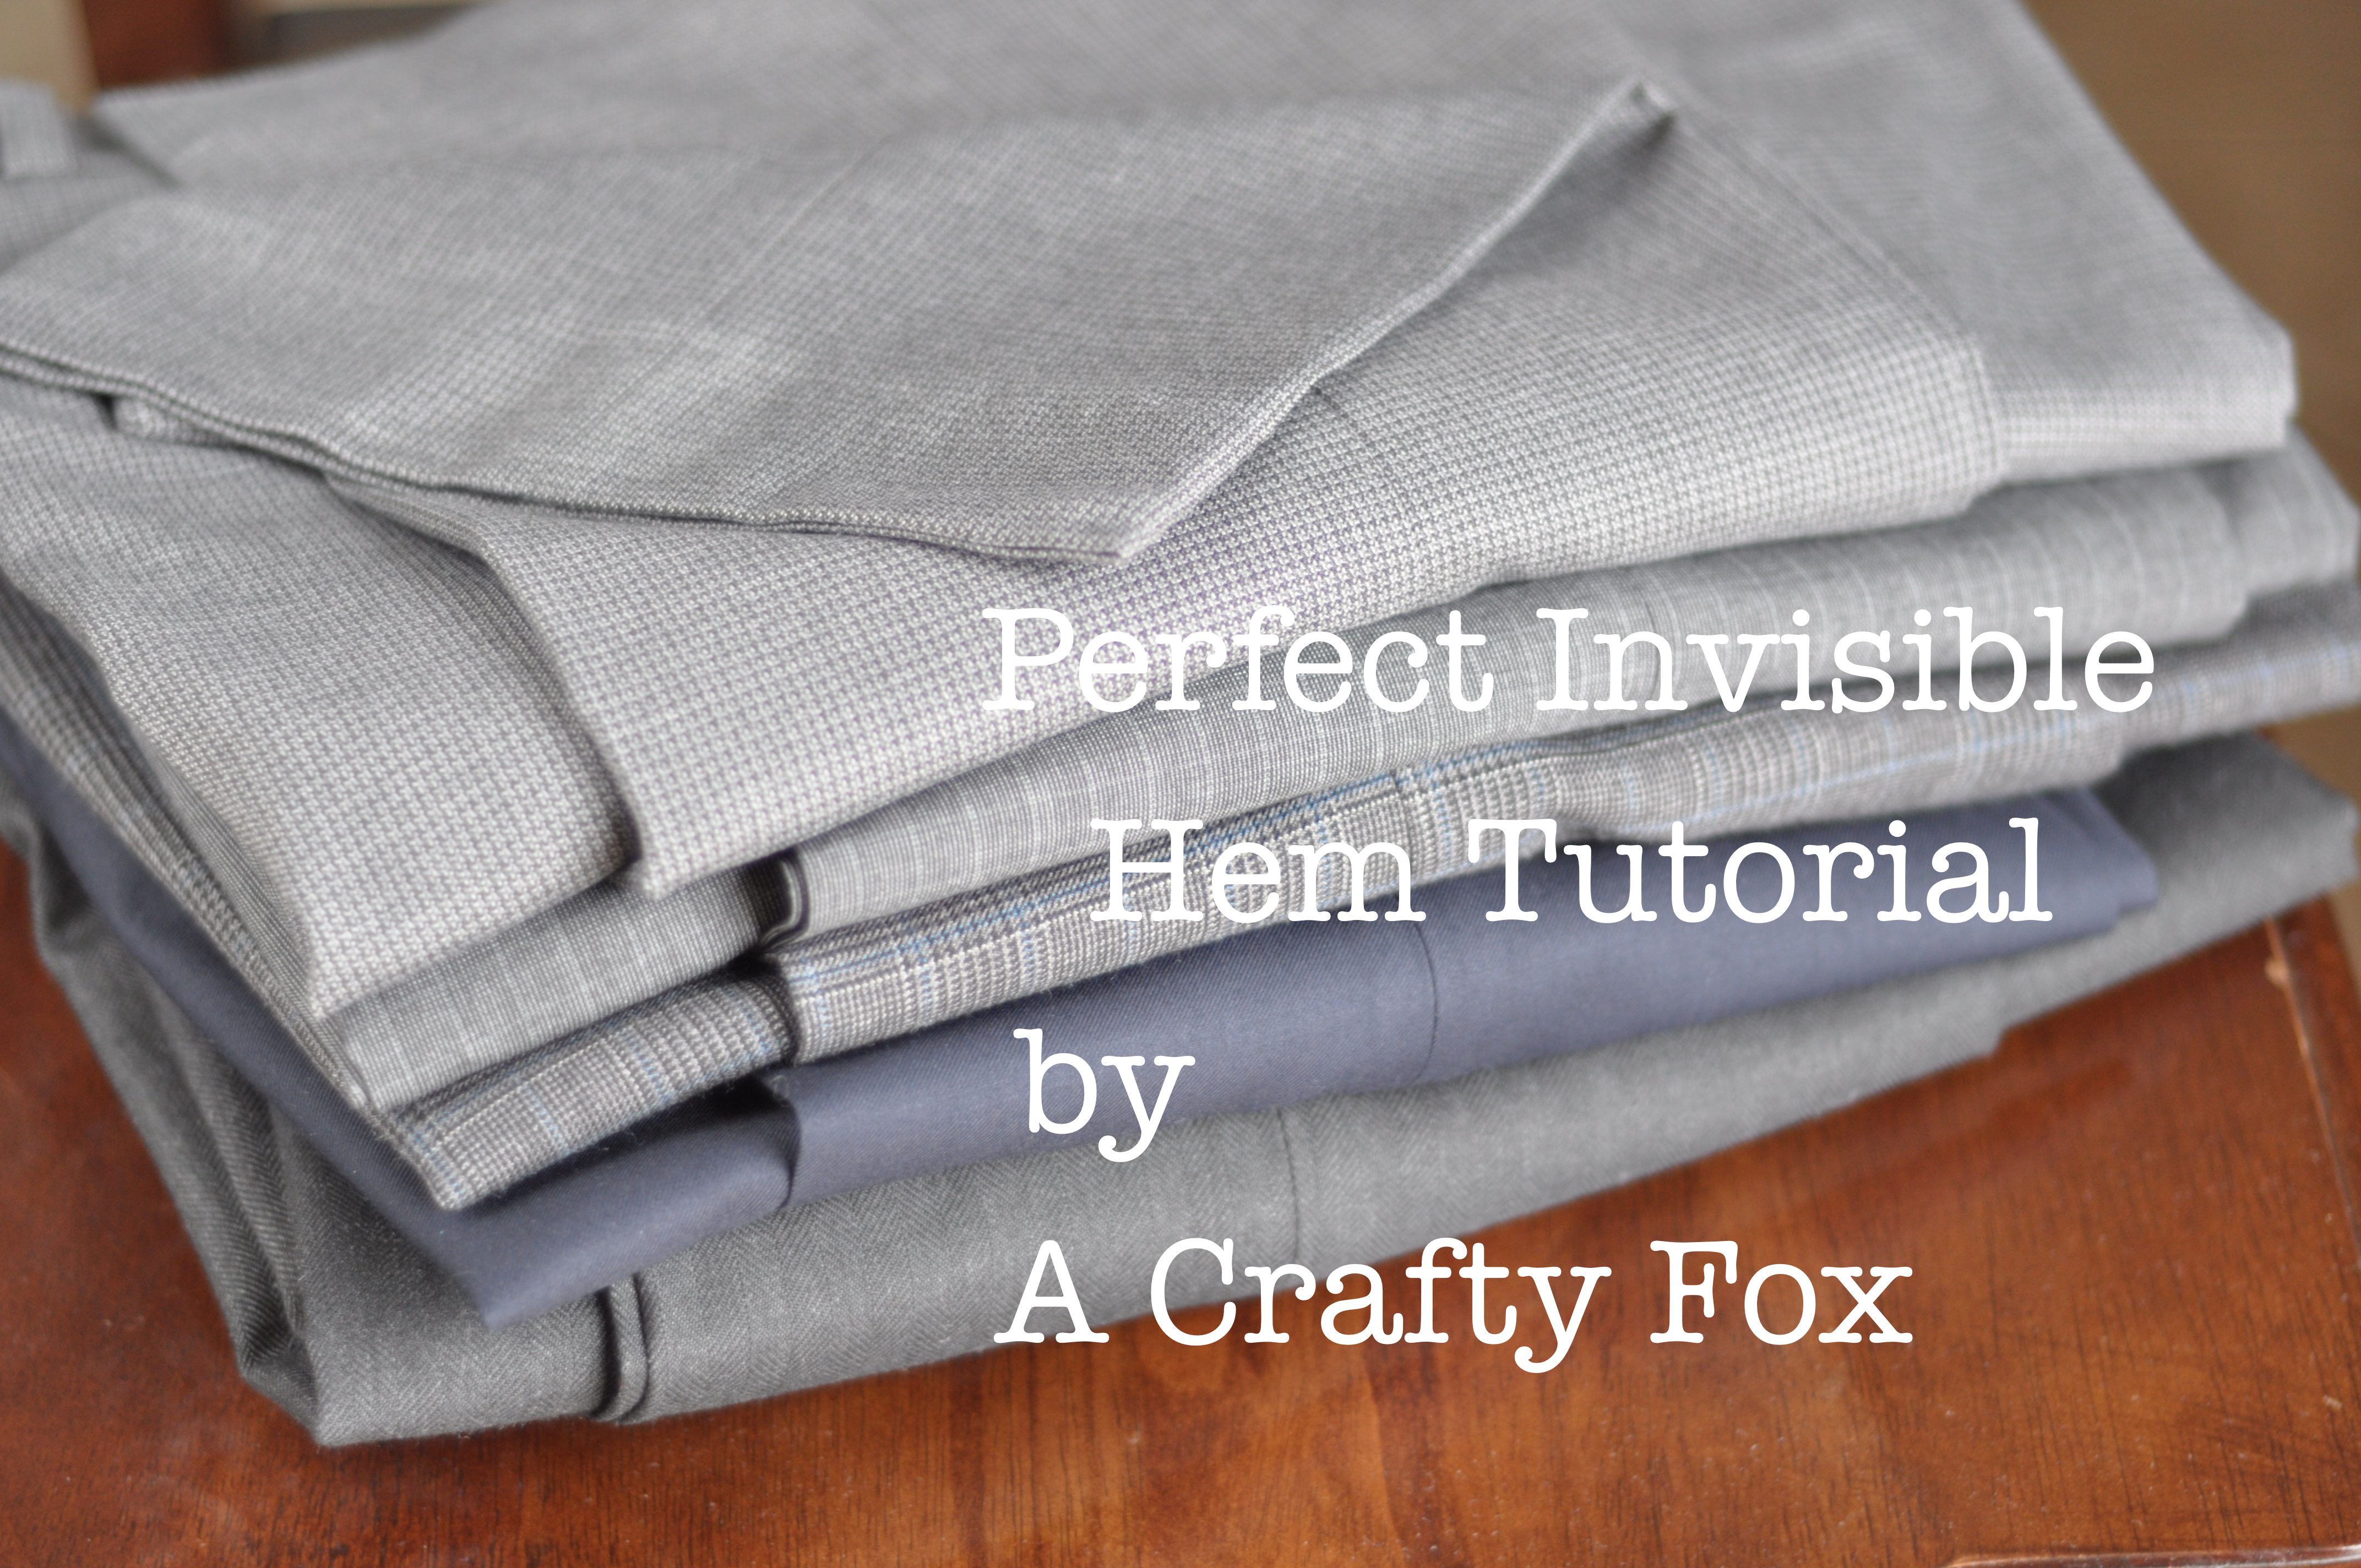
So here, as promised,is my invisible hem tutorial. This method gives me consistent fabulous results every time. To do this, you will need:
Sewing Machine with Blind Stitch (most machines other than straight stitch have this)
Matching Thread
Hot Iron & Pressing Surface
Spray Starch
Ruler that is accurate to 1/8th of an inch
Straight Pins
Blind Stitch Foot (optional, but recommended)
Before starting, make sure there is a stay stitch of some sort around the raw edge of the pant hem. A simple zig zag will work if there is not already factory stitching. In this example, I chose to simply fold over the existing hem.
To start, the person who will wear the pants should try them on with their intended shoes. Insert one pin at the heel of one leg to secure the pants at the desired length.
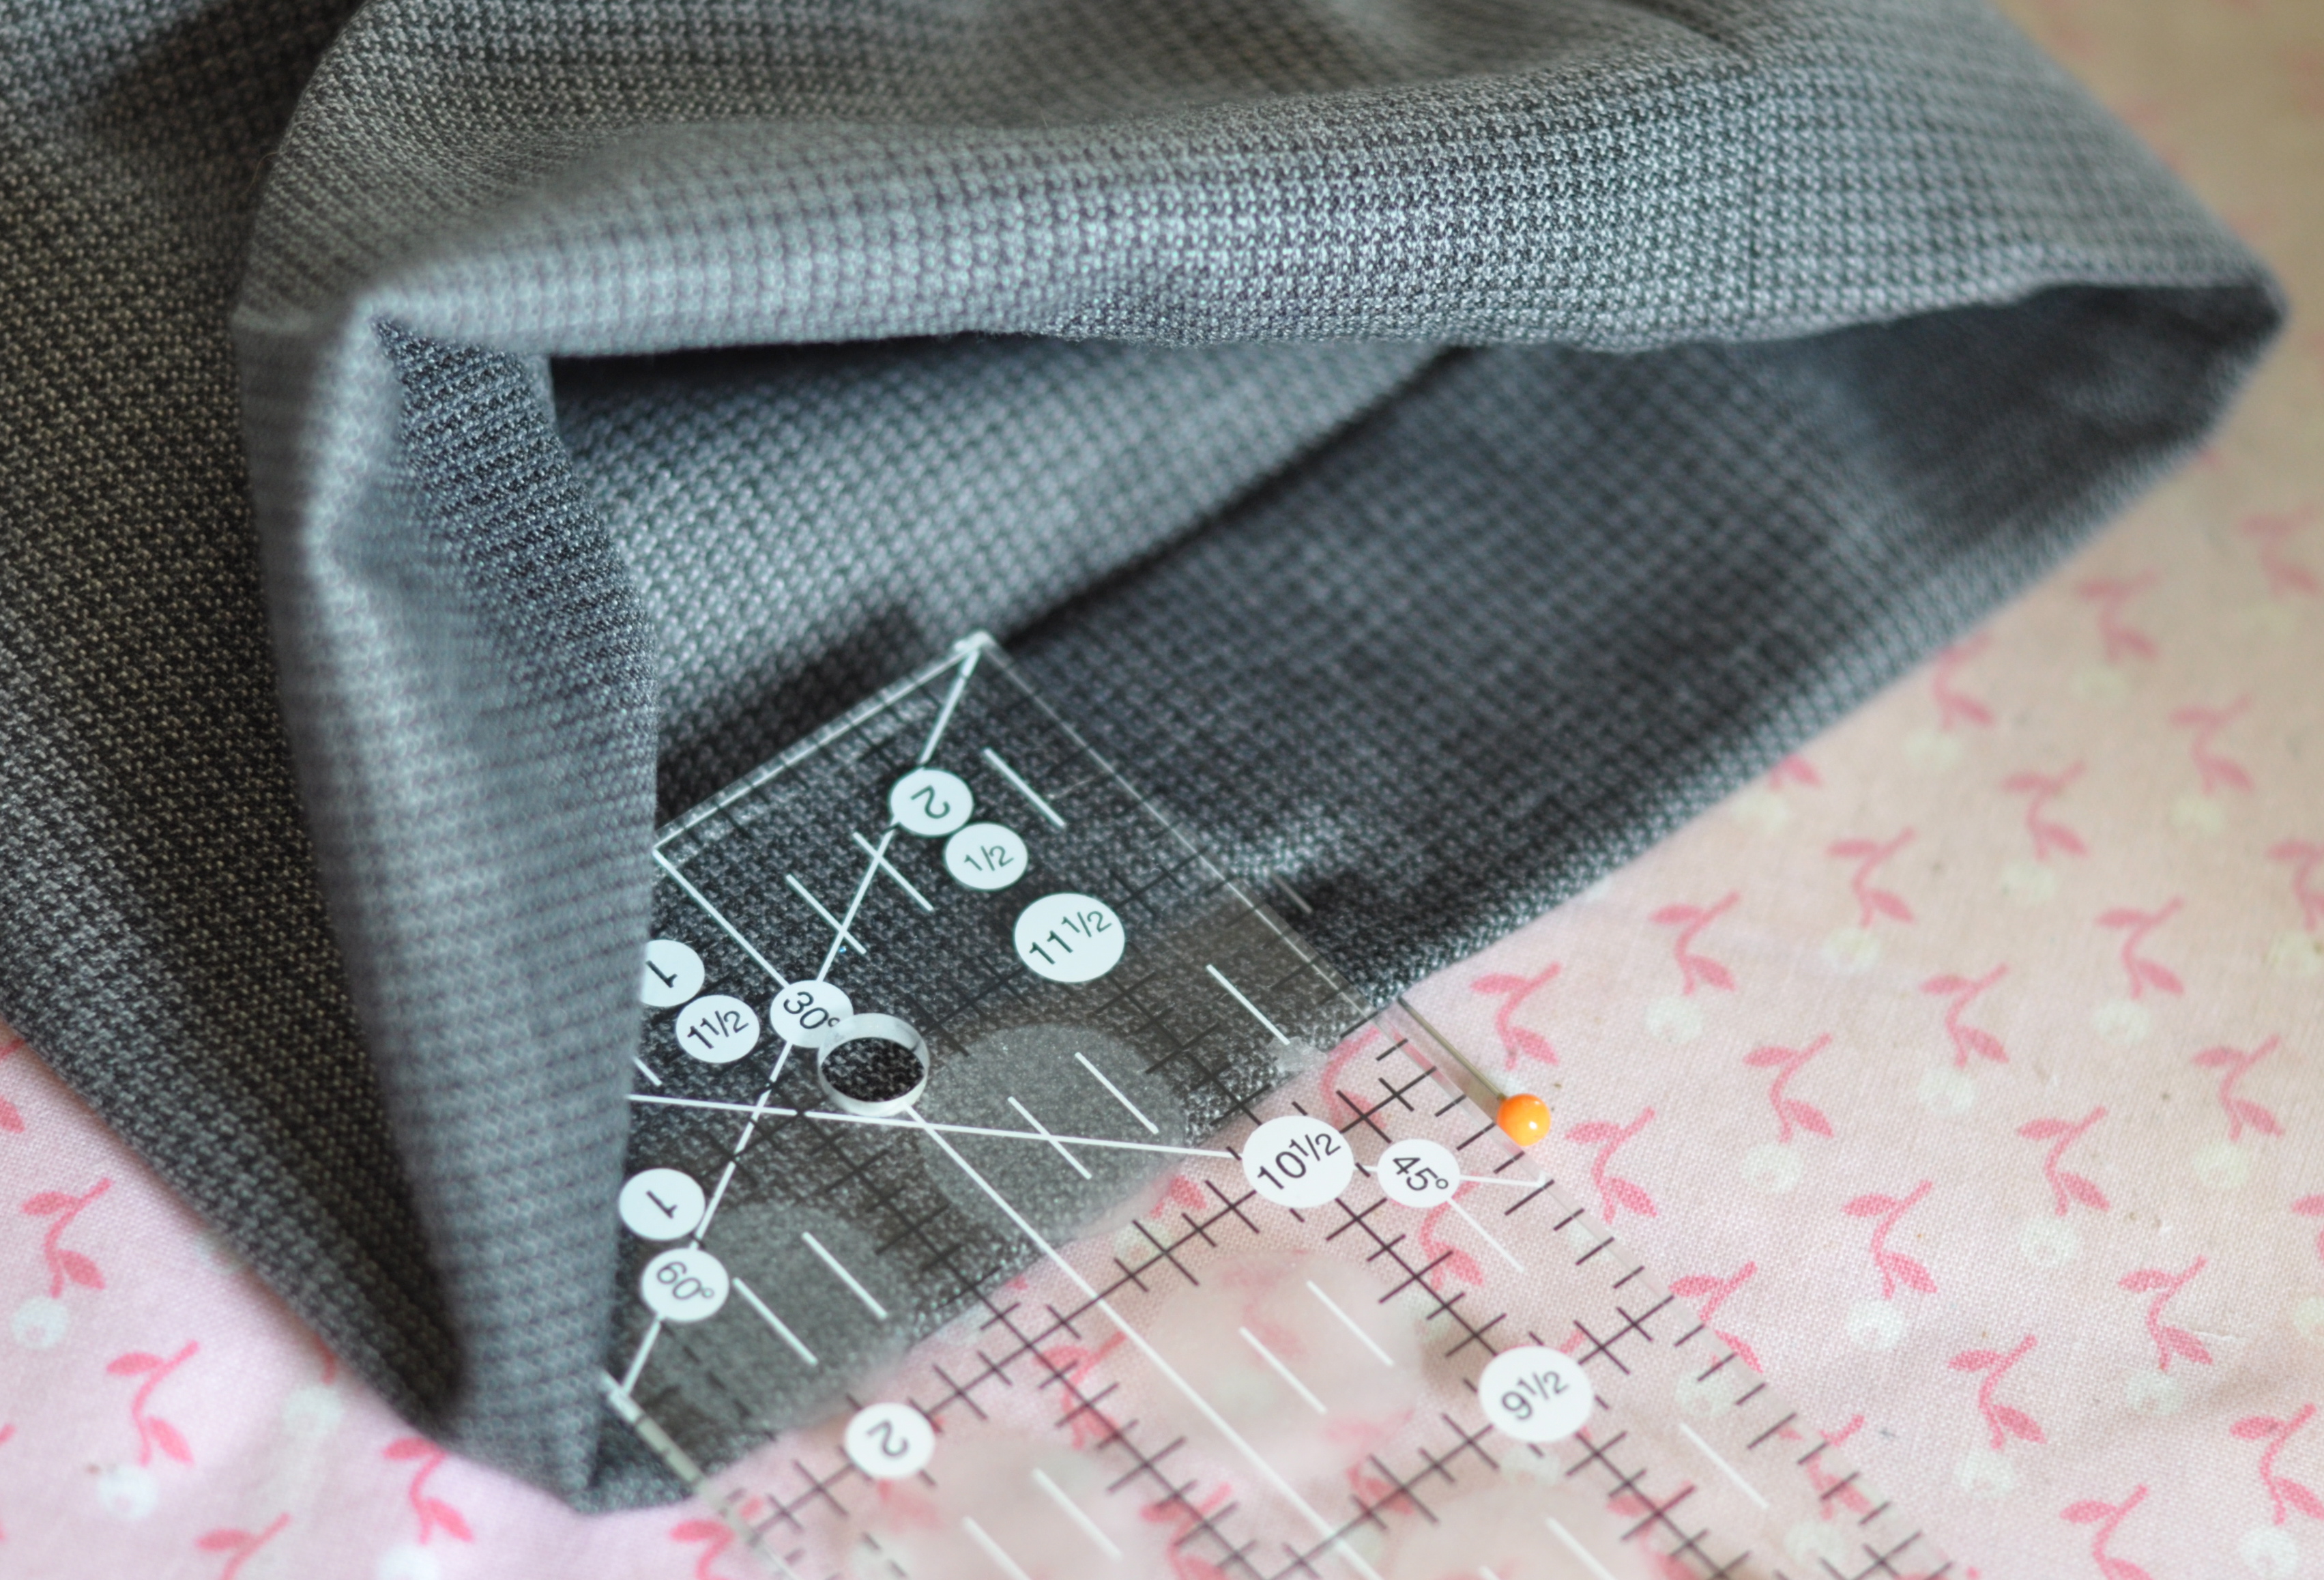
Lay the pants out on your pressing surface and measure at the pin. Write down the measurement to the 1/8th inch and then lightly spray the fabric with starch. I really recommend Best Press. It is heavy duty and won’t leave any flaking behind.
Measure and press your way around the hem, making sure that you keep the pressing line consistent. Make sure the iron stays in motion, you do not want to scorch your fabric. This is the most important part of the hem. You want a VERY crisp pressed edge.
Repeat with the other side, using the same measurement.
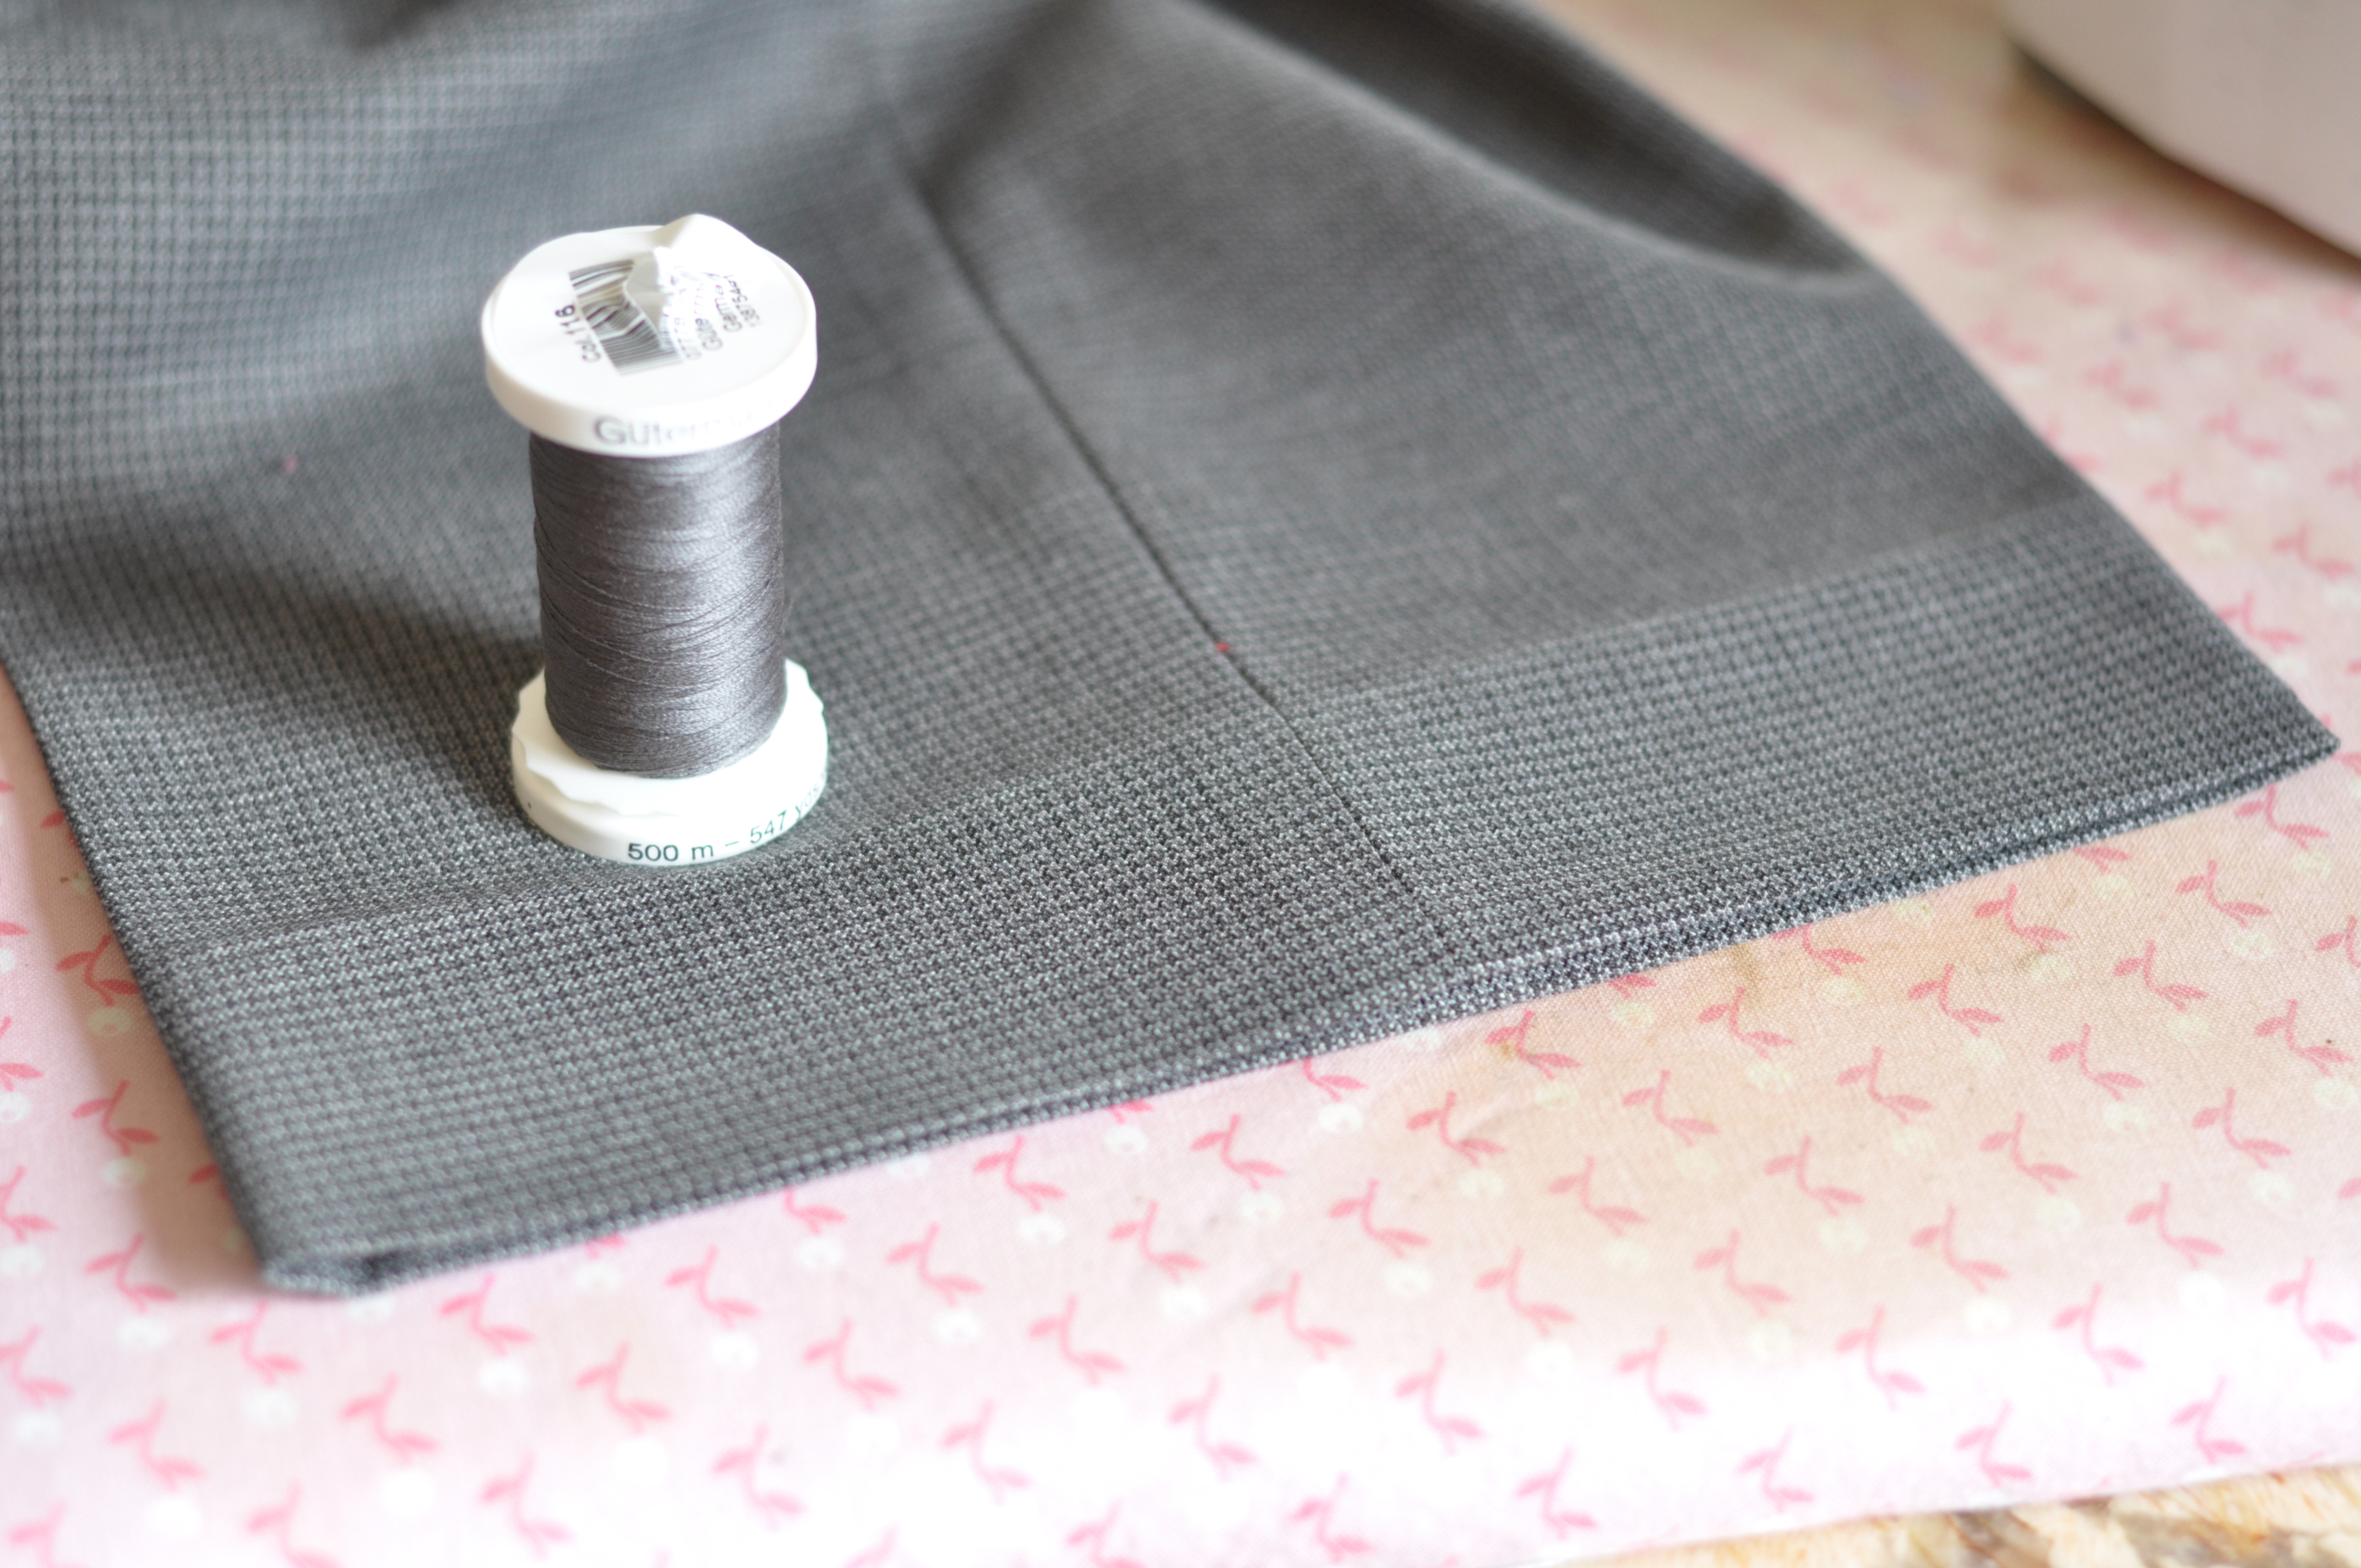
Choose a thread that will match the pants as closely as possible.
Now, turn the pants inside out.
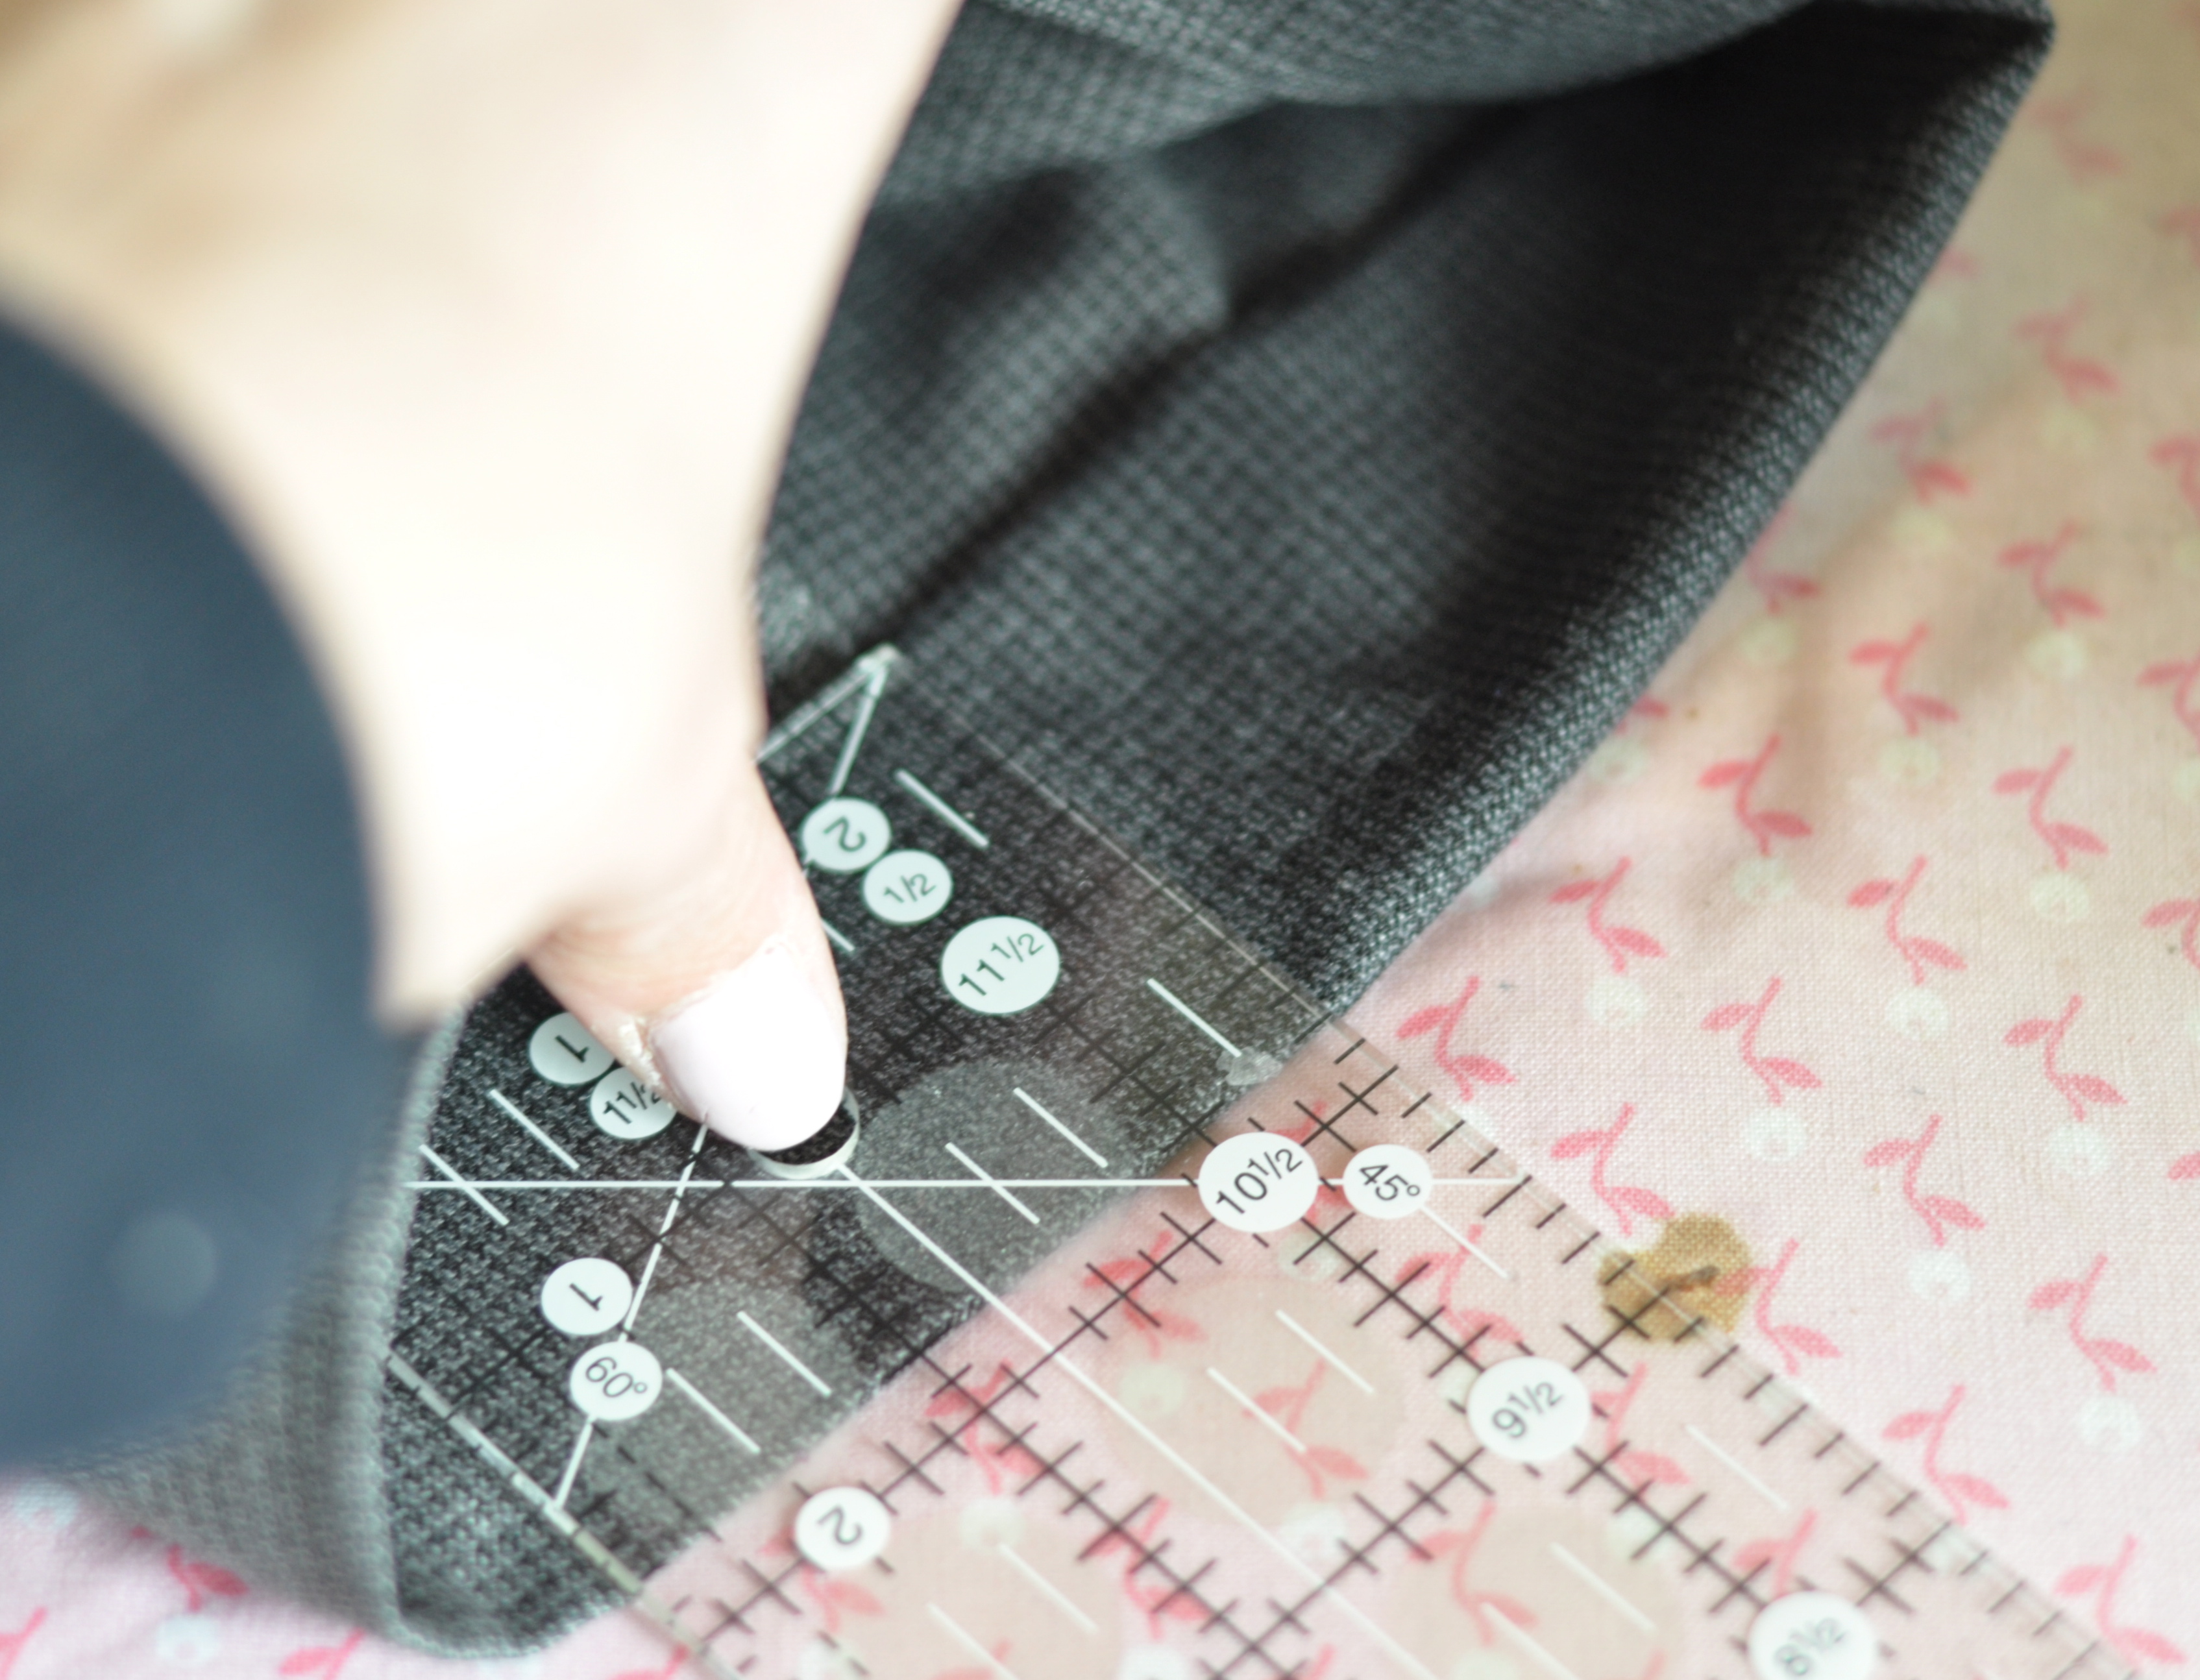
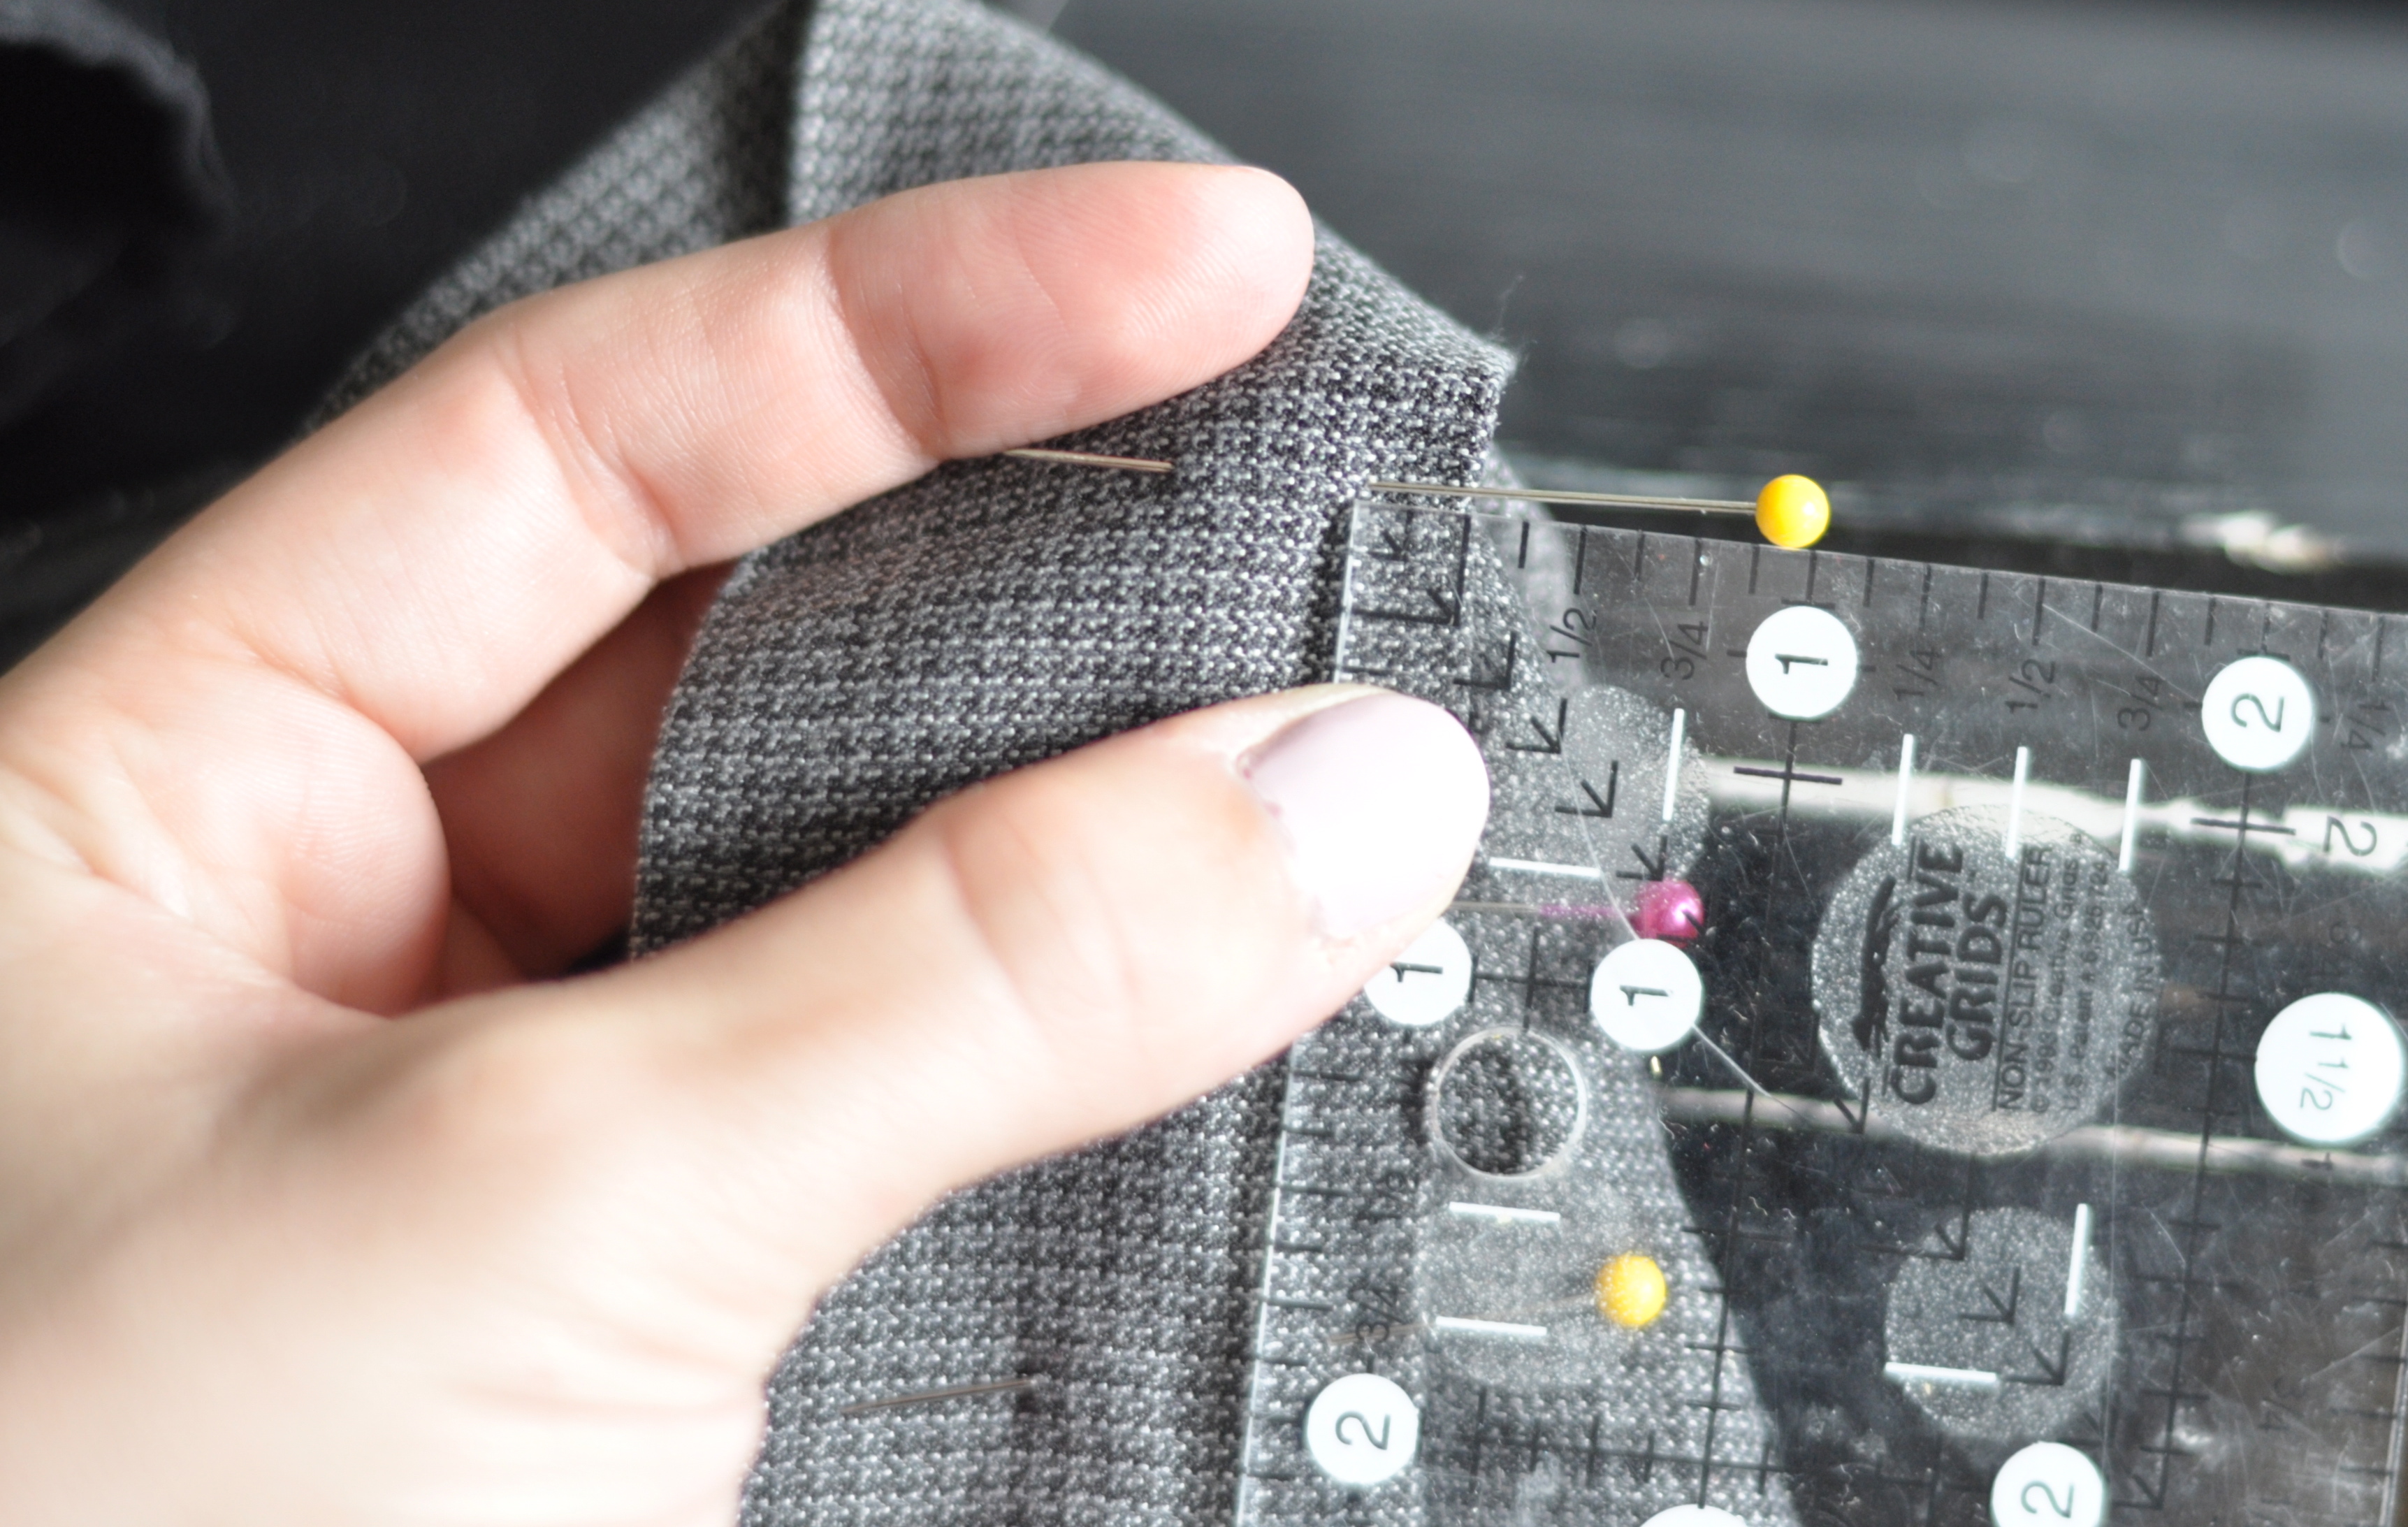
Begin pinning the inside out edge. I use a ruler and put my pins in exactly 1/4″ from the folded edge. Measuring as I go along, i put in a pin ever inch and a half or so.
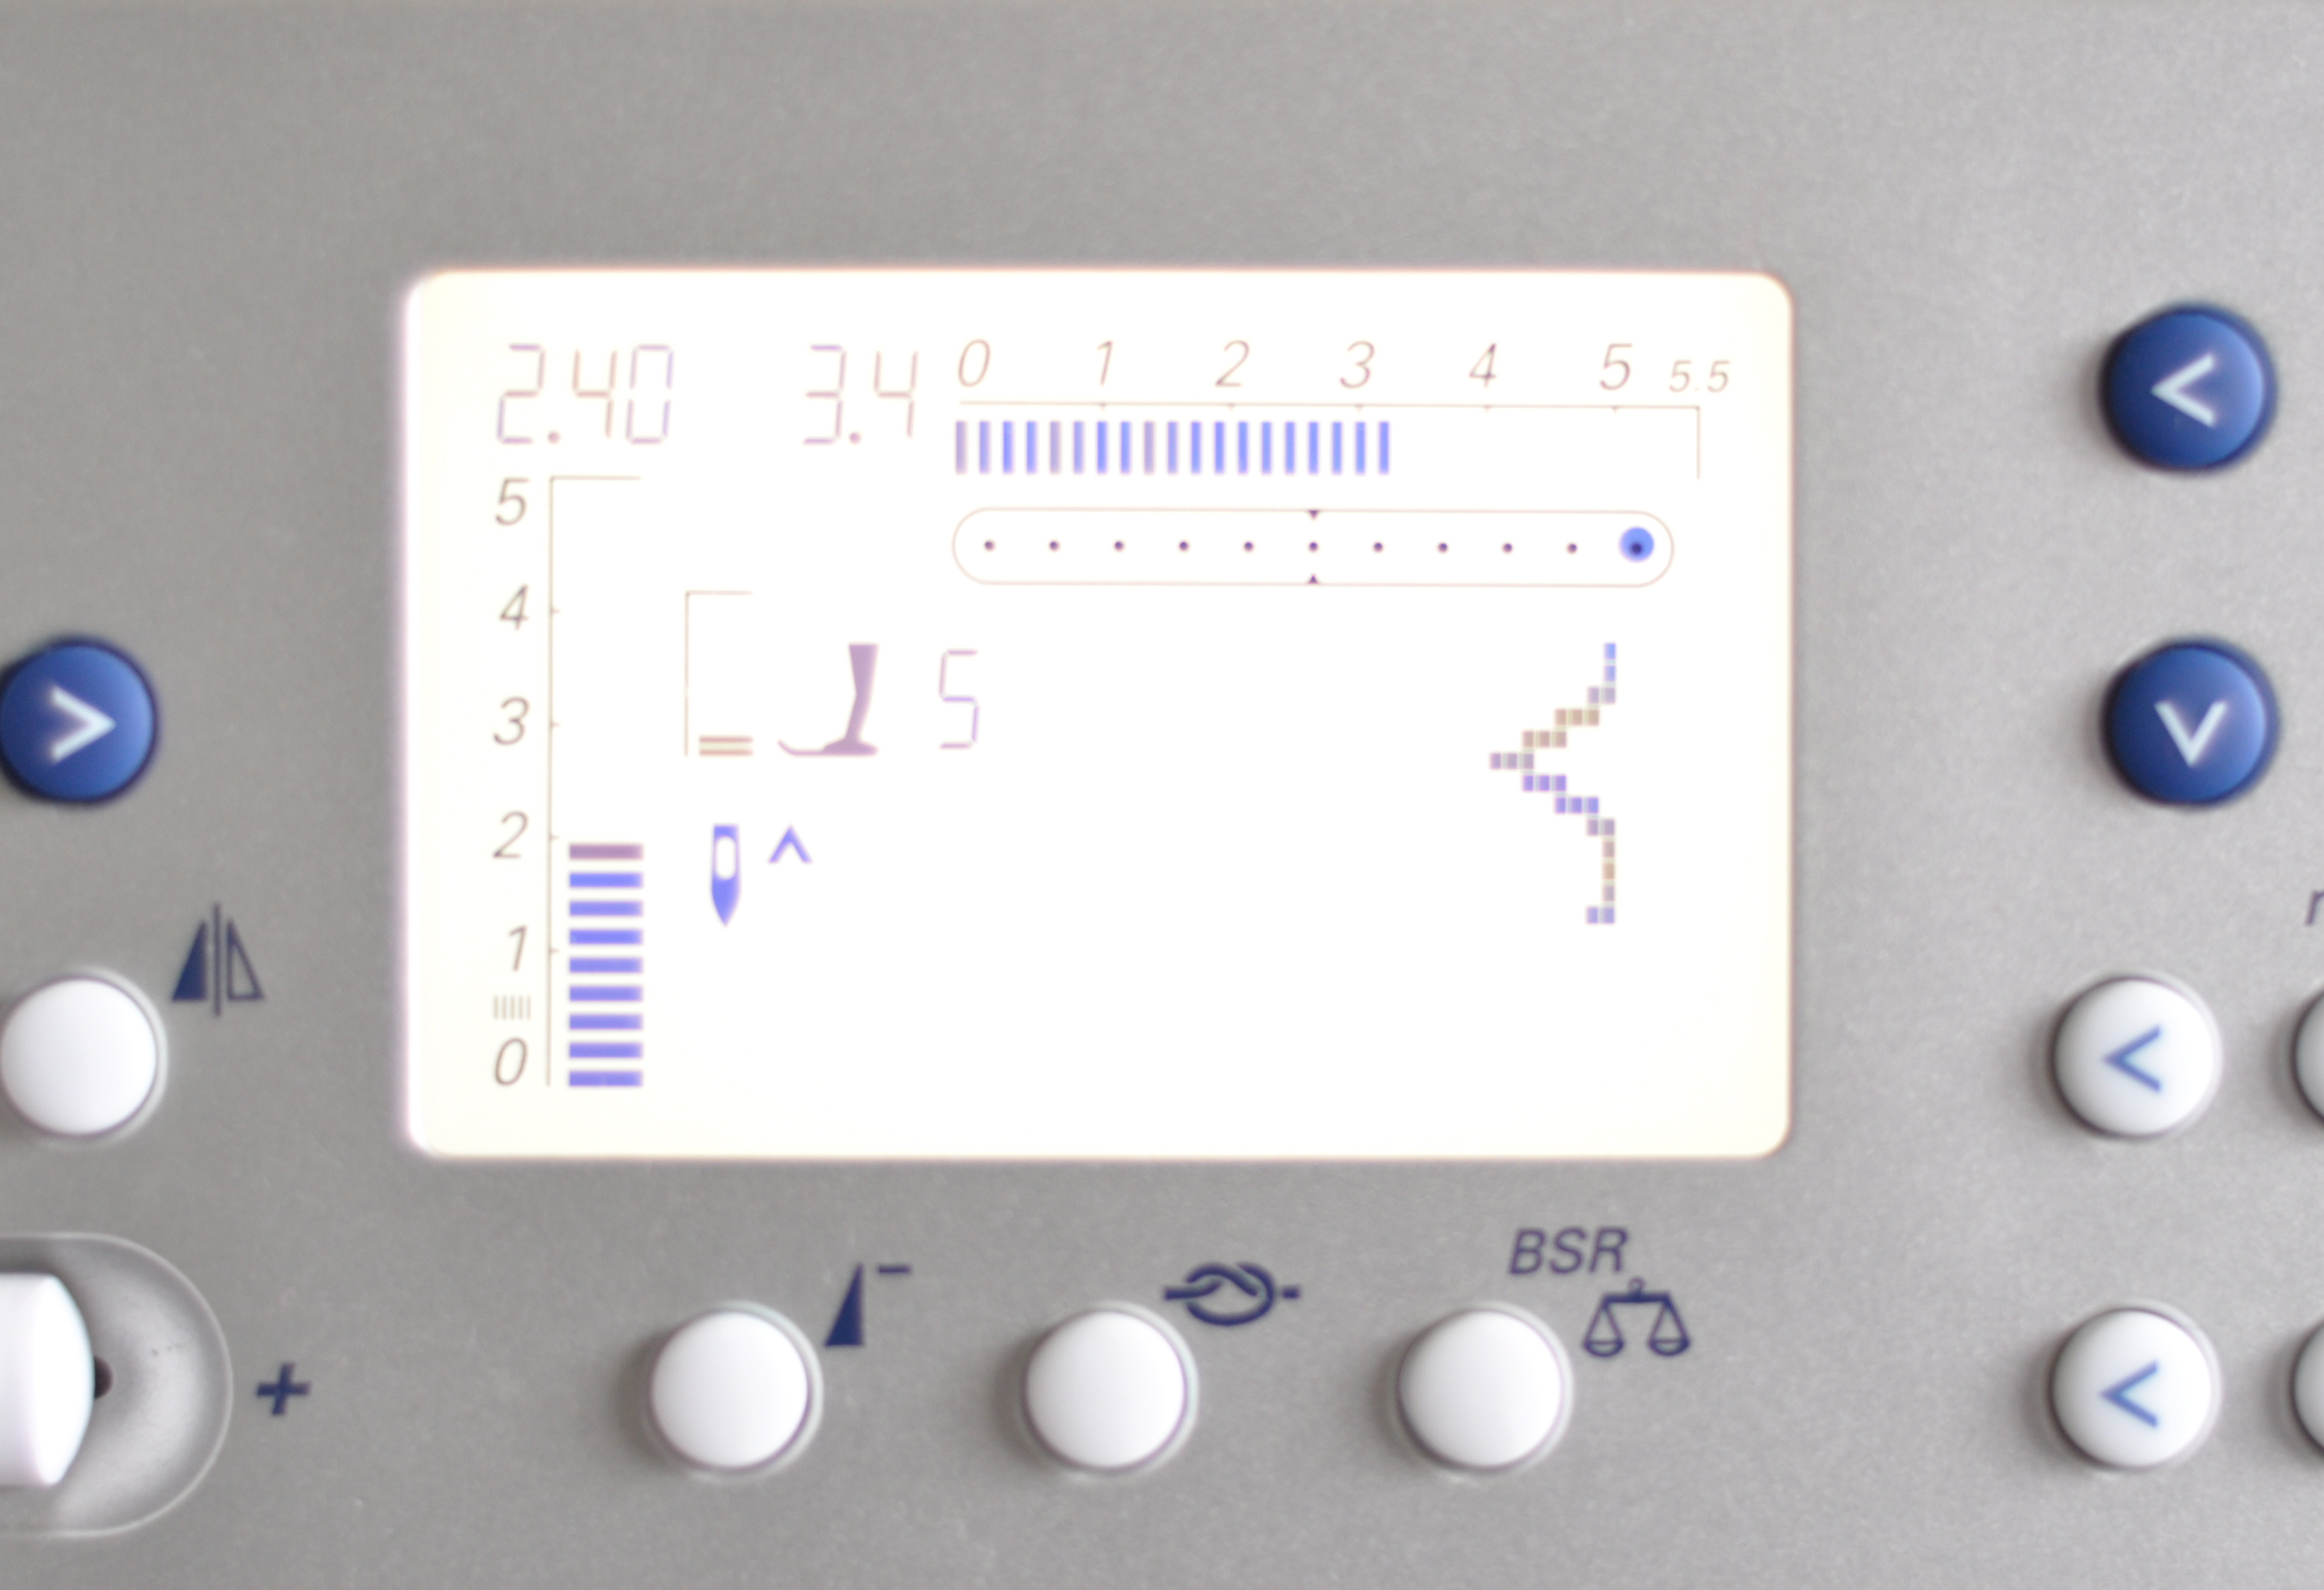
I generally pin both sides before I start sewing. For the hem stitch, your sewing machine will most likely have a stitch that looks like a straight line with an occasional zig zag stitch. On my machine, the stitch is number 7 and looks like this. I adjust my stitch to be slightly more narrow than the factory setting:
If you have a machine foot similar to this with a ‘stitch in the ditch’ guide, it will make this next part easier.
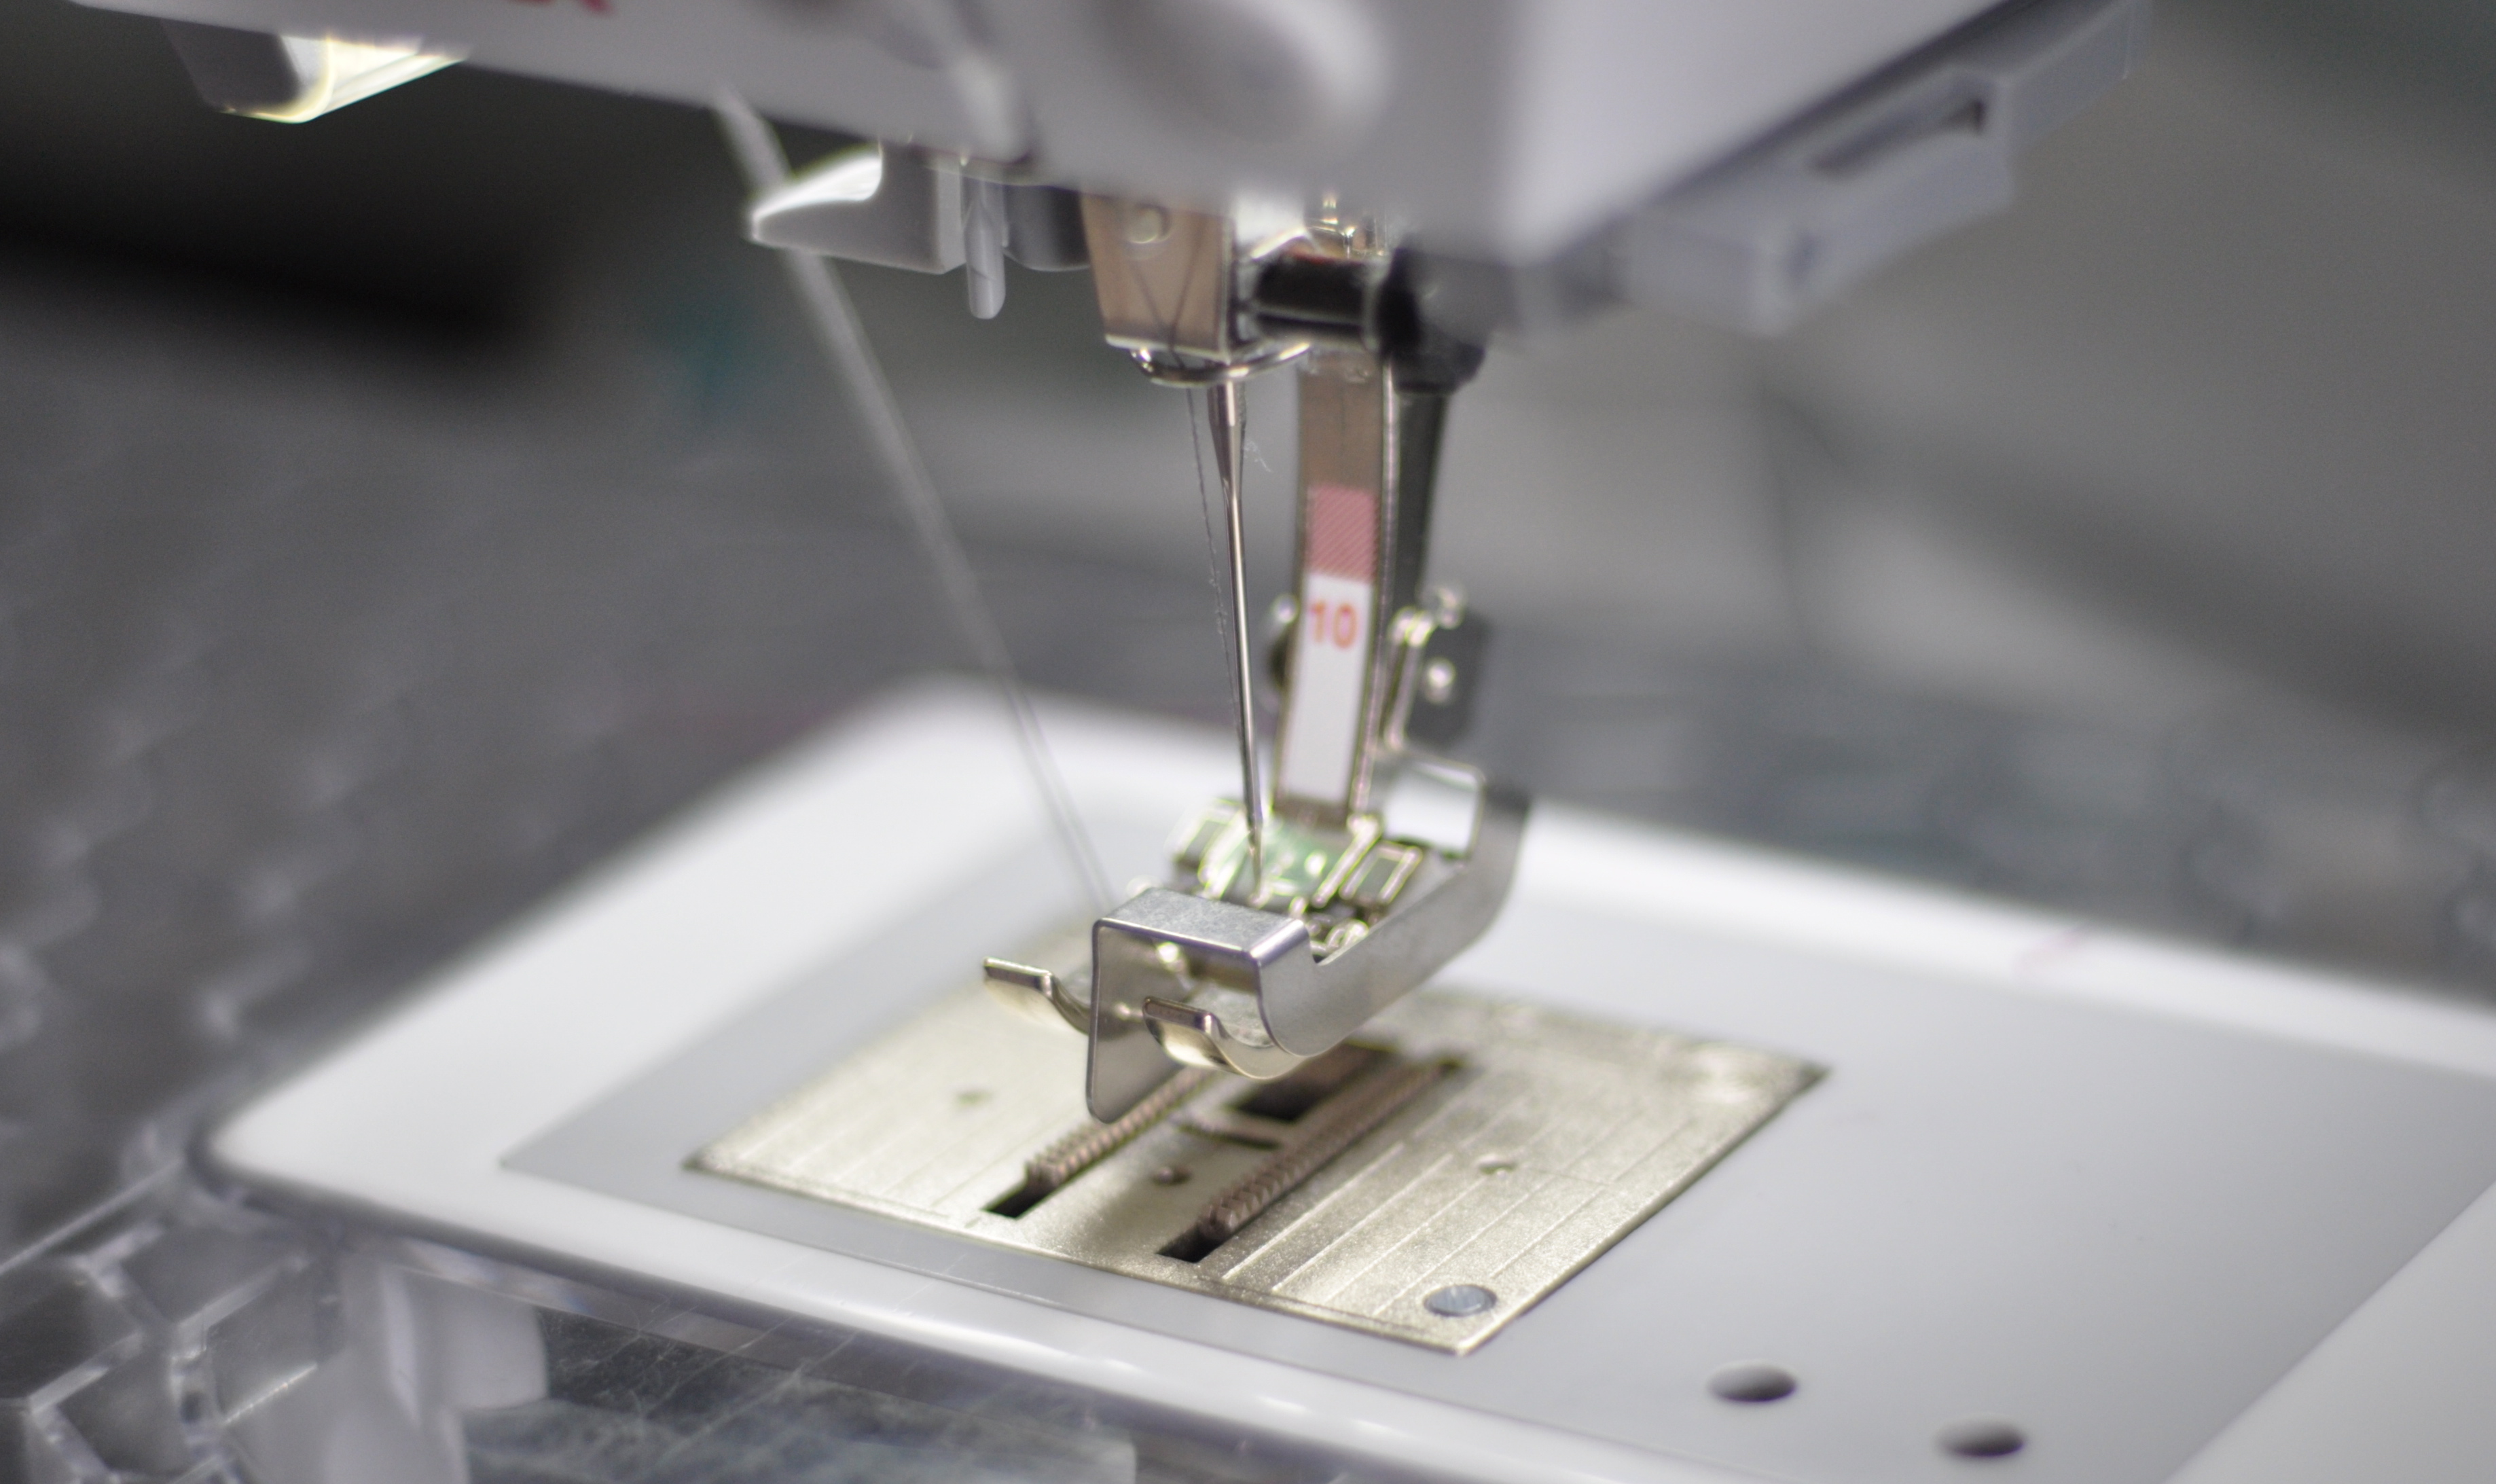
For a Bernina, a number 5 foot is the ‘Blind Hem’ foot, but a number 10 foot will do in a pinch.
Fold the hem back so that the right sides of the fabric are touching. Place the fold under the sewing machine so that the straight portion of the stitching only falls on the narrow edge and the zig zag stitch only catches threads from the bulkier side.
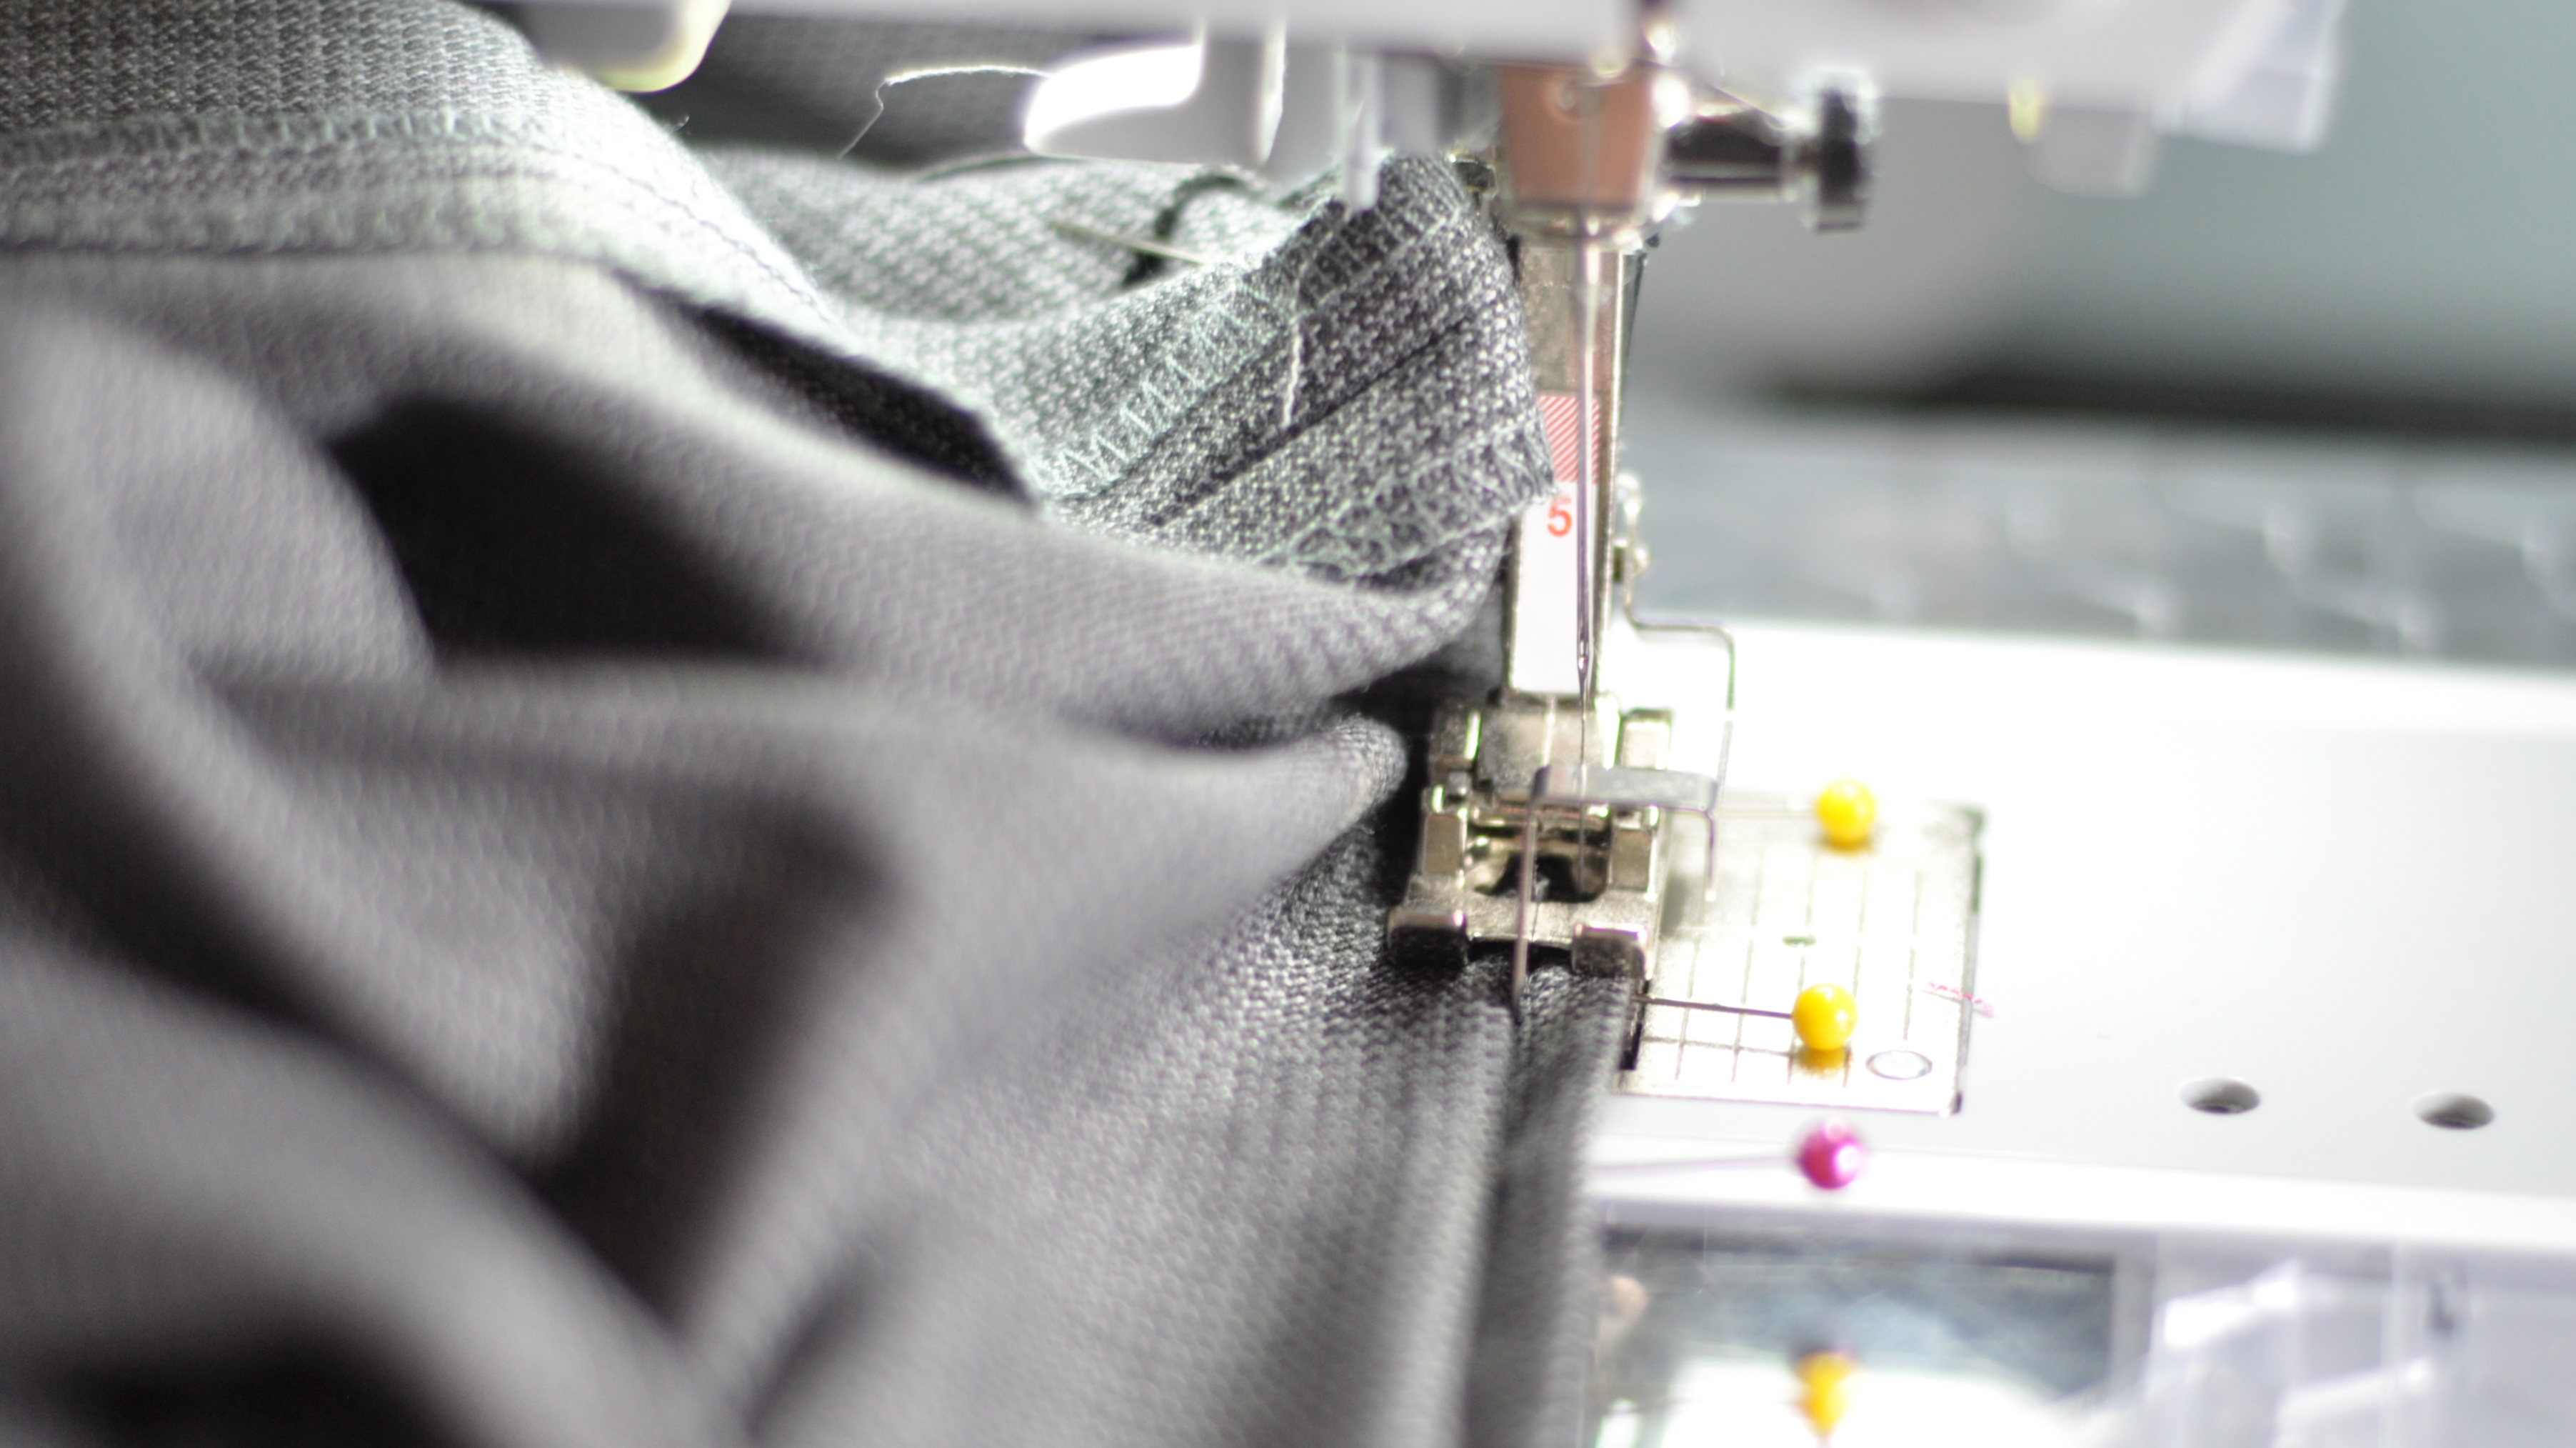
Stitch all the way around, making sure to back stitch at the beginning and the end. If your needle misses the bulk a few times, it is not a problem. Do make sure that it doesn’t catch more than just a tiny piece of the main fabric or your stitches will show. Trim your threads as close as possible to the fabric.

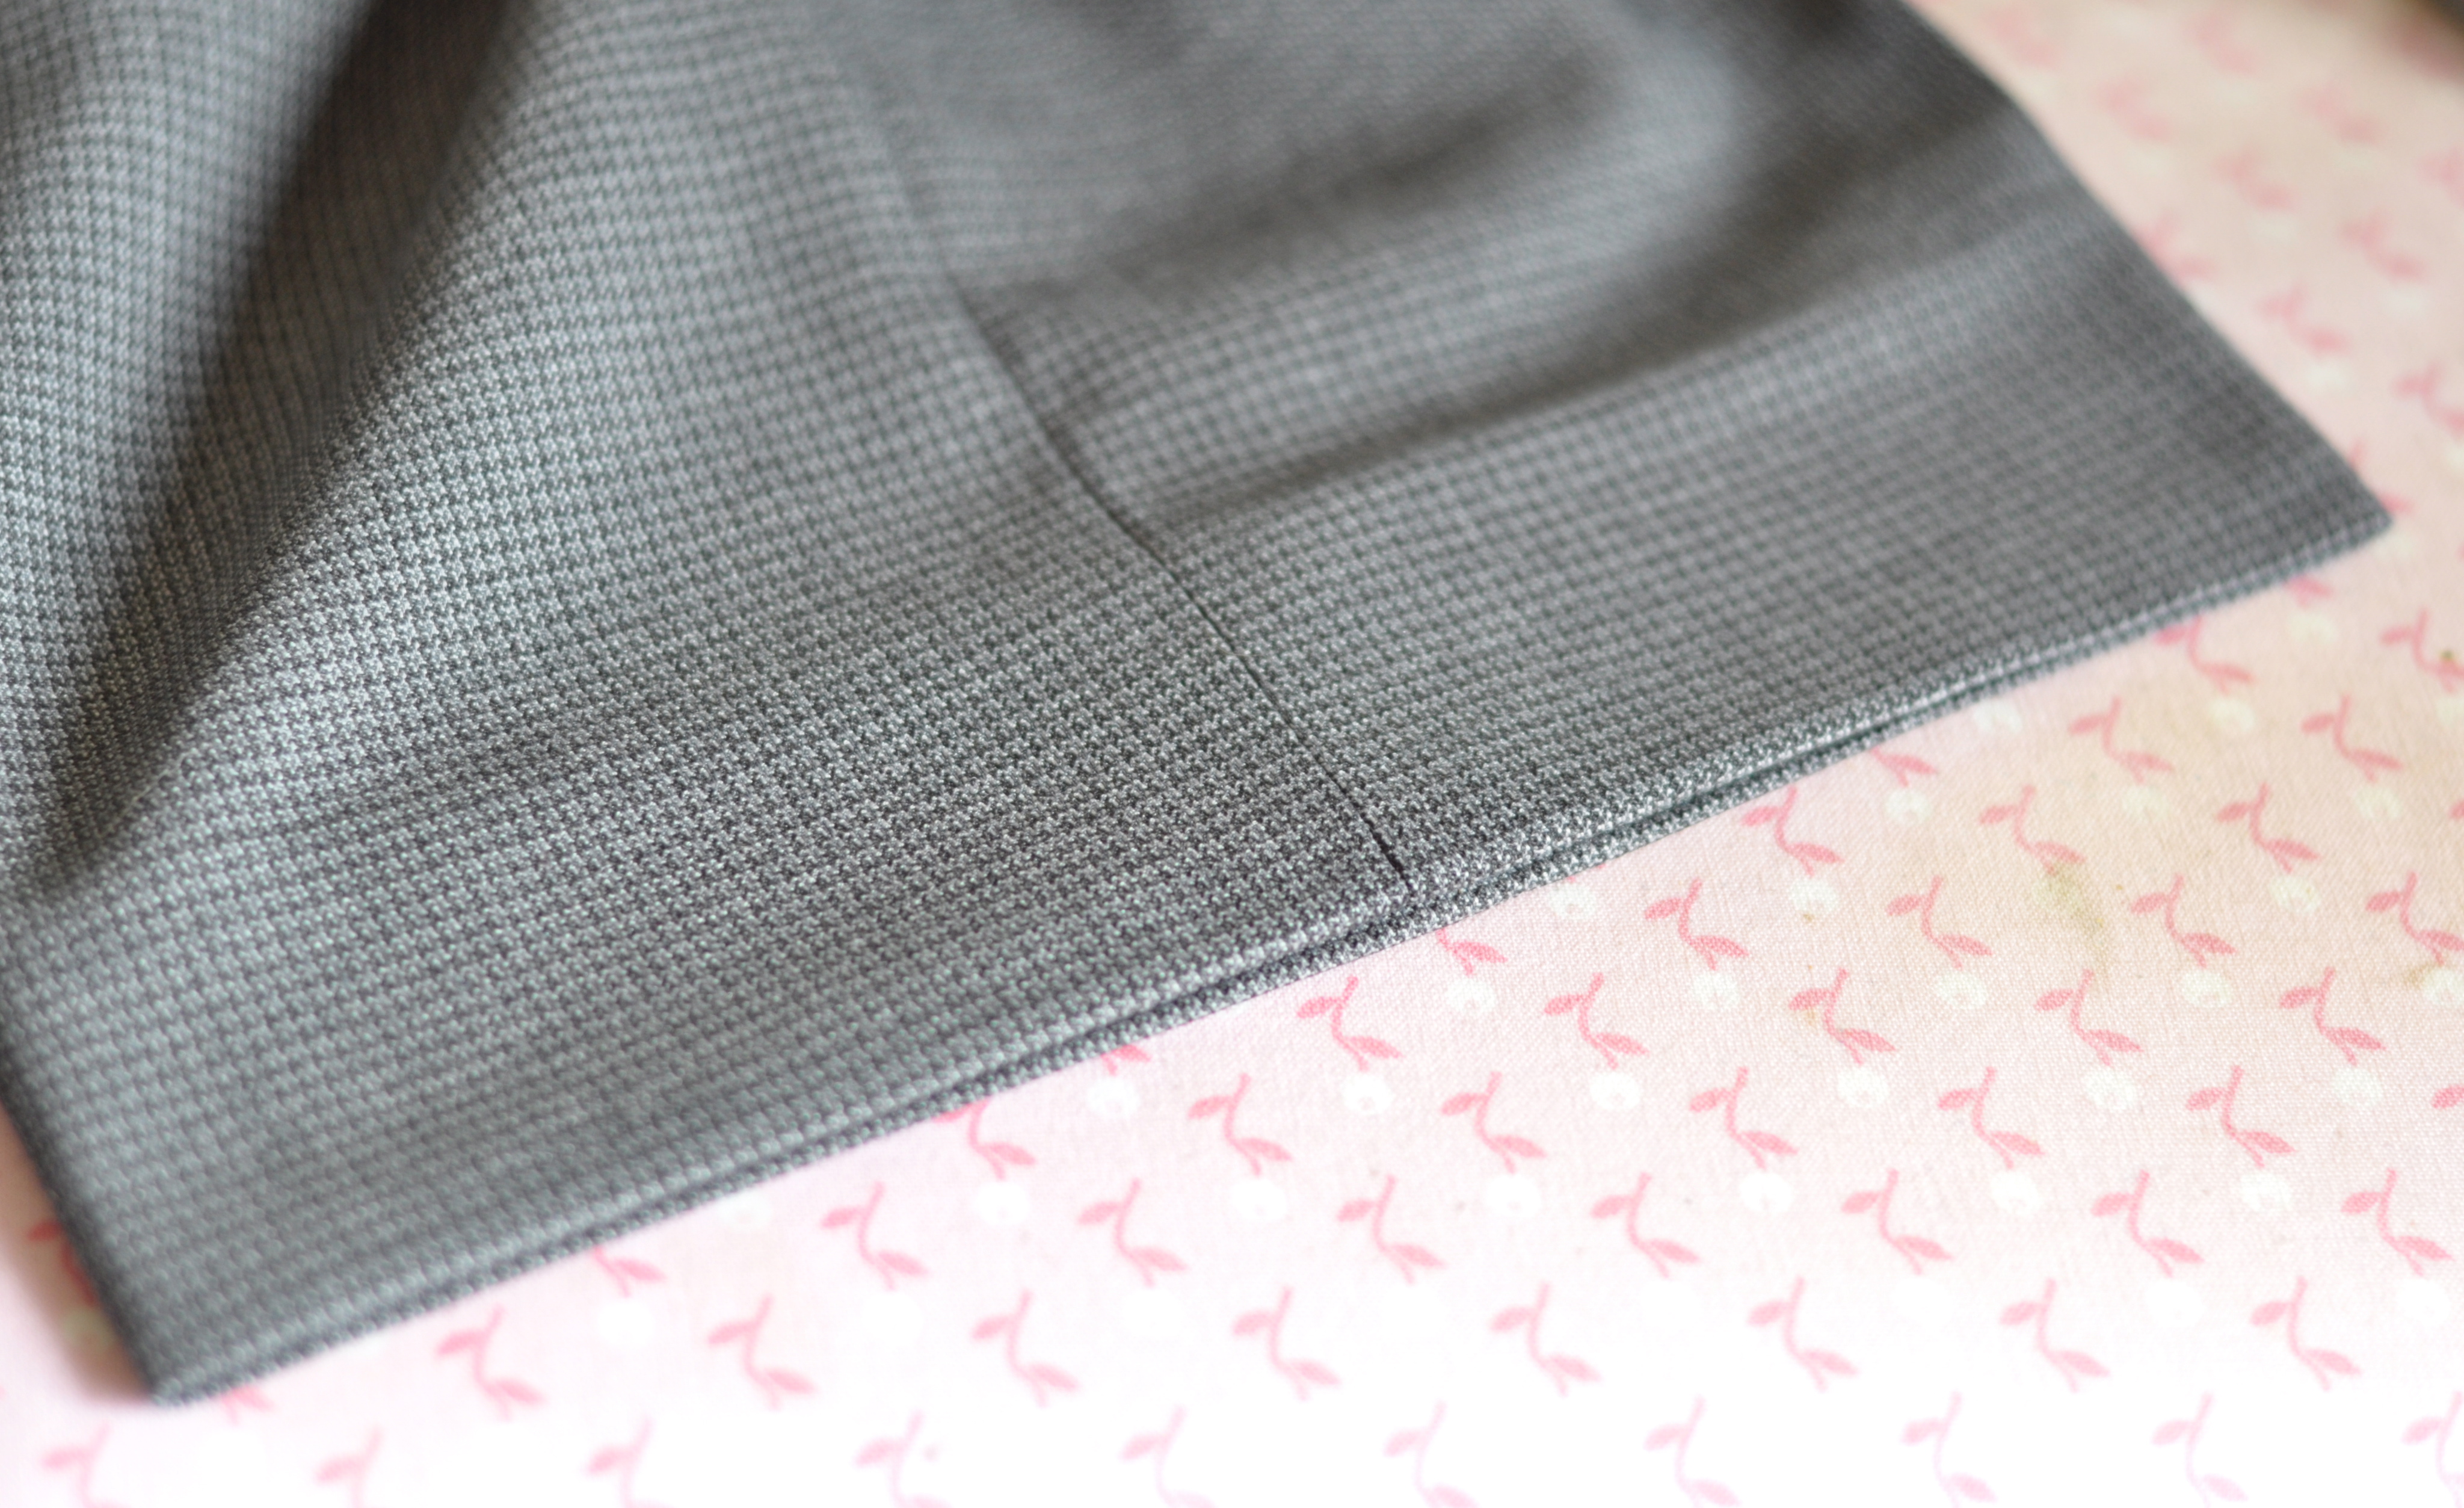
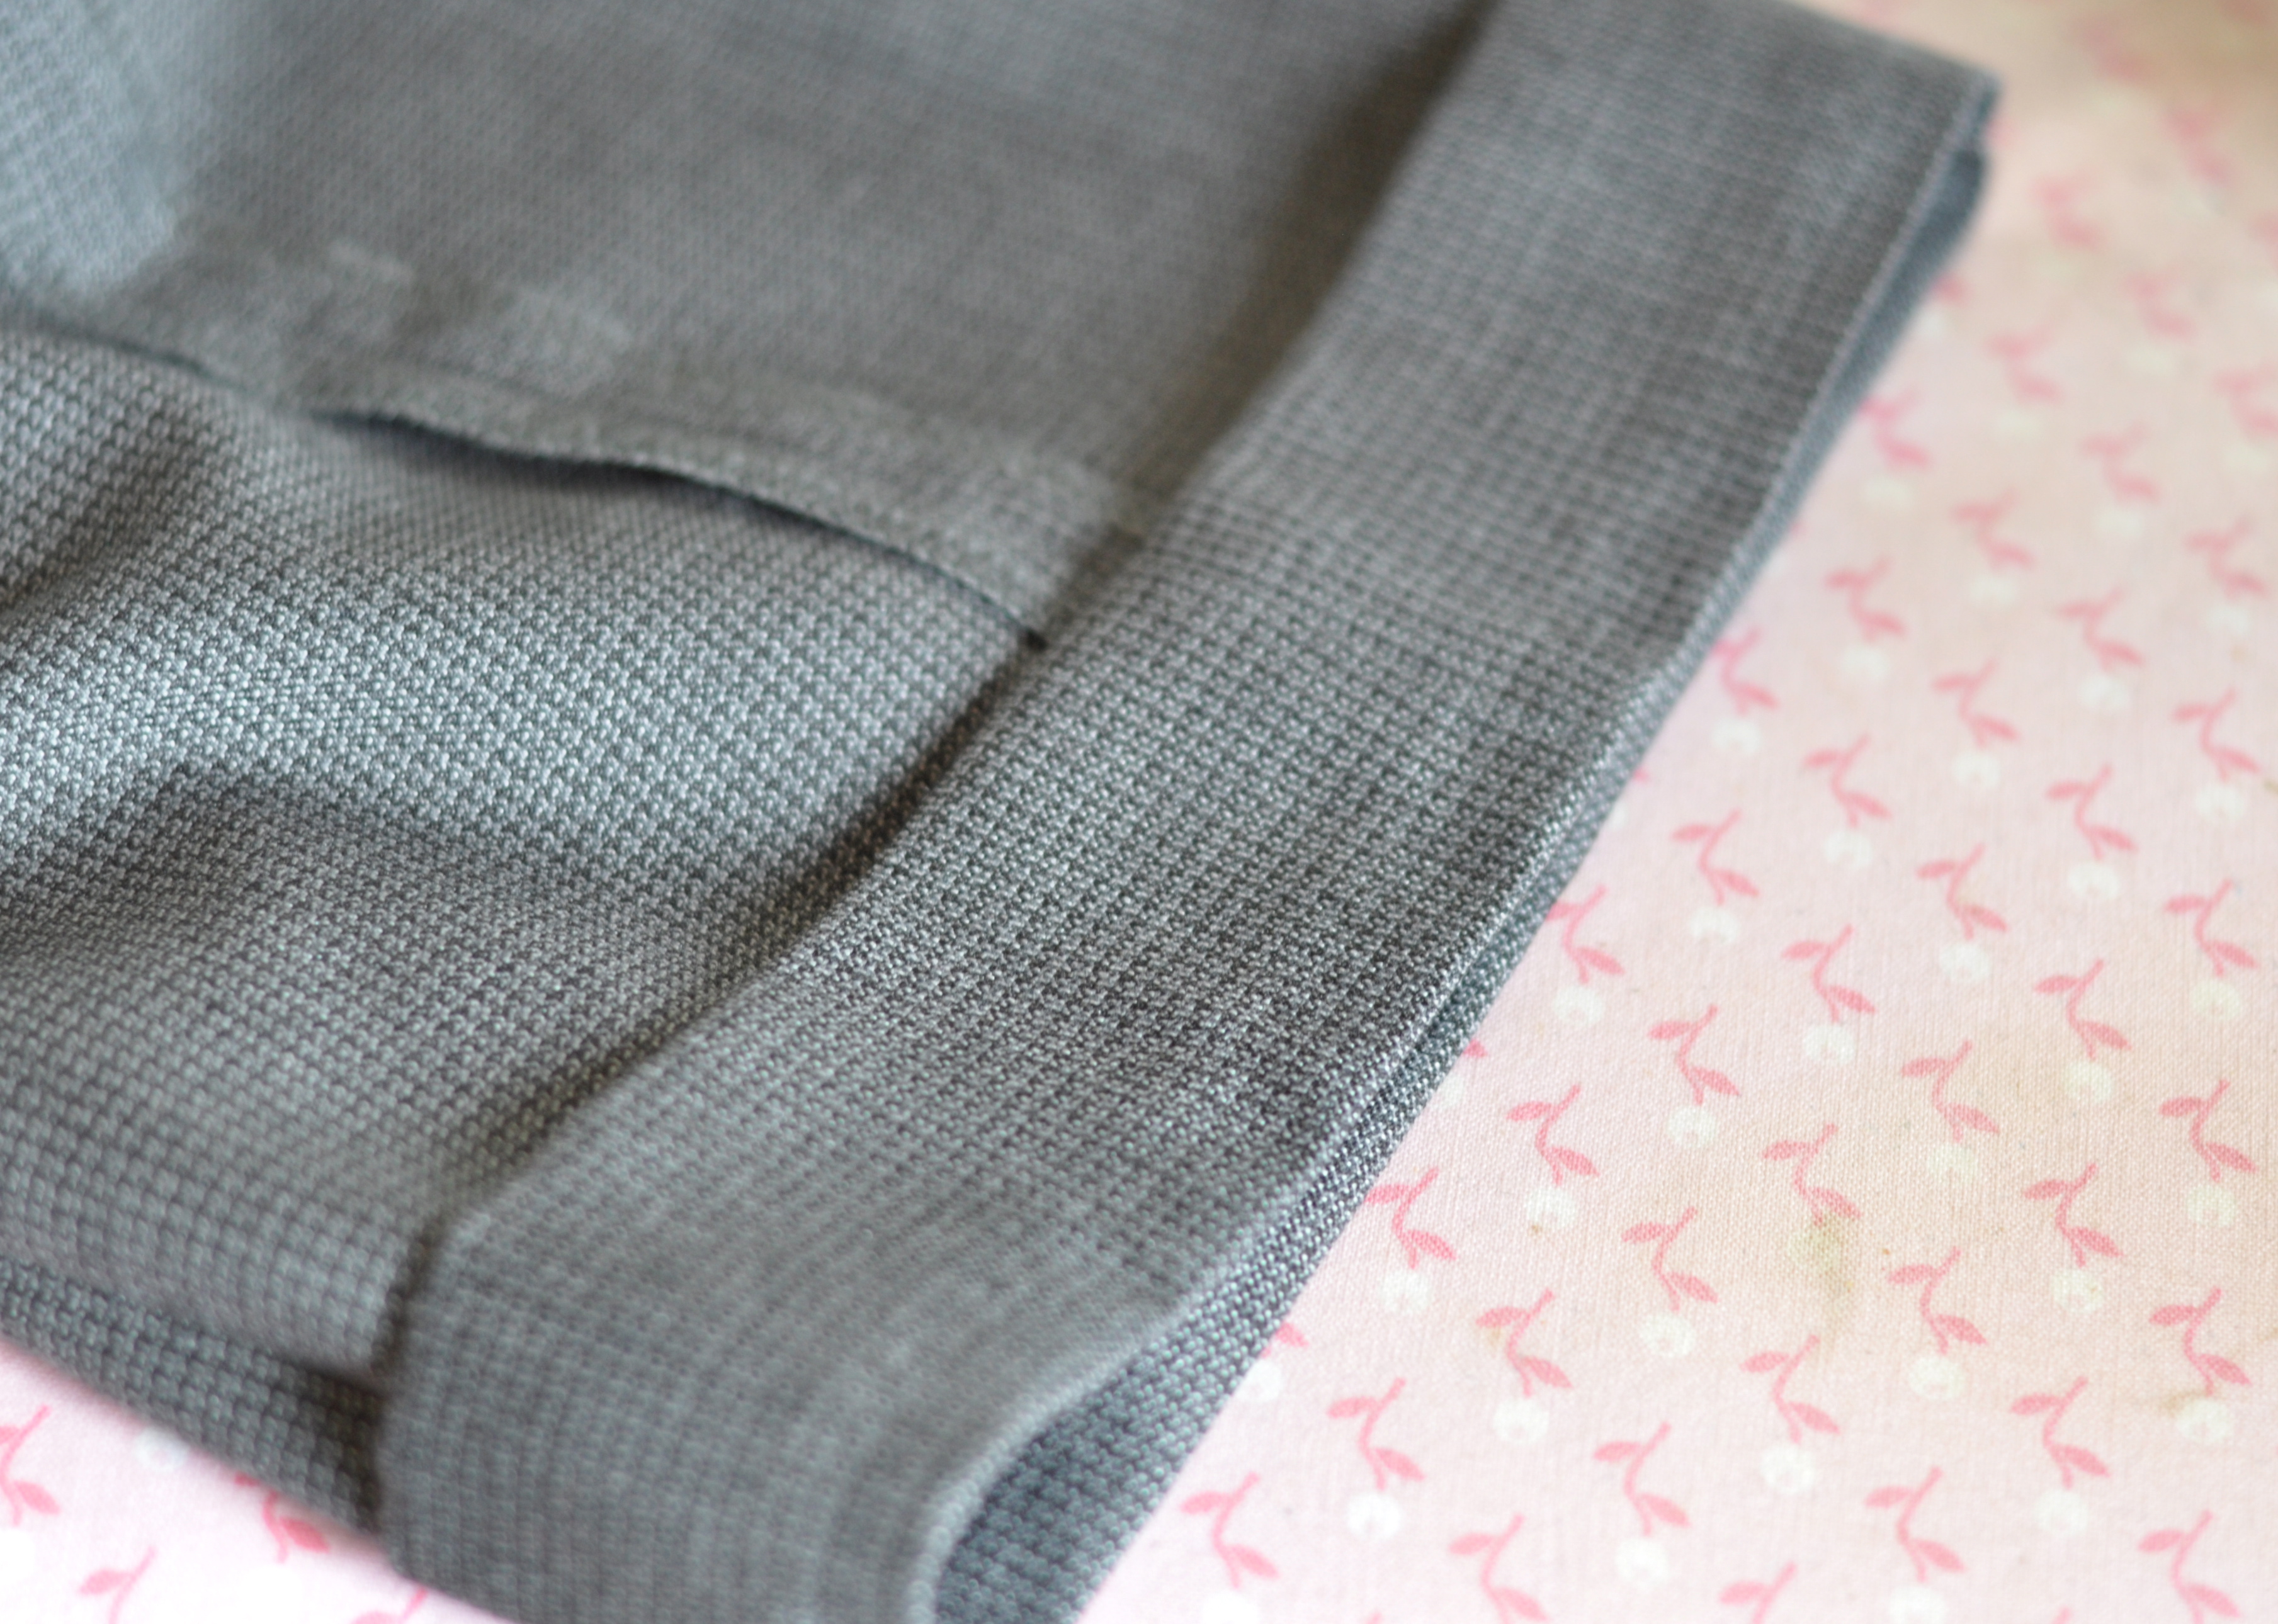
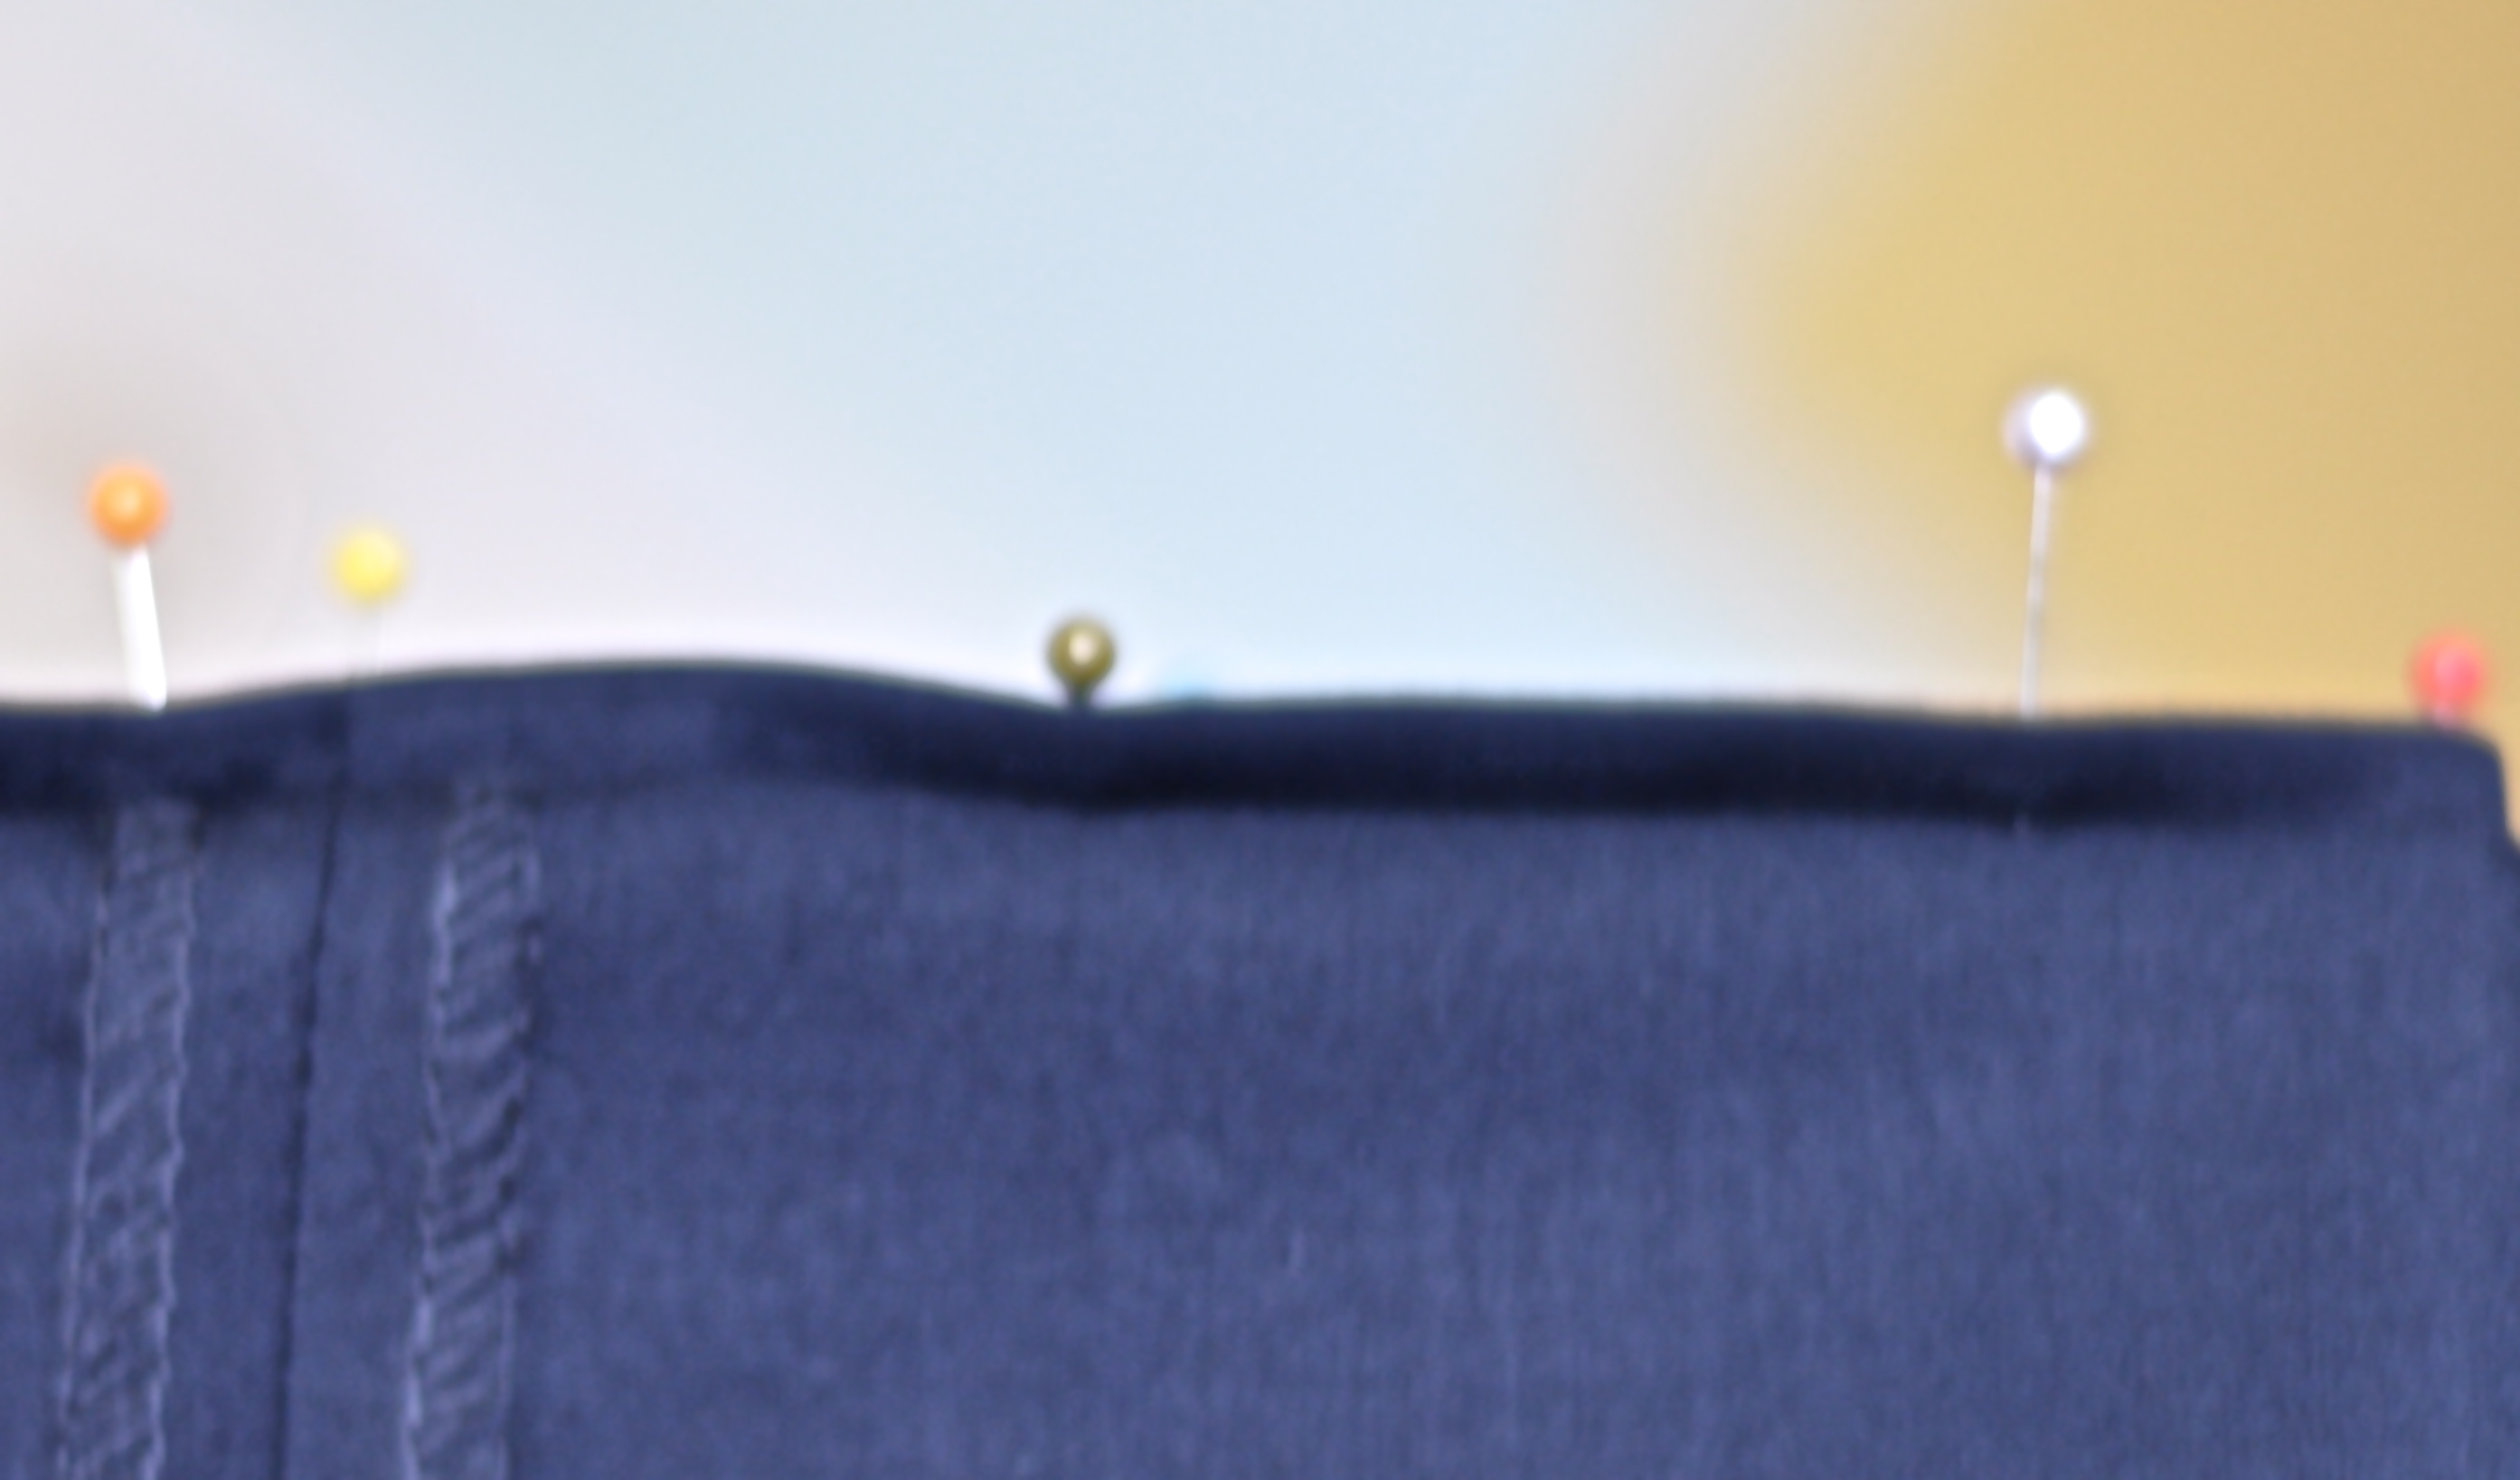
When you’re done, your hem should look like this. No visible stitches, no stray threads, nothing that would let anyone know that you didn’t just have your pants professionally tailored!
I generally press and starch them again, just to make sure they are perfect. Ta Da!! You are all done!
If you have any other tips and tricks for hemming and tailoring, I’d love to hear them in the comments below. I plan to do my husband’s shirts next and could use any help I can get!

what a great tute!! Thanks Amanda!
Brilliant! What a thorough and well-photographed tutorial – thanks! It almost makes me think I could do it (I am hideously scared of any type of garment sewing – haha).
I have that same response when my husband asks me to hem or mend. Thanks for the great tutorial tho. He finds great deals too and I may have to break down and hem also. I used to take them to my mom -she loved hand work. Anyway,loved the post.
I have that same response when my husband asks me to hem or mend. Thanks for the great tutorial tho. He finds great deals too and I may have to break down and hem also. I used to take them to my mom -she loved hand work. Anyway,loved the post.
Thank you for showing me how to do this. I could never work it out from my machines manual!
There’s noticeably a bundle to understand about this. I assume you created particular nice points in attributes also.
christian louboutin online store]