Follow my blog with Bloglovin
So, here is my little tutorial for my pretty Crossed Paths quilt.
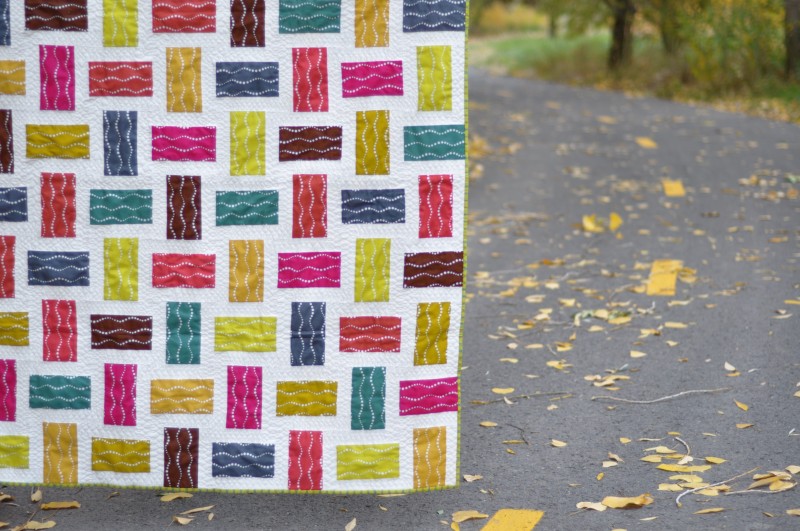
To make this quilt, you will need:
a fat quarter bundle of bike path prints from Lucky Penny (9 total)
1 1/2 yards of Solid Kona Snow
Rotary Cutter, Ruler & Mat
Thread, Scissors and the usual assortment of Sewing tools.
1.75 yards of Moda Crossweave in Natural For the backing
Start by pressing all of your bike path prints and your solid to prepare for cutting
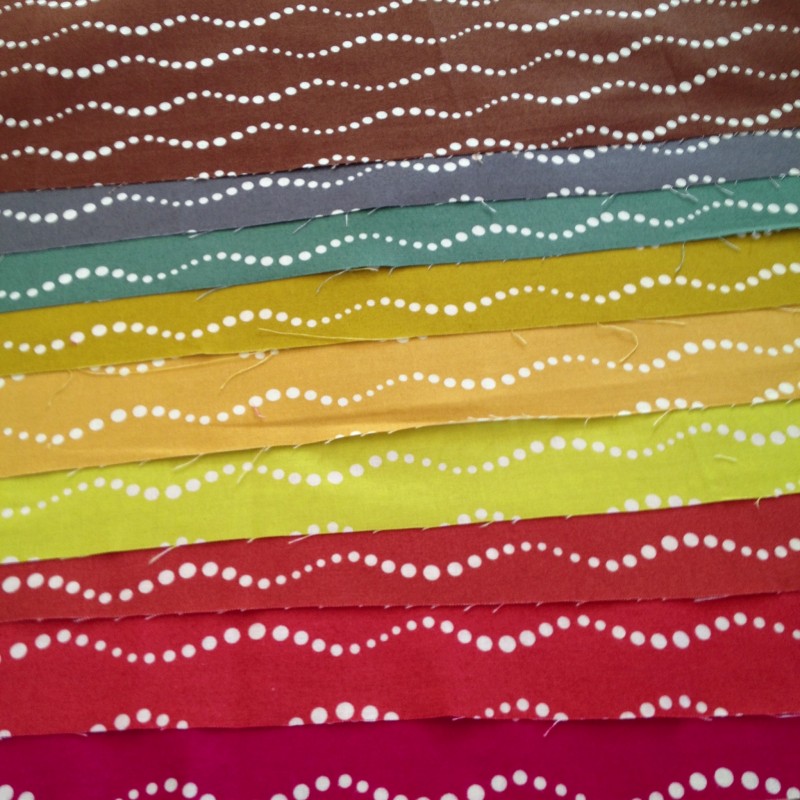
Cut 3 3.5″ strips of each bike path print. Cut parallel to the selvedge so that each cut piece measures 3.5″x 18″. It is ok if the strip is more than 18″, but it needs to not be any less than 18″. I also cut an extra strip of the pink, grey, and the chartreuse which made it so that I had enough pieces to do the back.

Cut your solid into 3 18″x Width of fabric pieces. Subcut that into 1.75″x18″ strips. Each half yard piece should yield 11 pairs of 1.75″ strips. You will need 2 strips for each bike path strip.
Sew a solid strip to each side of your bike path print like this:
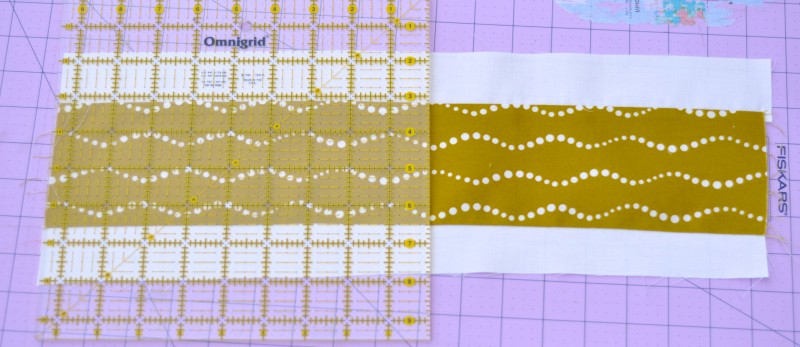
Subcut these into 6″ blocks. You should end up with a minimum of 81 6″ squares. If you have any squares that are grossly out of square, just trim them up. If you keep a consistent scant 1/4″ seam allowance, this shouldn’t be too necessary.
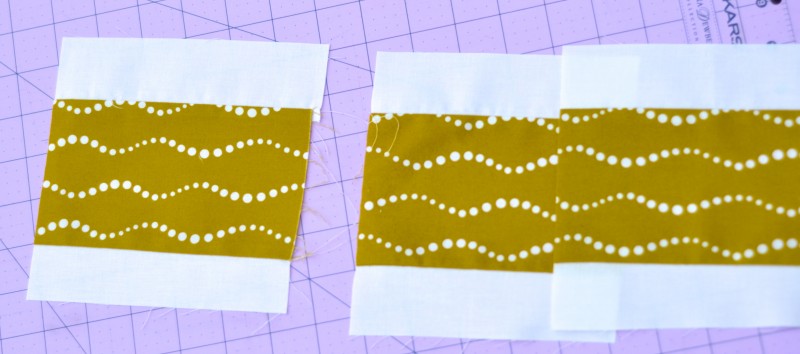
Press your seams toward the print.
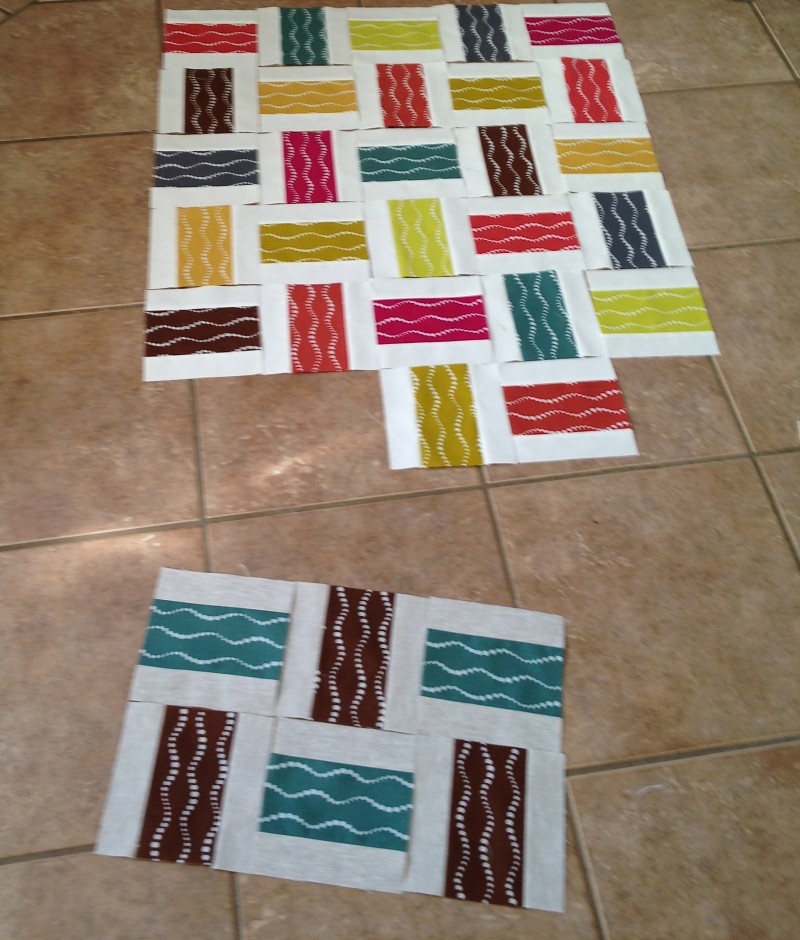
Lay all of your blocks out. Rotate each block 90 degrees from the previous block’s placement. (see the picture) Make sure that they appear random and make sure to keep your colors varied. It should look more like the top layout than the bottom
Once your blocks are all laid out, sew them into rows
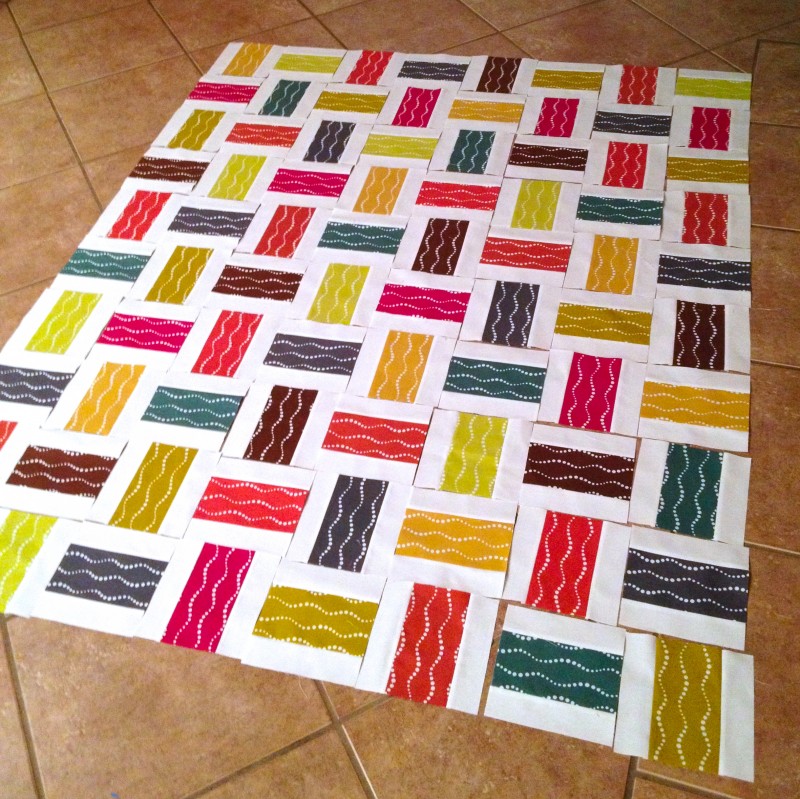
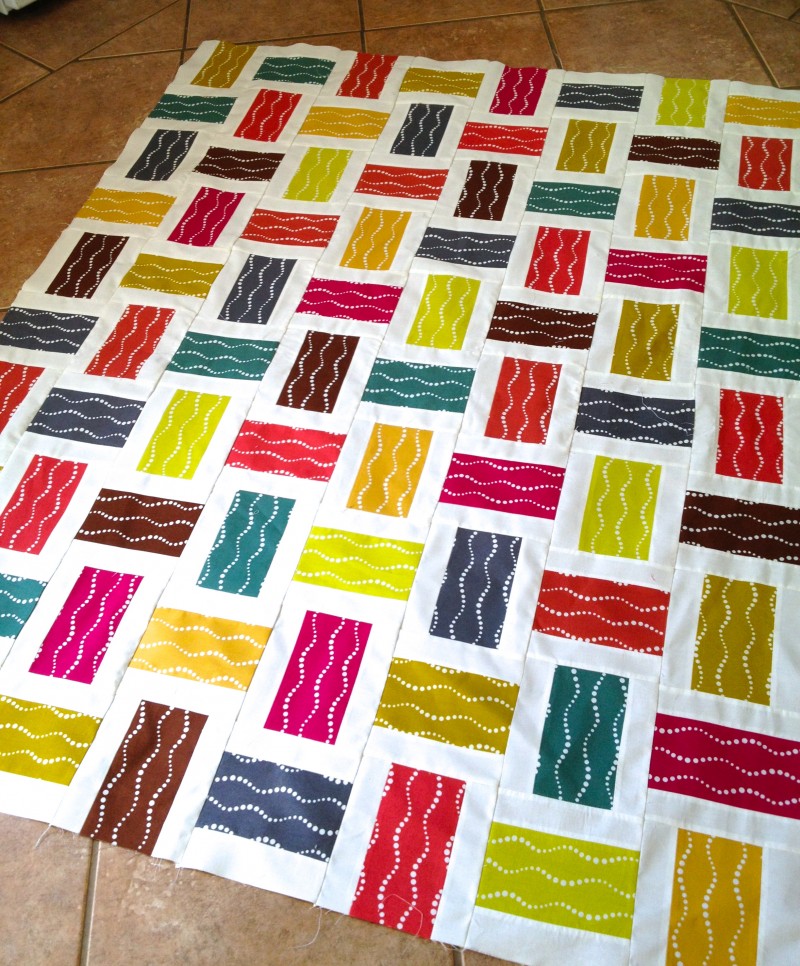
And assemble your rows into a quilt top
For the back:
You will need at least 11 extra blocks. I used 12. Sew them into a row alternating the direction 90 degrees for each block.
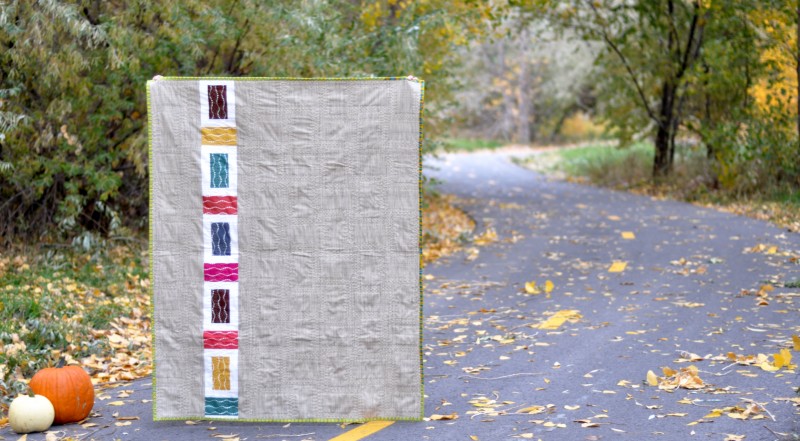
Open your crossweave and press. Fold your crossweave in thirds down the vertical length and make a clean cut. Insert your row of extra blocks and reassemble. Press and starch.
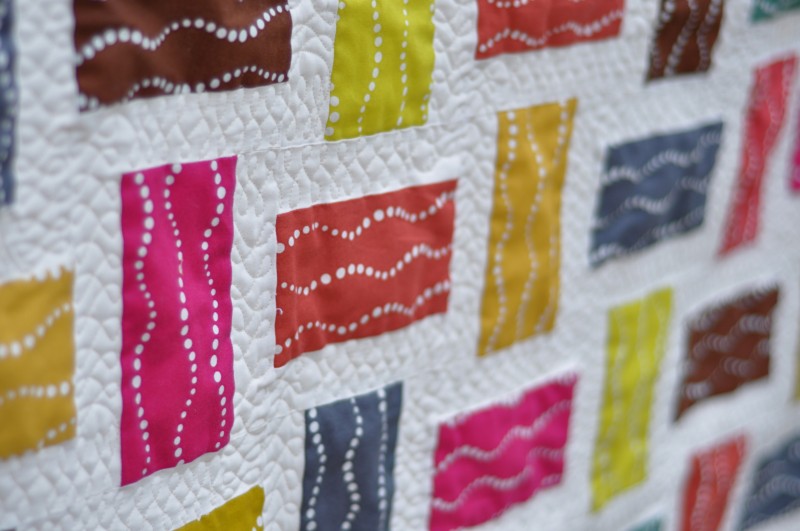
Now, finish your quilt by basting, and quilting. I quilted just in the white space with a meandering figure eight. If I ever figure out how to draw on the computer, I’ll share how I did it and what I found worked the best.
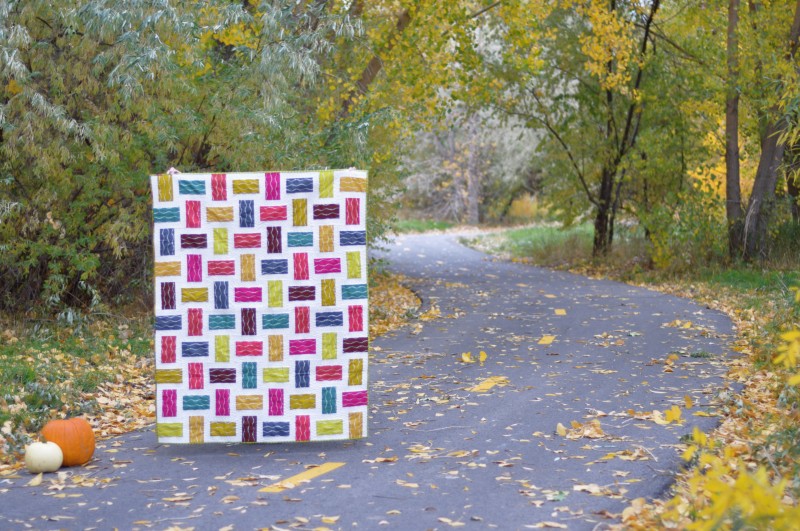
Finished Quilt Stats:
Finished Size: 55″X44″
Pieced and Quilted using Auriful 40 Wt
Used my new favorite Pellon batting
Bound with ‘Grate’ from the Lucky Penny range
Now for some winners!
For day one, the winner is number 82:
elsa says:
I was 8 years old and it was my Dad who taught me to sew ~ he thought I ought to make my own clothing. It was a fun thing to do for me ~ I made all my clothes through school till the 12th grade!
Thanks for the giveaway!
For day two, the winner is number 68:
Claudette says:
Thanks for sending the link to your blog with my purchase from your shop.
For day three, the winner is number 53:
Tonya Albers says:
Just shared your post on my FB page
For day four, the winner is number 13:
Heather says:
I’m looking forward to Saltwater by Tula Pink.
I’ll send emails to all of those lovely ladies. Thanks so much for all of the nice words on market, for sharing my post in various ways and for reading my blog!

Beautiful quilt and well written tutorial.
I loved this quilt so much when you first showed us – so thank you thank you thank you for sharing the tutorial!!!
cheers
-k
Thanks for the tutorial – love the quilt!
Congrats to your lucky giveaway winners too 🙂
Love this quilt and this line!! So pretty Amanda!
Great quilt. I like how simple you make it sound and yet the result is really striking.
It looks great, Amanda!
Thanks for the win, you made my day. Forgot to say which line I’m most looking forward to, it would be Les Amis. Great tutorial, makes me think of fancy paving stones.
Thank you for the great tutorial!
The pattern looks really cool with that fabric.
I really like the fabric on this quilt. Also pleased that it seems easy enough for a relative beginner. Thank you.
I really like this quilt ~ in the last picture it looks like the pieces are curved. I can see it as a scrappy quilt too.
Thanks so much for the tutorial and for picking me for one of the giveaways ~ excited!
I love the colors and the way the white sets them off. This would definitely be fun to try with bigger prints.
By the way, did you get in touch with all your winners? I could be mistaken but I thought I was the Heather in comment 13. Of course I could be remembering wrong.
I so love this quilt, Amanda! What a great way to use these fabrics. (I may need some of those…) And your tutorial rocks. Great job.
this Crossed Paths quilt is so cute! such a nice modern take on the rail fence! 🙂 Love that bike path fabric too – hadn’t seen it before 🙂
And also…. THANK YOU THANK YOU THANK YOU for picking me as one of the winners – I’m over the moon! 🙂 🙂
I love the colours in this and the pattern looks complicated but it’s not. Your tutorial is really helpful, thanks
When you alternate the vertical and the horizontal quilt blocks, they are different sizes because the uptake in the quarter in seams is going in alternating directions.
How do you compensate for that when piecing the blocks to get her to make rows and rows together?
Thanks so much
I LOVE Crossed Paths: A Rail Fence Quilt Tutorial! It’s awesome and I love all the colors! I will have to try this pattern. Thank you so much for the Tutorial! I will be subscribing to your blog! 😀
I found your quilt today featured on Favequilts.com and I am so glad I did! I LOVE these colors!
These colors look great together., but I have to admit I would not have picked them for myself because I am more pink, purple, teal, grey girl:). Thank you for the tutorial, I can’t wait to make this quilt.
What would the measurements be if using scrap pieces of material? ?? AWESOME lookin quilt