Writing about binding intimidates me. It’s a bit like writing about how to act on a first date, right? It just depends on the person. But, after posting a few shots of me binding a few recent quilts & seeing so many comments asking about how I stitch my binding down, I’ve decided to share my method.
The EASIEST way for me to share my binding method is through video, so my husband graciously recorded this for me – and then commented that he had no idea I was making a mini-series. It’s the longest I’ve ever talked to a camera. You’ve been warned!
A few little details: I cut my binding 2-1/4″ wide. I attach it to my quilt using a 1/4″ seam allowance. I just use my regular 1/4″ foot to stitch it down. I USED to use my walking foot, but honestly, it’s just too fussy with the binding peeling up away from the edge of the quilt. I used to zig zag my binding down, and that works well, but it does take an extra minute. My goal in binding is to get a clean seam, a durable good, and get it done as quickly as possible.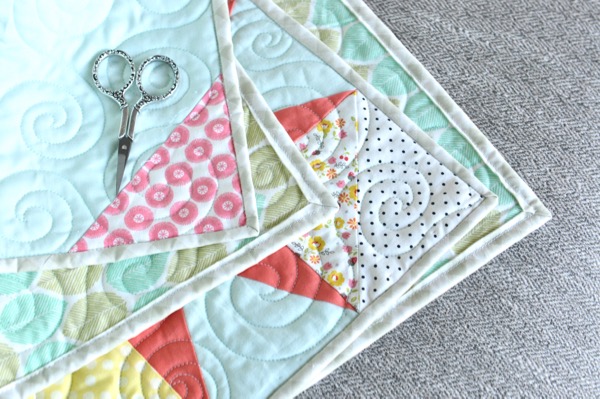
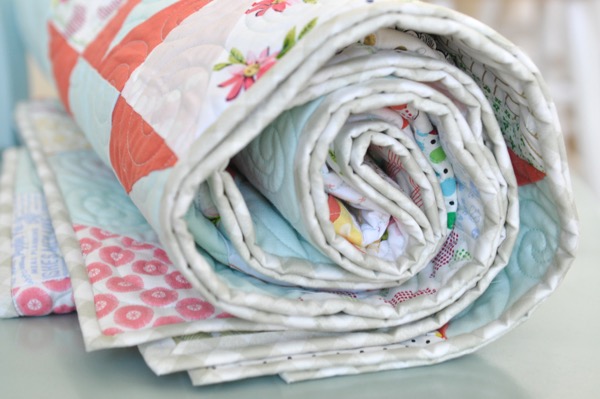
Binding is one of my favorite parts of quilting. It’s the Hallelujah at the end. I used to love stitching my binding down by hand, but between time constraints & some changes in my hand strength, I’ve found that machine binding makes sense for me. Personally, I prefer the look of hand binding, especially on the front of the quilt. I want my binding to seem seamless. I also really like the points on the back to match up.
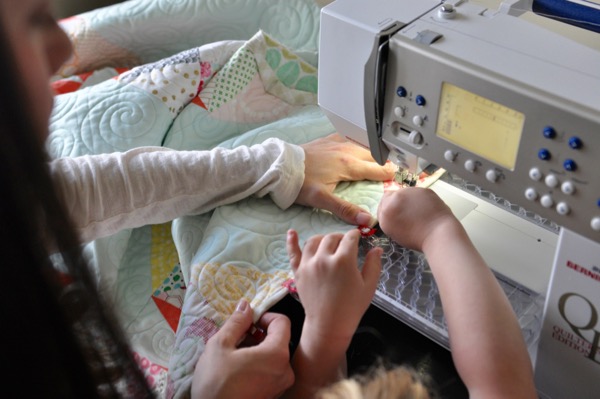
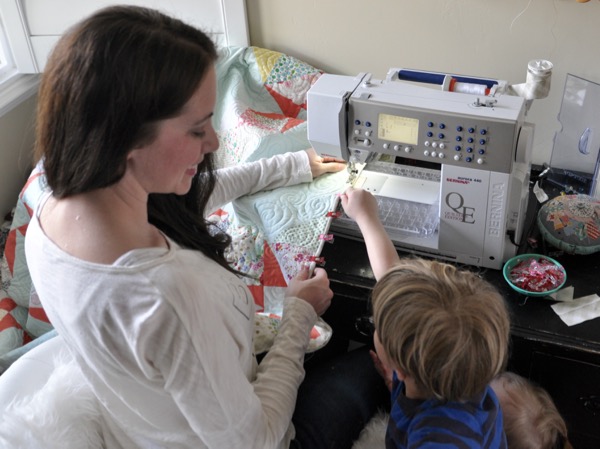
Machine binding has become a bit of a tradition between my little boy & I. My little guy stands next to me as I stitch and he pulls the clips off. It’s pretty fun and I enjoy that time with him. Lately, my little Ella has been right there with him reaching for the clips! It’s so cute.
So, if you’ve made it to the end, I have a little gift for you. You see, I love blogging. I have been nervous for the last few years to blog because sharing your personal life, your home, your children, those things are scary. But I’ve really missed the community that I had here and I’d like that back in my life. So, I’m going to share more thoughts, opinions, wins and probably even a few struggles. One of my goals for this year was to blog more, but also to make this an authentic place that doubles as a journal. And to use this format to provide value for those who support me.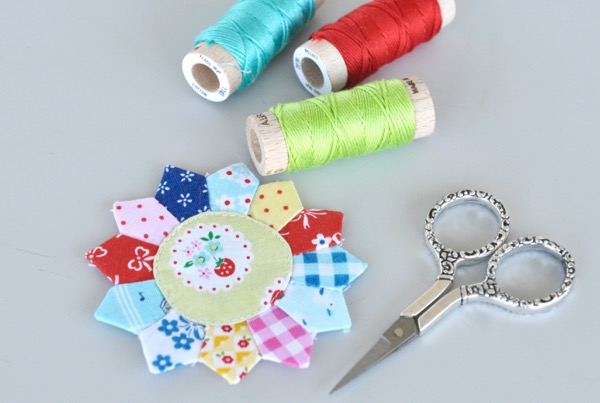
In other news, this dresden measures 3-1/4″ across. It’s adorable.
Are you looking for the winner of my giveaway? Click here to find out!
Last but not least, I’d love to hear your binding thoughts! Have you got any tips up your sleeve?!
Thank you for reading my blog!

great job on your tutorial, amanda! this is my year to perfect machine binding and i will definitely try your method. (side question: does your 1/4″ foot have a guide? i have a bernina, too, but mine doesn’t. just wondering!)
Yes, you can purchase a Bernina 1/4 inch foot with a guide – it’s #57. Or #97 for the 700-800 series machines with the even feed foot.
so excited about this tiny dresden but did as told and it won’t download. Can’t get passed the thank you. What am I doing wrong? Thanks for the pattern & really love it. Help!!
Did you check your email? The pattern is emailed out to you after you enter your address 🙂 Thank you for reading!
Amanda
This is a BEAUTIFUL post Amanda!
Thank you so much, Shari! Hope you are doing well! Amanda
Thank you Amanda. After many years of NOT blogging I have been thinking of starting one just for the same reasons. I want to record some of these thoughts and projects as a journal. I love the pictures of you and the kids. Thanks for this cute block! Right now on the side of a couple of quilts I am making your clamshell pincushion. And I have made the Hexagon pin cushion five times now, it’s my go to sewing friend gift!
You should! It is so fun to be able to look back at past projects & See what you were thinking of when you made it! Thank you, Mary Ann!
Amanda
Thanks for sharing your binding tips. Maybe some day I’ll get brave and try a machine finished binding. You make it look so doable! Thanks for the dresden plate pattern,too. Your blog is great, and inspires me to begin posting regularly, while I improve my technical skills.
LOVED YOUR POST! THANKS FOR SHARING!
Not sure what is happening, but I am not able to get the download of the dresden tutorial.
It asks for my email, then says “Thank You” with a big green check mark. Then freezes on that page. Just an FYI, Ill keep trying ! :o))
Dear Amanda I am having difficulty downloading the Dresden pattern it asks for my email then it says thank you but no pattern.
I’m glad we got this figured out and you found the email! Thank you for reading!
Amanda
I too have switched to machine binding! I LOVE it!. I do mine the opposite by first stitching to the back of the quilt and flipping it to the front and stitching it down. I have started to like the stitching on the front of the quilt :).
Thank you for the super cute dresden too!
Thank you for the tutorial! I could have used this to finish my mini for the mini quilt kit club – I cut my binding at 2.5 instead of 2.25 :O) Thanks for the dresden pattern!
thanks for the video, it always helps to see it visually
Thanks so much for the hints on machine binding–and that adorable mini dresden!! It is sooooo cute!! I think I will be making a few of those….not sure how I will use them just yet, but I love the way it looks!! I enjoy your blog–I follow you on IG, so it is nice to follow-up on your blog, too! It has been so fun to watch your family grow!
I am thrilled with the tiny Dresden plate! It is very cute, and I can already think of a zillion ways to use it! Thank you for sharing it!
I follow your blog by email, and I am a grateful fan!
Great video,? lovely to hear your voice…. Makes you seem more ‘real’ if you know what I mean. You make it look so easy. I have a baby quilt to bind and will use your video to machine it…. Xx
Thanks Amanda! My internet co. put it in the junk mail. I have retrieved it and want to say many thanks for the sweetest pattern ever. Will enjoy doing go many things with it.
This is the BEST tutorial I have seen on machine binding yet, through the entire process.
Thank you so much!
That was fantastic! Great camera angles and close ups! Very clear steps. Now I know the measure with the fabric and snip secret. I’ll share this with my friends. Thank you Amanda! Nice FMQ swills too. Blessings!
Thanks for sharing the tutorial, its very helpful.
Thanks for a great tutorial. I always learn something. I never thought about using the end of the binding I cut off as the “tape measure” for cutting the overlap. Great idea! I do the corners a bit differently, and I never remove the quilt from the machine – might save a couple of seconds. Maybe one day I can show you. =)
Thanks again!
Oh – and I love to see Brit and Ella taking the clips off. Super fun!