So has this quilt been easier than you thought it was? We are on the home stretch and after today’s instructions you will have a finished quilt top!
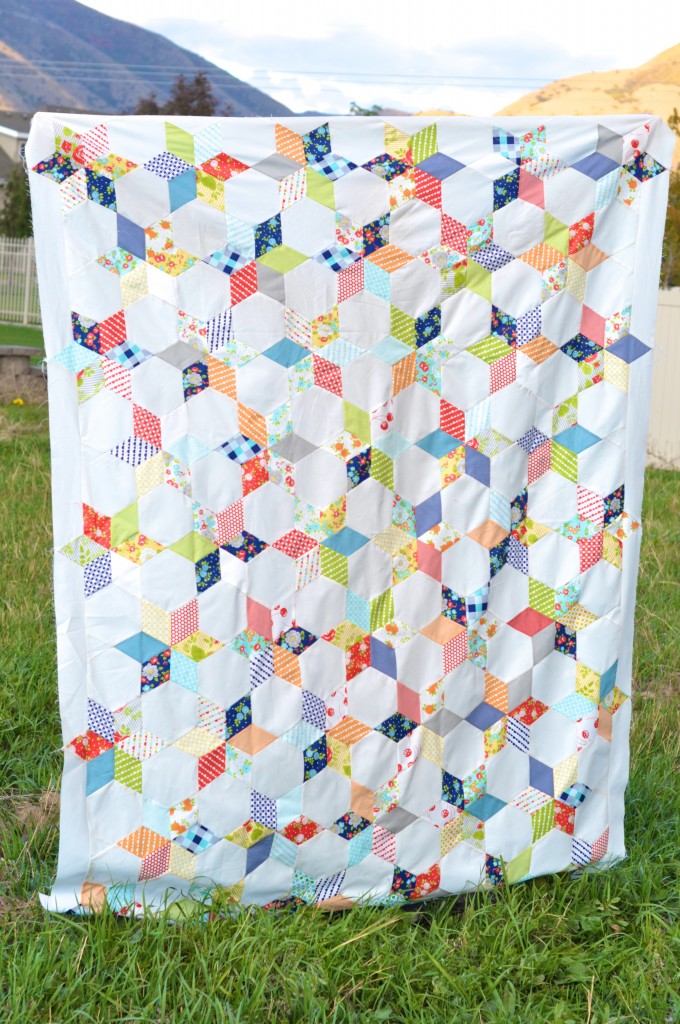
To start, you’ll need to download the template for the top and bottom borders. You’ll be able to find that template here. Print it out and trace it onto a sturdier card stock.
In my first post, I had you cut 3″ strips, you will need four of those for the left and right borders. For the top and bottom borders, cut two 3.5″ strips from your background fabric. Using the template, cut eight complete shapes and four partial shapes. This will get a little bit more clear if I demonstrate.
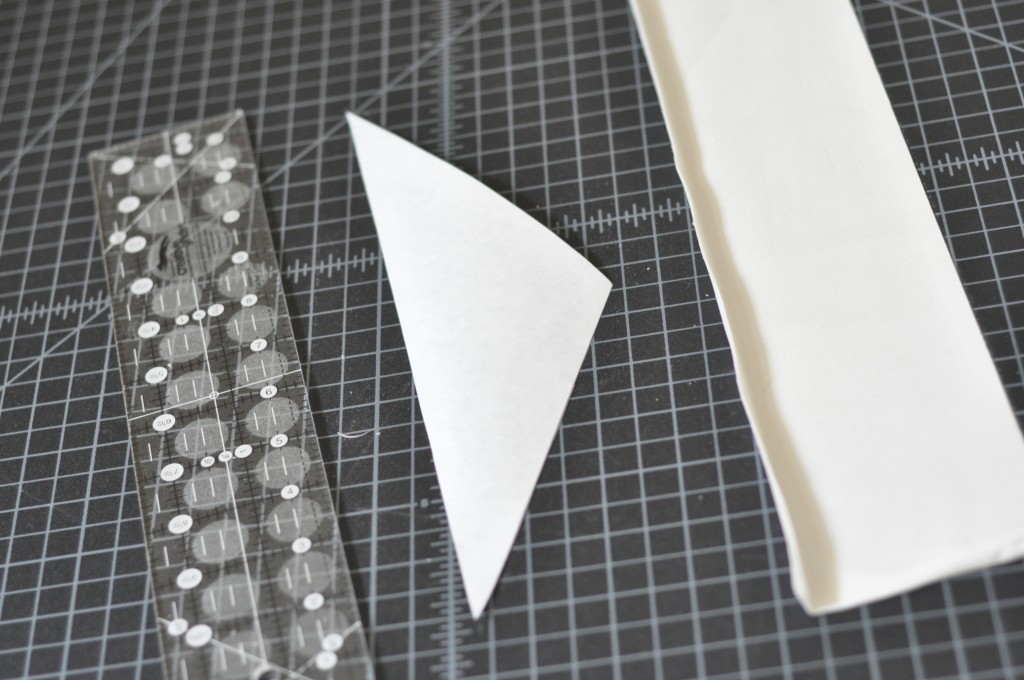
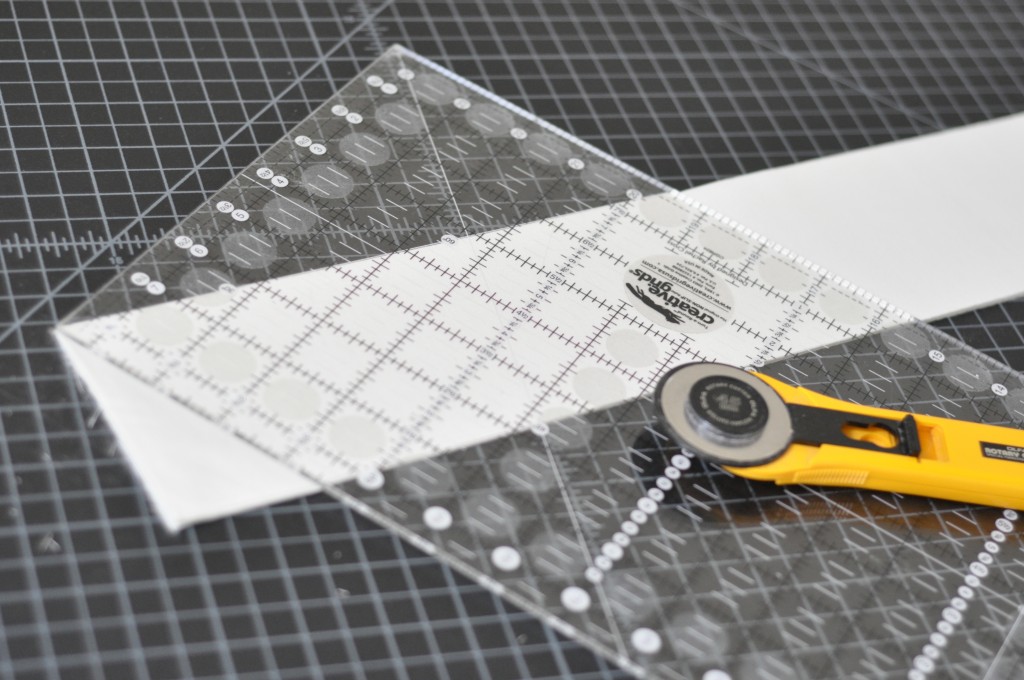
Line your template up on top of the fabric with the long edge (hypotenuse) against the straight edge of the fabric. I often use a piece of double sided tape to get it to hold still while I cut. Get the corner tip as close to the fold as possible. Lay your straight edge ruler on top and make your first angled cut.
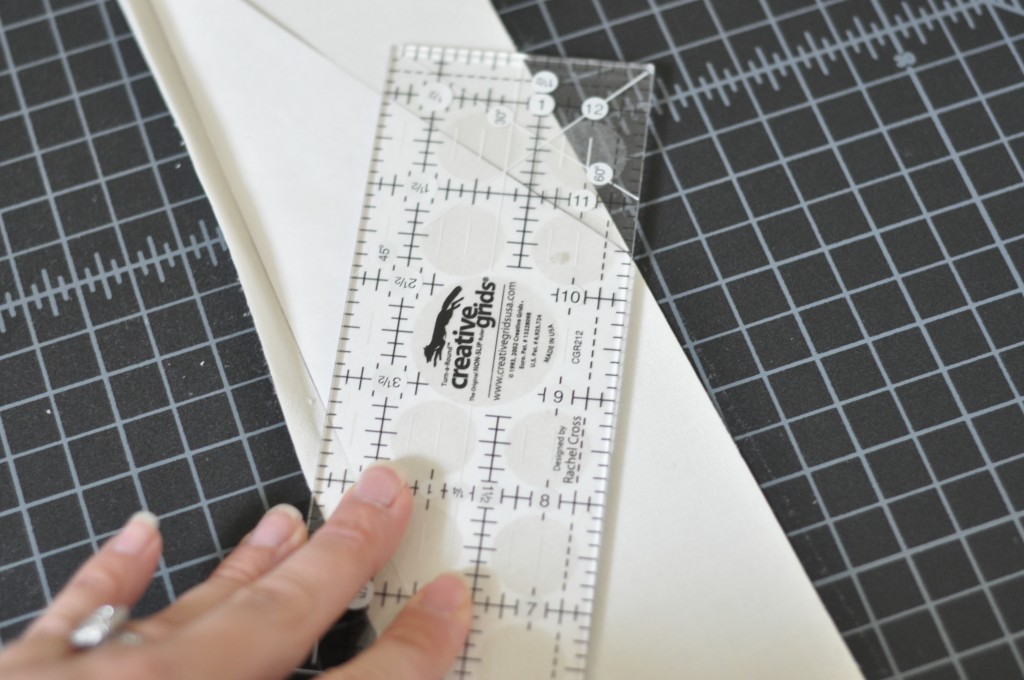
Carefully lift up the ruler, and lay it against the second short side. Cut out the shape. You now have 2 shapes cut.
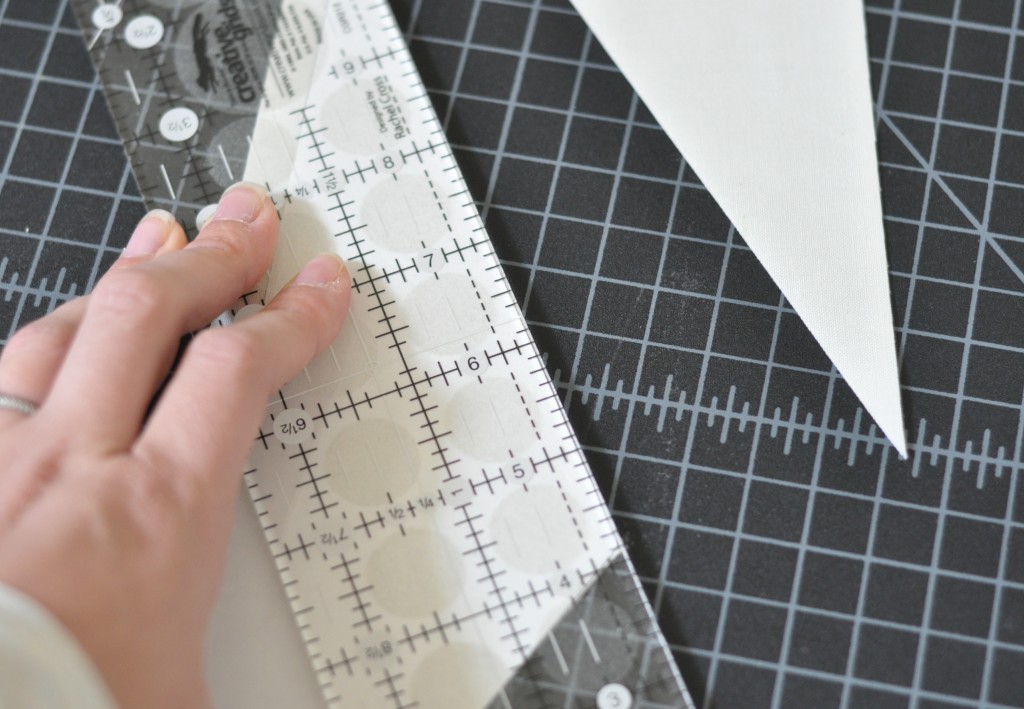
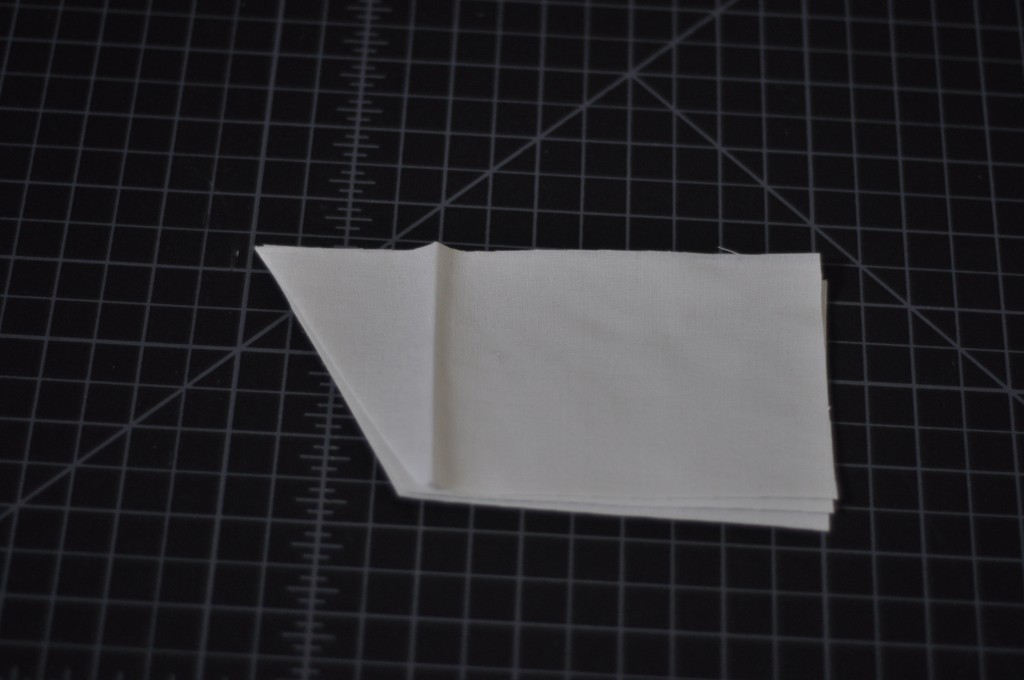
Lift up your template, rotate it 180 degrees and stick it back on the fabric, making sure the hypotenuse edge is straight with the fabric and the obtuse angle is just touching the opposite edge of the strip. Cut out your second shape. You should now have four complete shapes. If you flip the template over one more time, you will get a shape that is short on one edge.
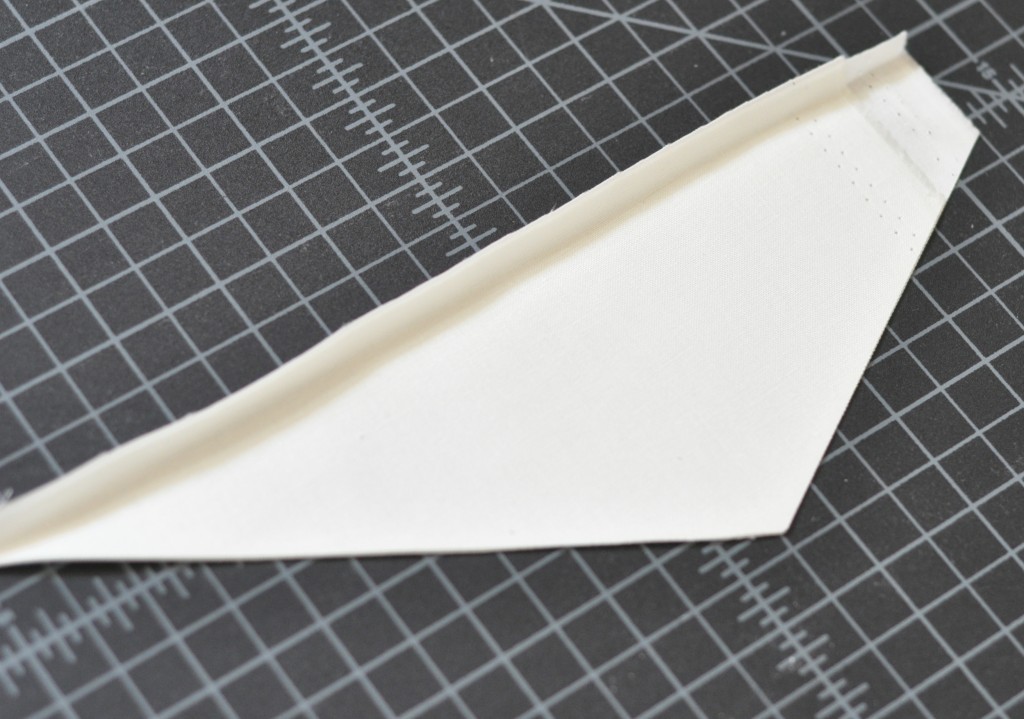
Repeat with the other strip for your 8 complete shapes and 4 partial shapes.
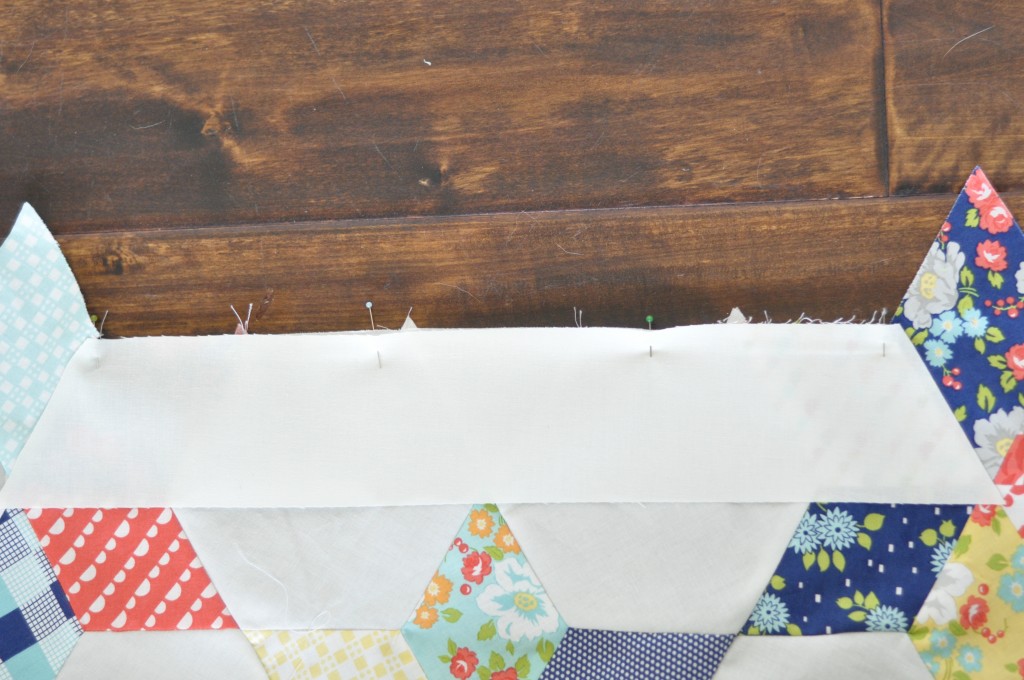
Now, I really should have taken a picture from further back, but I hope you can get the gist of this. We are going to sew these shapes into the zig zag at the top and bottom of your quilt.
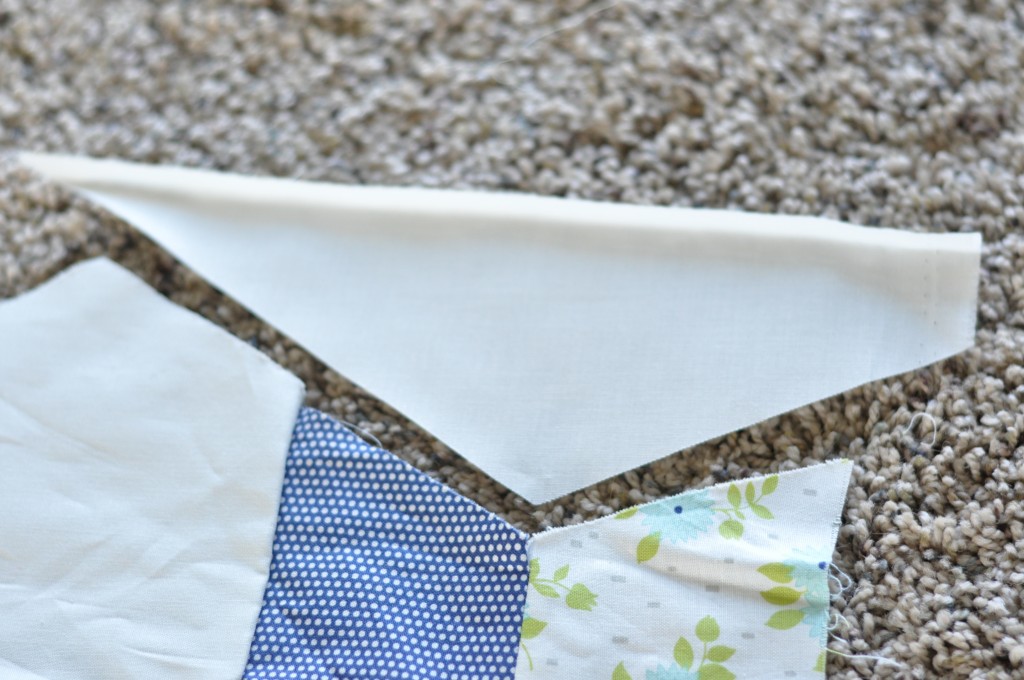
To do this, we are going to lay out the piece, then flip it, right sides together with the long sides touching. Pin.
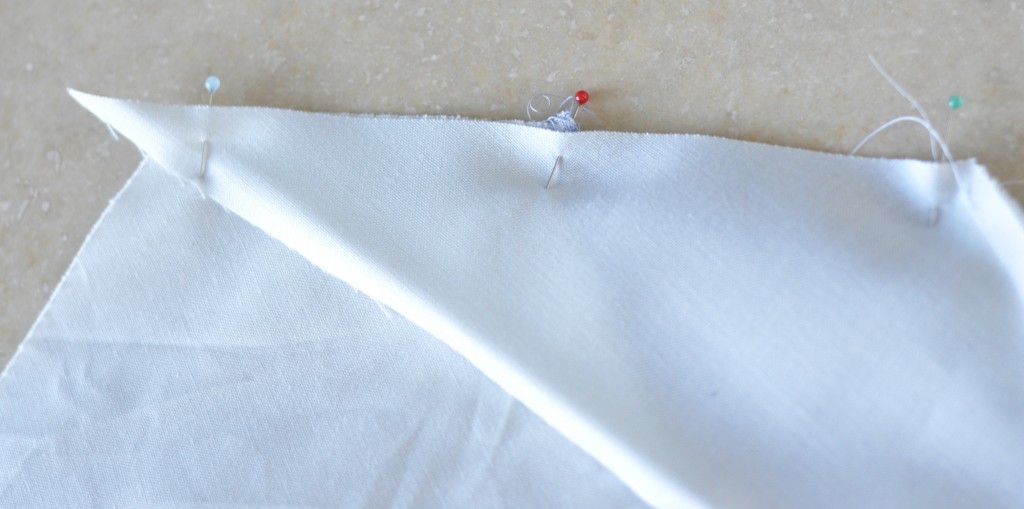
Sew all the way from the edge to 1/4″ from the inside angle. Make sure to stop before you reach the ‘Y’ seam.
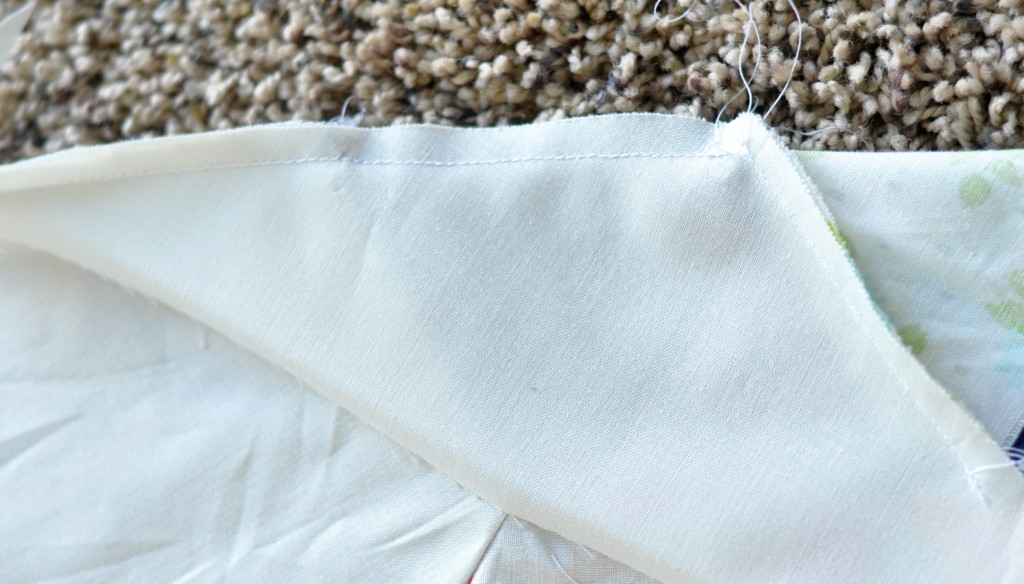
Using the same technique we’ve used in both previous tutorials, we are going to twist the fabric so that the short sides are lined up at the inside of the ‘Y’. Pin and sew, making sure that your new seam goes all the way to the outer edge of the diamond, but the inside seam stops 1/4″ from the edge (use the previous seam as your guide). For each of my quilts, the partial shape has been at least long enough to reach the edge of my quilt, and usually they are longer. If yours have overhang on the vertical sides, press and trim to a straight edge.
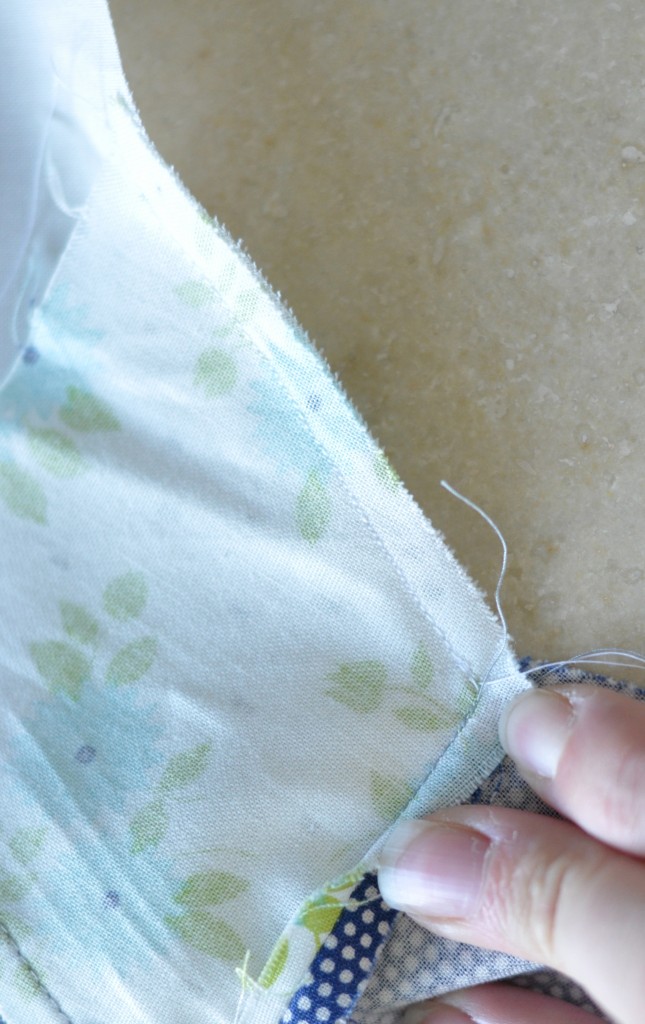
Lay out your next triangle shape in the next gap. Repeat the above steps inserting these into the corresponding spaces. This goes so much faster than you might think!
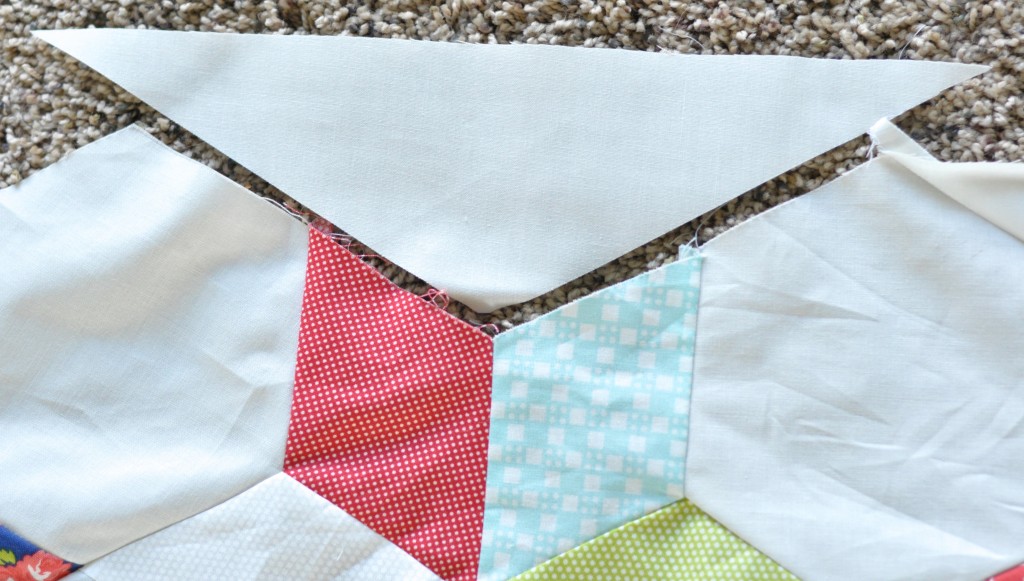
Once you’ve tackled those, the side borders are SO easy.
From your 3″ strips, trim off the selvedges and lay your ruler against the cut edge of the fabric (NOT the fold!). Cut two pieces 17.5″ long.
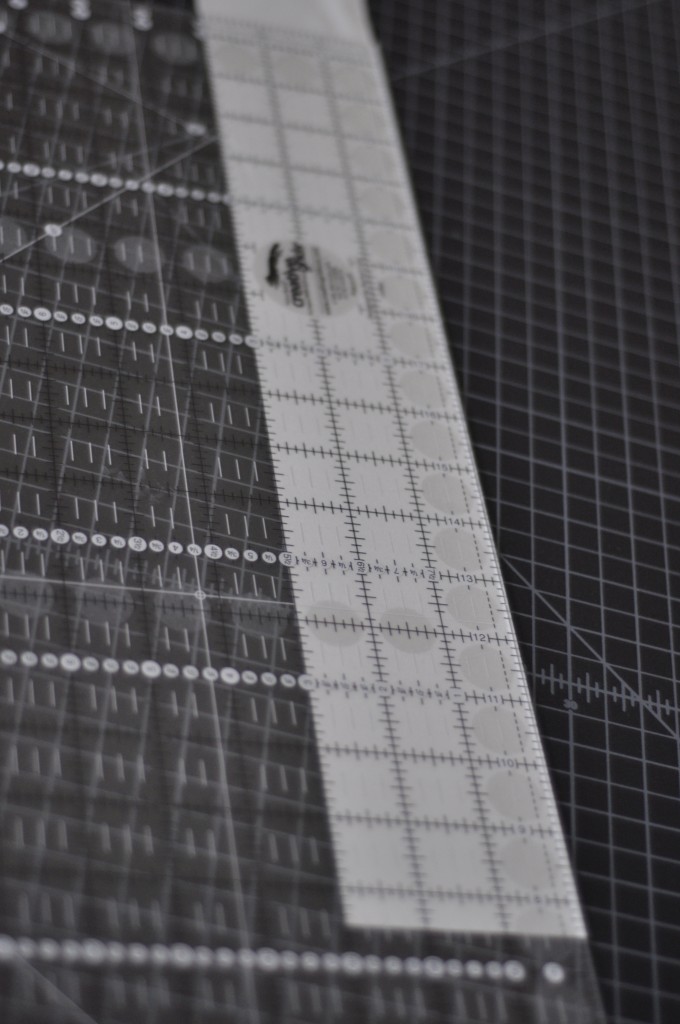
From the four fold pieces, cut four 6.5″ strips.
With the 17.5″ strips, lay your ruler’s 30/ 60 degree line against the top of the strip and trim your edge to look like this.
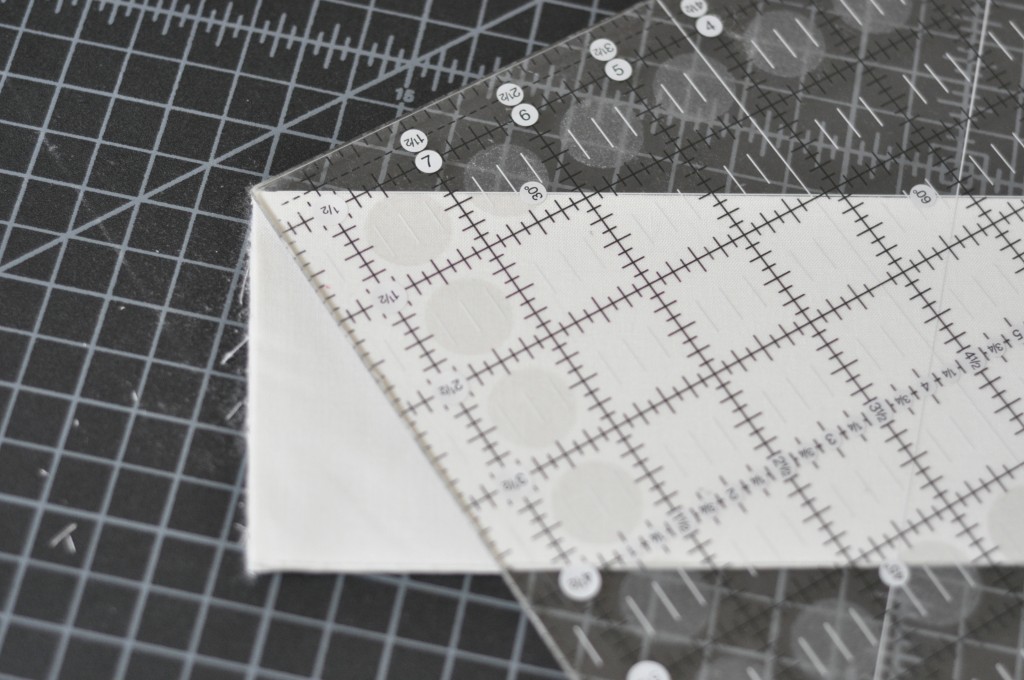
Bring the uncut edge toward you and repeat, making sure that your are trimming it so that there is one long side, and one short side, not a long diamond shape.
With your 6.5″ strips, you only need to trim one side of the strip.
Lay one of your strips right sides together against one of the open spaces on your quilt top. Make sure the edges line up on either side (this will be a little bit awkward because of the y seam, but remember that your fabric isn’t fragile 🙂 Pin in place. Sew these together starting and stopping 1/4″ from either edge.
Once this seam is sewn, twist the angled part of the border up and pin to the naked part of your star.
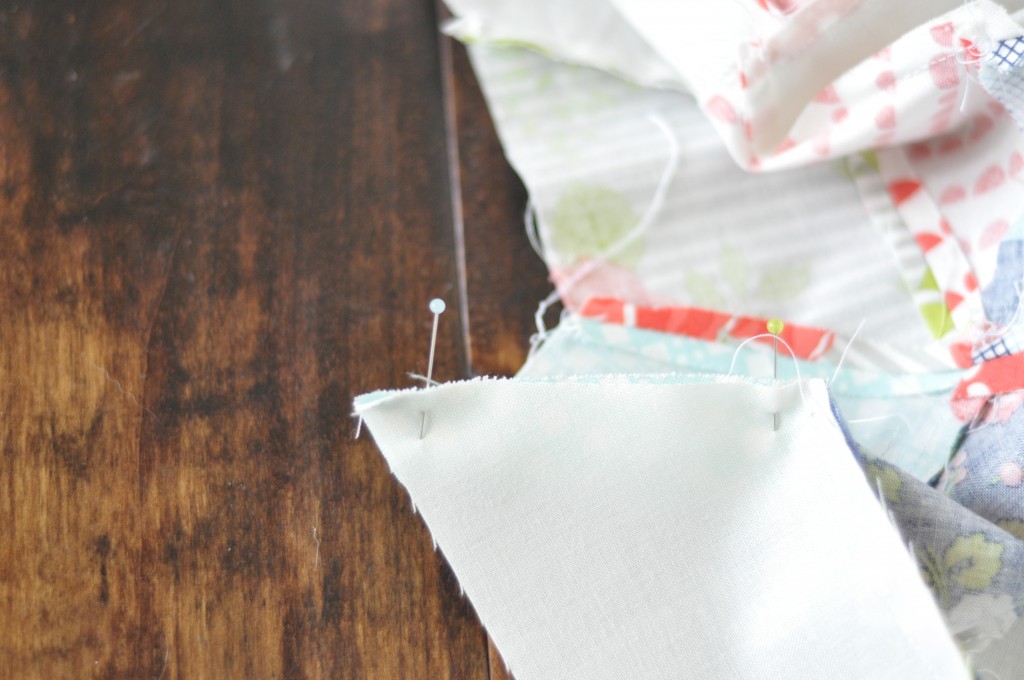 Sew these together from the edge to the inner ‘Y’ corner, stopping at the previous seam. Repeat this on the other side. For your 6.5″ strips, you’ll use the same technique, with the angled edges towards the diamonds and the straight edge on the end of the quilt.
Ta da! Your quilt is *technically* finished. For my Briar Rose quilt, I chose to add 3″ plain borders all the way around, and on this quilt I am thinking to add 1.5″ all the way around, just to give it a bit of polish.
So, have you made progress? Would you like to me to try and hold a link party so we can see whate everyone is doing? I would certainly like to see if anyone else made this pretty quilt!
In the meanwhile, I’m about to cut into this bundle of luscious scraps from a very sweet and generous friend. I wonder what I’ll make!

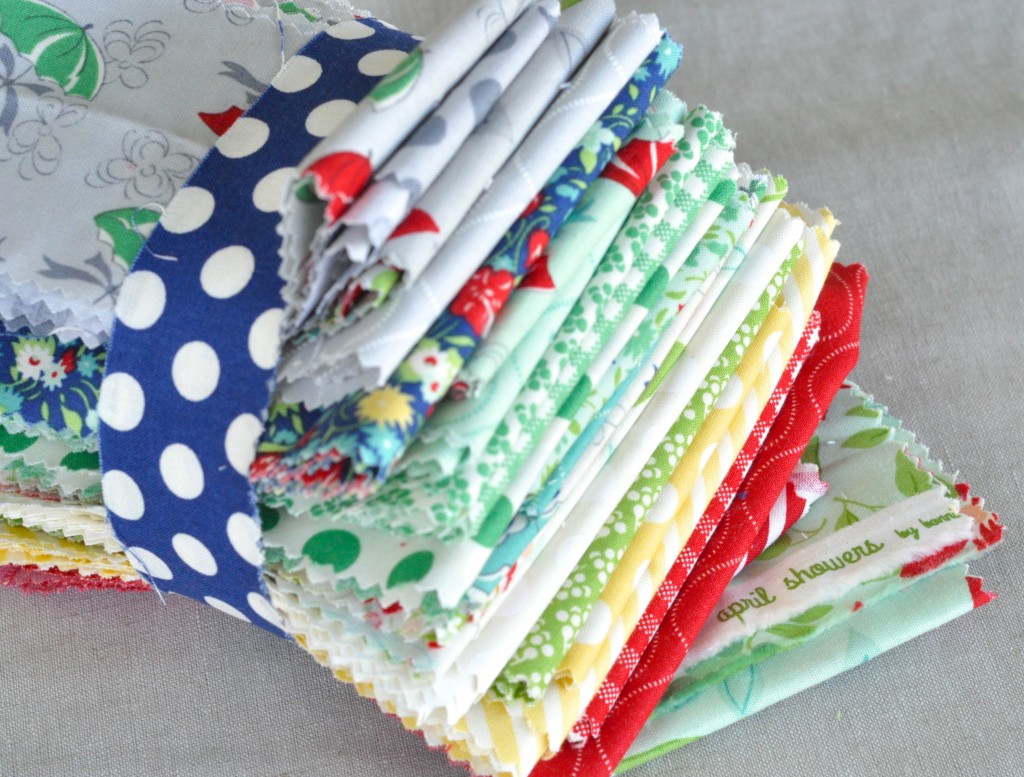
Another gorgeous quilt top Amanda!! I am sure you will come up with a great plan for April Showers too 🙂
So excited! Now I need to get back to my starflowers!
I am still working on mine. Would like to get the top finished this week.
Fabulous.Love,love.Thanks for the tutorial!!
I am so bummed I missed this quilt-along! I just now found it after seeing a finished top on another blog. I have scoured through your posts on this quilt along and found this makes a twin sized quilt – I tried and tried in my EQ6 to lay it out to see fabric requirements for a full or queen sized bed (I don’t ”do” small quilts anymore unless it’s for a baby), and I couldn’t figure out how to lay it out in the program. Anyhow, if you know the requirements for fabric for an 80-ish inch square quilt, that would be fabulous! I mostly need it for background fabric so I can get it ordered 🙂 Thanks for the inspiration!
I am so close to finishing my starflower quilt top! So excited! I’m so glad I did this quilt-along! I feel like it has really helped me improve and be less intimidated with what I think I can do! I’m definitely glad I sewed along and didn’t know the next steps or I think I would have thought it was too hard for me but bit by bit it isn’t and is so fun! So thank you! I’ll post on Flickr once I have the top done. I’m super curious how people plan to quilt the top!