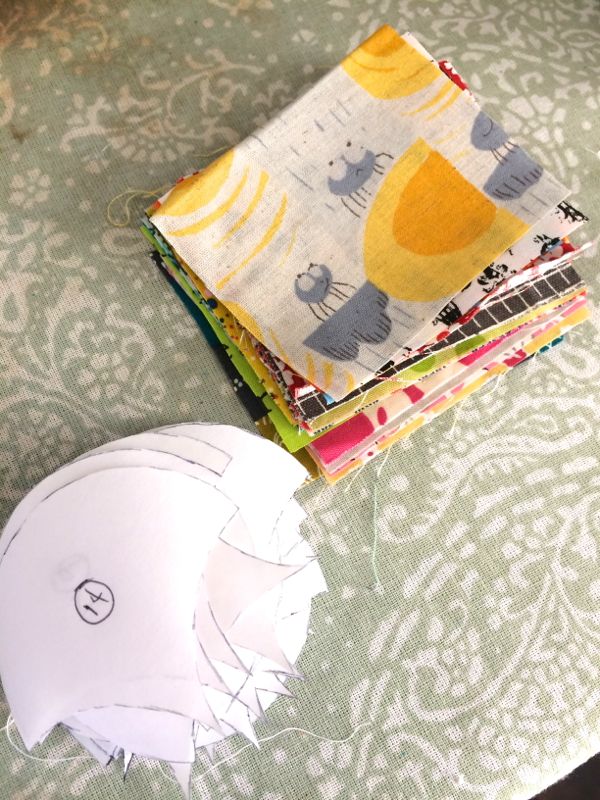
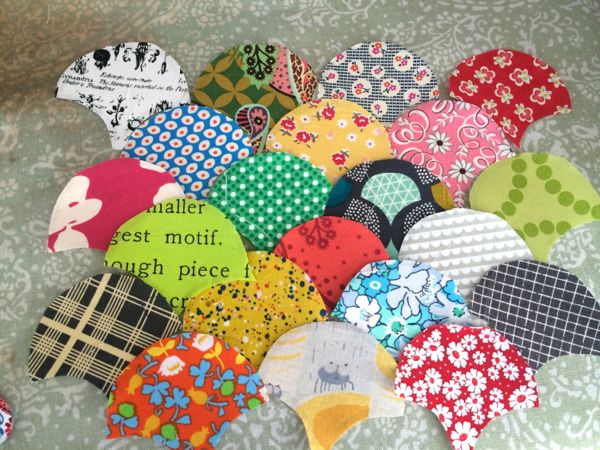
I’ve been (very slowly) working on the applique portions of my Green Tea and Sweet Beans Quilt. I have to admit, I am not a fan of hand applique so far, but it is really nice to have a portable project. I’ve been carrying this pretty bundle around while workong on one of the blocks that intimidated me the most, the clamshells.

There are a few different types of hand appliqué, needle turn, freezer paper, dryer sheets, and after trying a couple different methods, I chose to do the freezer paper applique method for this. There is a great tutorial here if you’ve never tried this before 🙂
To make this block, you need scraps that are at least 3.5″ x 4″, I found and you’ll need the same number of freezer paper templates as you have total clams in the block. I traced (and traced and traced) and numbered each copy of the original template from the Green Tea and Sweet Beans book until I had 21 copies – with the writing on the paper side of the freezer paper – and then I cut them out on the line.
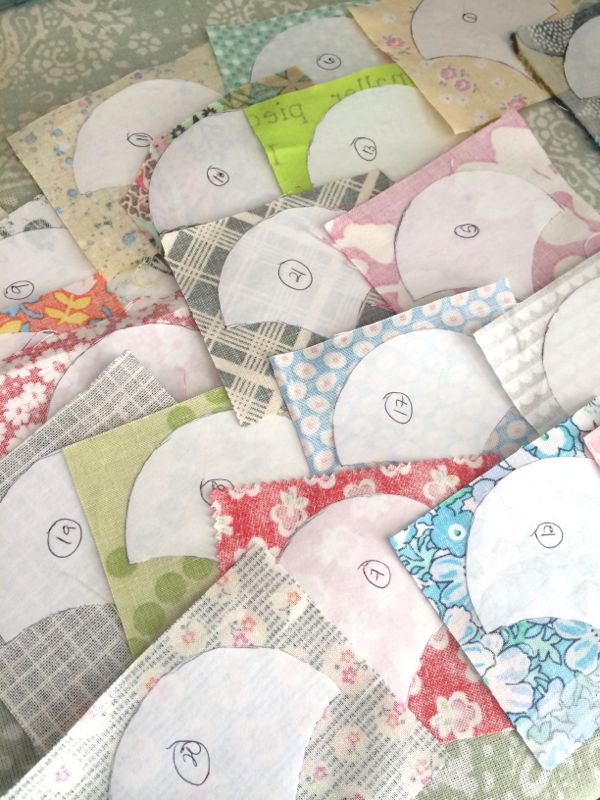
Then, I ironed each clamshell shiny side down onto my scraps. Then I trimmed a scant 1/4″ away from the clam. This doesn’t have to be exact, but I wouldn’t do much more and I wouldn’t do too much less either. Then, I starched each piece and carefully used my iron to tuck the seam allowance under.
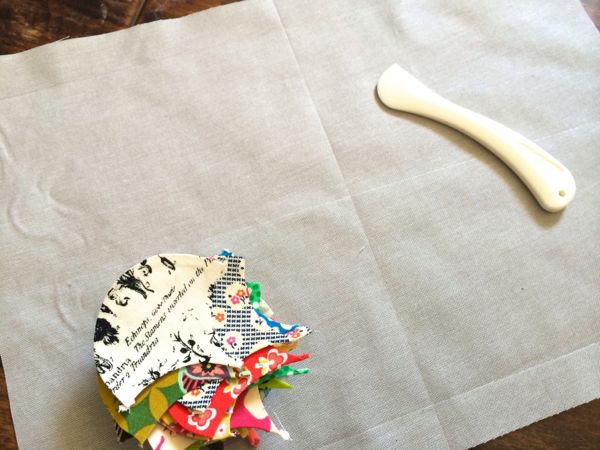
After cutting my background fabric (I used the shot cotton from my Green Tea and Sweet Beans kit and I love how it makes the fabrics glow. If you use the same piece ZIG ZAG the edges. You will thank me) I marked the top line with a hera marker. I also marked the center line. This is super important. The key to this block is working from the center out and keeping everything level while you do it.
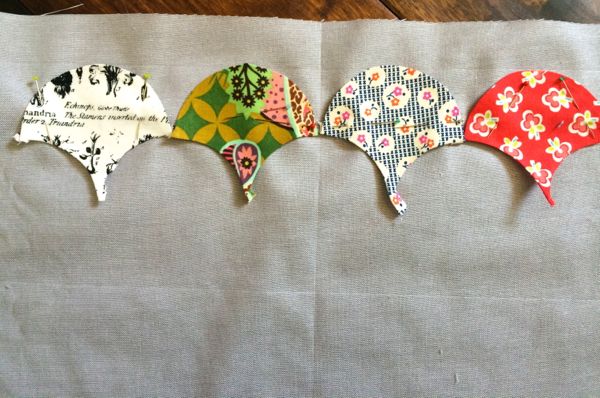
So, start by stitching the back, center two clams down. Then, using the top line and corner of the two already stitched down clamshells. Center the outside clamshells, and stitch those down. For each clamshell, I pin the left side, right side, and center. This keeps it from wiggling.
After stitching down the back row, I drew a new line with my hera marker horizontally across the piece at 1/8″ above where the side corners meet. I used that as a guide to keep everything straight.
A couple random tips: For rows that have 4, only stitch down the outside concave curves and the top curves for each clamshell. Only stitch the TOP curve in the rows that have three, but make sure as you stitch that down that you catch the bottom curve of the clamshell above it. This will give that nice overlapping look and you won’t be repeating any of your work.
Take a picture of your layout. These take long enough to stitch down your memory – if it’s like mine – might not put everything back exactly like you liked it.
As you add rows, always add from the center and make sure your clams are centered on your line.
Don’t worry too much about tucking the bottom ‘tails’. All but the bottom 3 clam tails get covered up and look perfectly pointy without any extra effort.

If you are an applique expert and you have an idea to share, please feel free to do that in the comments!
PS: I’m working on figuring out why some people can download the free pincushion pattern and others can’t. Technology baffles me and I am trying to find another good solution that isn’t google docs. Suggestions?

So love your clamshells…have had many thoughts On making something with this pattern..but havent come to that YET…lol…
A pilot isnt that hard…right…:0))
PILLOW…:0)) a pilot would be very hard to make..lol.. Oh My gosh these Word corrections drives me crazy sometimes…:0)
This is a great tutorial! I really want to give this a try. Love your free pincushion pattern – I’m one who can’t download or print it but unfortunately I don’t have any suggestions for an alternative to google docs.
Well, they look amazing. I’m no applique or English paper piecing expert, but I’d say you were!
p.s. on your previous posting of the stunning little pincushion, I’m having real problems trying to print the pattern, any clues how to or could you possibly e mail me a copy? Many thanks if you can. x
Try downloading a free PDF software. Save your file as a tutorial right on your computer not on Google Docs. It should work and you won’t have to use Google Docs.
The clamshell block is looking fabulous!! You’re going to love your finished project
Hi Amanda,
I’ve started cutting out my applique pattern pieces for my GTSB quilt. Here’s a tip to make multiples of the same pattern piece: After tracing the pattern piece on freezer paper, I fold the freezer paper several times, with the traced piece on the top fold. Then I staple the freezer paper layers together, inside the pattern piece. For the clamshell, I used two staples. Cut around the pattern piece through all of the layers. Use a staple remover to pop out the staples. I usually do no more than six folds at a time. It’s a big time saver. Years ago, I started a Baltimore Album quilt. This really came in handy for all of the pieces in it. (notice I said started?? LOL! )
Denise
PS…Thank you for the tutorial!!
Denise