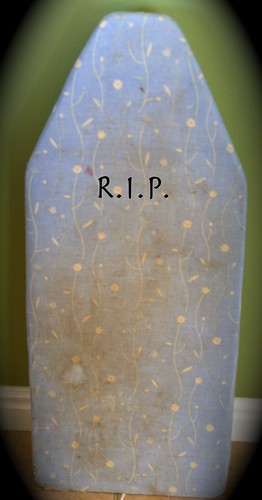
I hate ironing. I think I should just come out and say it. Ironing is the WORST part about sewing for me. But, I do notice a difference in the quality of my work when it has a good press to it, and so I muddle through. Up to now, I have done all of my ironing on this bad boy
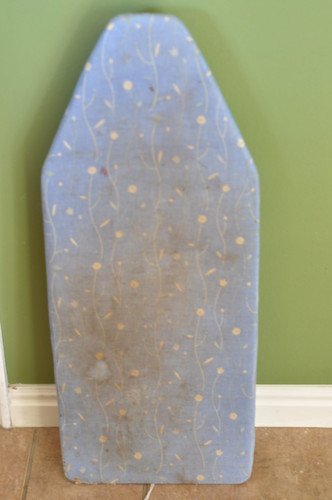
You see, this is completely without finesse. It has lumps and bumps in all the wrong places. And I am seriously starting to fear that it is going to make whatever I am pressing equally disgusting unglamorous.
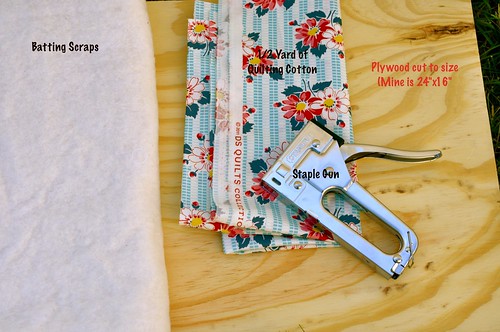
Materials for custom pressing board.
So, inspired by this lovely lady, I set out to make myself a new pressing surface. That ugly old ironing board never fit well onto it’s allotted space anyway. First, I measured. My ironing space is the top of my dryer. I have a dryer with the lint trap on the top, so I measured the width and then the depth from the edge of the lint trap. It was 26″ x 16″. I found a scrap piece of 1/2″ thick plywood at home depot for about $5 and had my dear Mr. Fox trim it down for me. I do love my fantastic Mr. Fox 😉 Then, I gathered up my supplies. You are going to need:
Plywood
Staple Gun (with Staples!)
Batting Scraps (Enough for 2 layers)
1/2 Yard of Quilting Cotton
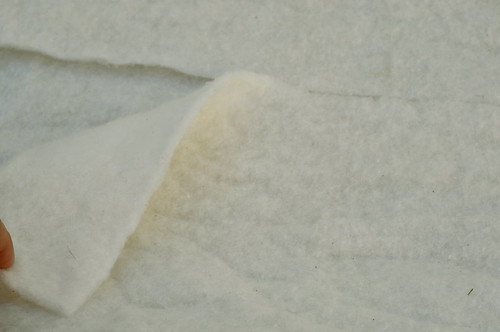
Once the wood is trimmed, you are going to want to trim your batting scraps roughly to size. I had to use two narrow pieces to make up one of the layers. It works great, just don’t overlap, make sure they are flush laying next to each other.
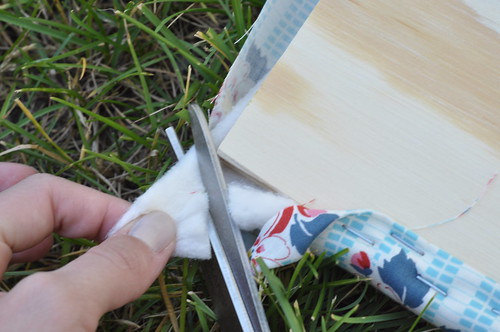
Then, layer the quilting fabric on the top, smooth it out, and flip the whole shebang over. I made sure that the batting came right up the edge of the plywood on the first side, rolled the edge of the fabric over and started stapling. When I came to a corner, I pulled the batting tight and trimmed pretty close to the edge.
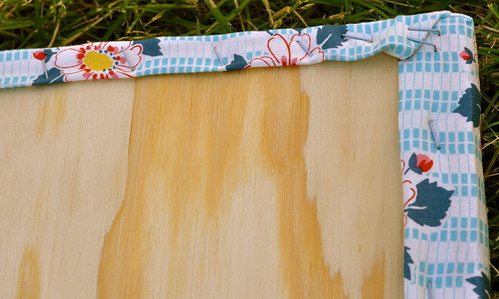
Then, I folded it like I was wrapping a present with no raw edges and stapled it down.
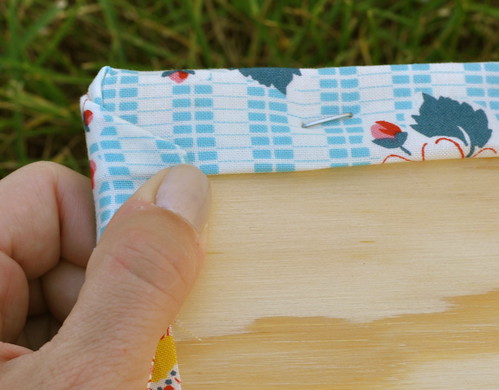
Then, pulling the batting tight around the edge, I trimmed off the excess (so none would get stapled to the bottom of the pressing mat and cause lumps). Then, I resumed my fold over and staple.
At the end, I went back and pushed all of the staples that weren’t quite flush over. The whole process took me about 15 minutes and I LOVE the results.
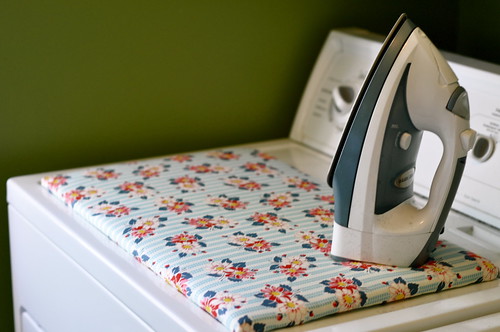
Thank you, Kelly, for the awesome idea. I am *almost* looking forward to ironing, now!
*some links are affiliate meaning I make a small commission if you click them. Thank you for supporting my blog!

lol I hate ironing too. . . and my board has some pretty fabric on it. . .and it looks kind of gross too. I should wash it and see if looks better.
I am totally with ya on the ironing. I hate ironing for sewing projects. I hate ironing my own clothes. If I see a dress I like but it looks like it would wrinkle easily, I refuse to buy it.
That is a great idea and super cute finish. I HATE ironing too… maybe that is what I like pre-cuts so much, no cutting and no ironing. Just design and sew! 🙂
Your new ironing board is so much prettier!
Oh I totally hate ironing too, I NEVER iron my clothes, nope, nothing, I buy things I can grab out of the dryer or off hte pully, give a quick shake to and wear. However, since being bitten rather badly by the clothing sewing bug recently, I’ve bought myself a whole new iron and ironing board (the old ones, which I really just had for show, were absorbed into the flatmate’s room, and I’m sure are beyond revolting now!). I was at my mum and dad’s last weekend though, and trying to get something sewn, when i found myself coveting my mother’s ironing board, which was bigger than mine – argh! Had to go and lie down in a darkened room immediately…
Would it be better to use insulbright? or might that heat up too much?
Oh, cute! MUCH better. I like it even better than Grandma’s curtains, and it’s certainly much better than the old ironing board. Nicely done! Now if the mending were just that satisfying!
I love your new table .. the last picture is great
Love the new ironing board! I think I may do something similar. I have almost the same one you have just a slightly different fabric. i loathe ironing but will do it if I have to and my board has damaged some of my fabric. :-0 So the old one must go…hope to make my new one soon!
Great job Amanda! It would almost make ironing a pleasure…almost. ;-P
Cute Cute!! I actually don’t mind ironing. Is your iron cordless?? Now THAT would be awesome!
re-covering my mini ironin board has been on my to do list for yonks – thanks for the kick up the proverbial to get it done!!
Too, too, too cute! That is such a great idea to iron right at the dryer.
I am a professional seamstress. Pressing is the most important part of sewing. I finely pressed seem means a fine finished product. I have two manglers/presses and two cordless irons. I love them all. Now personal ironing I do in front of the TV. It is my one excuses to stop and watch a movie. So when the pieces add up, I do all my ironing at once. I like your board, but I would need the curved end for shoulders, etc.
Well done that was a great job !!
Oh wow! This is awesome! Cute and clever!!
Thanks for taking the time to show us how.
Sincerely, Trish
What about when that fabric gets stains, you can’t just take it off and wash it. I do love the idea and will probably try it with a drawstring or something, I dunno lol.
Doesn’t it slide around on your washing machine top when you press something on it? I would have thought it needed some rubber feet attached.
Nope! It sits there just fine 🙂