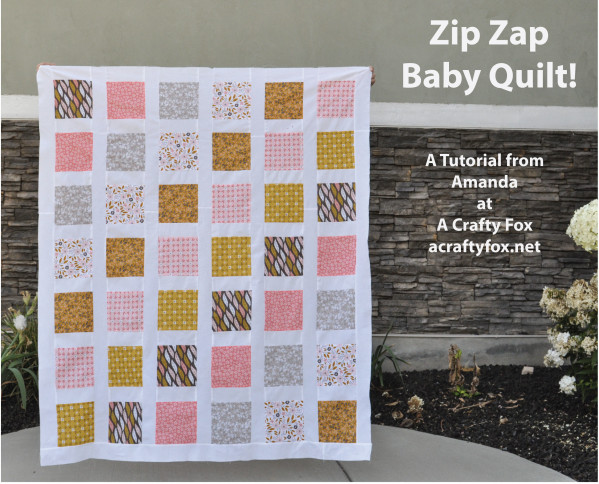
I made the fastest quilt ever. True story. This little quilt takes just 1-1/2 hours. How you ask? Well, that’s why I’m here today 🙂 Follow the instructions below to make a super quick, incredibly easy baby quilt and have all of your friends asking how you have time to sew. Ha! I’m planning on tying this one instead of quilting it. I think the simple pattern calls for a simple finish! Now, the tutorial:
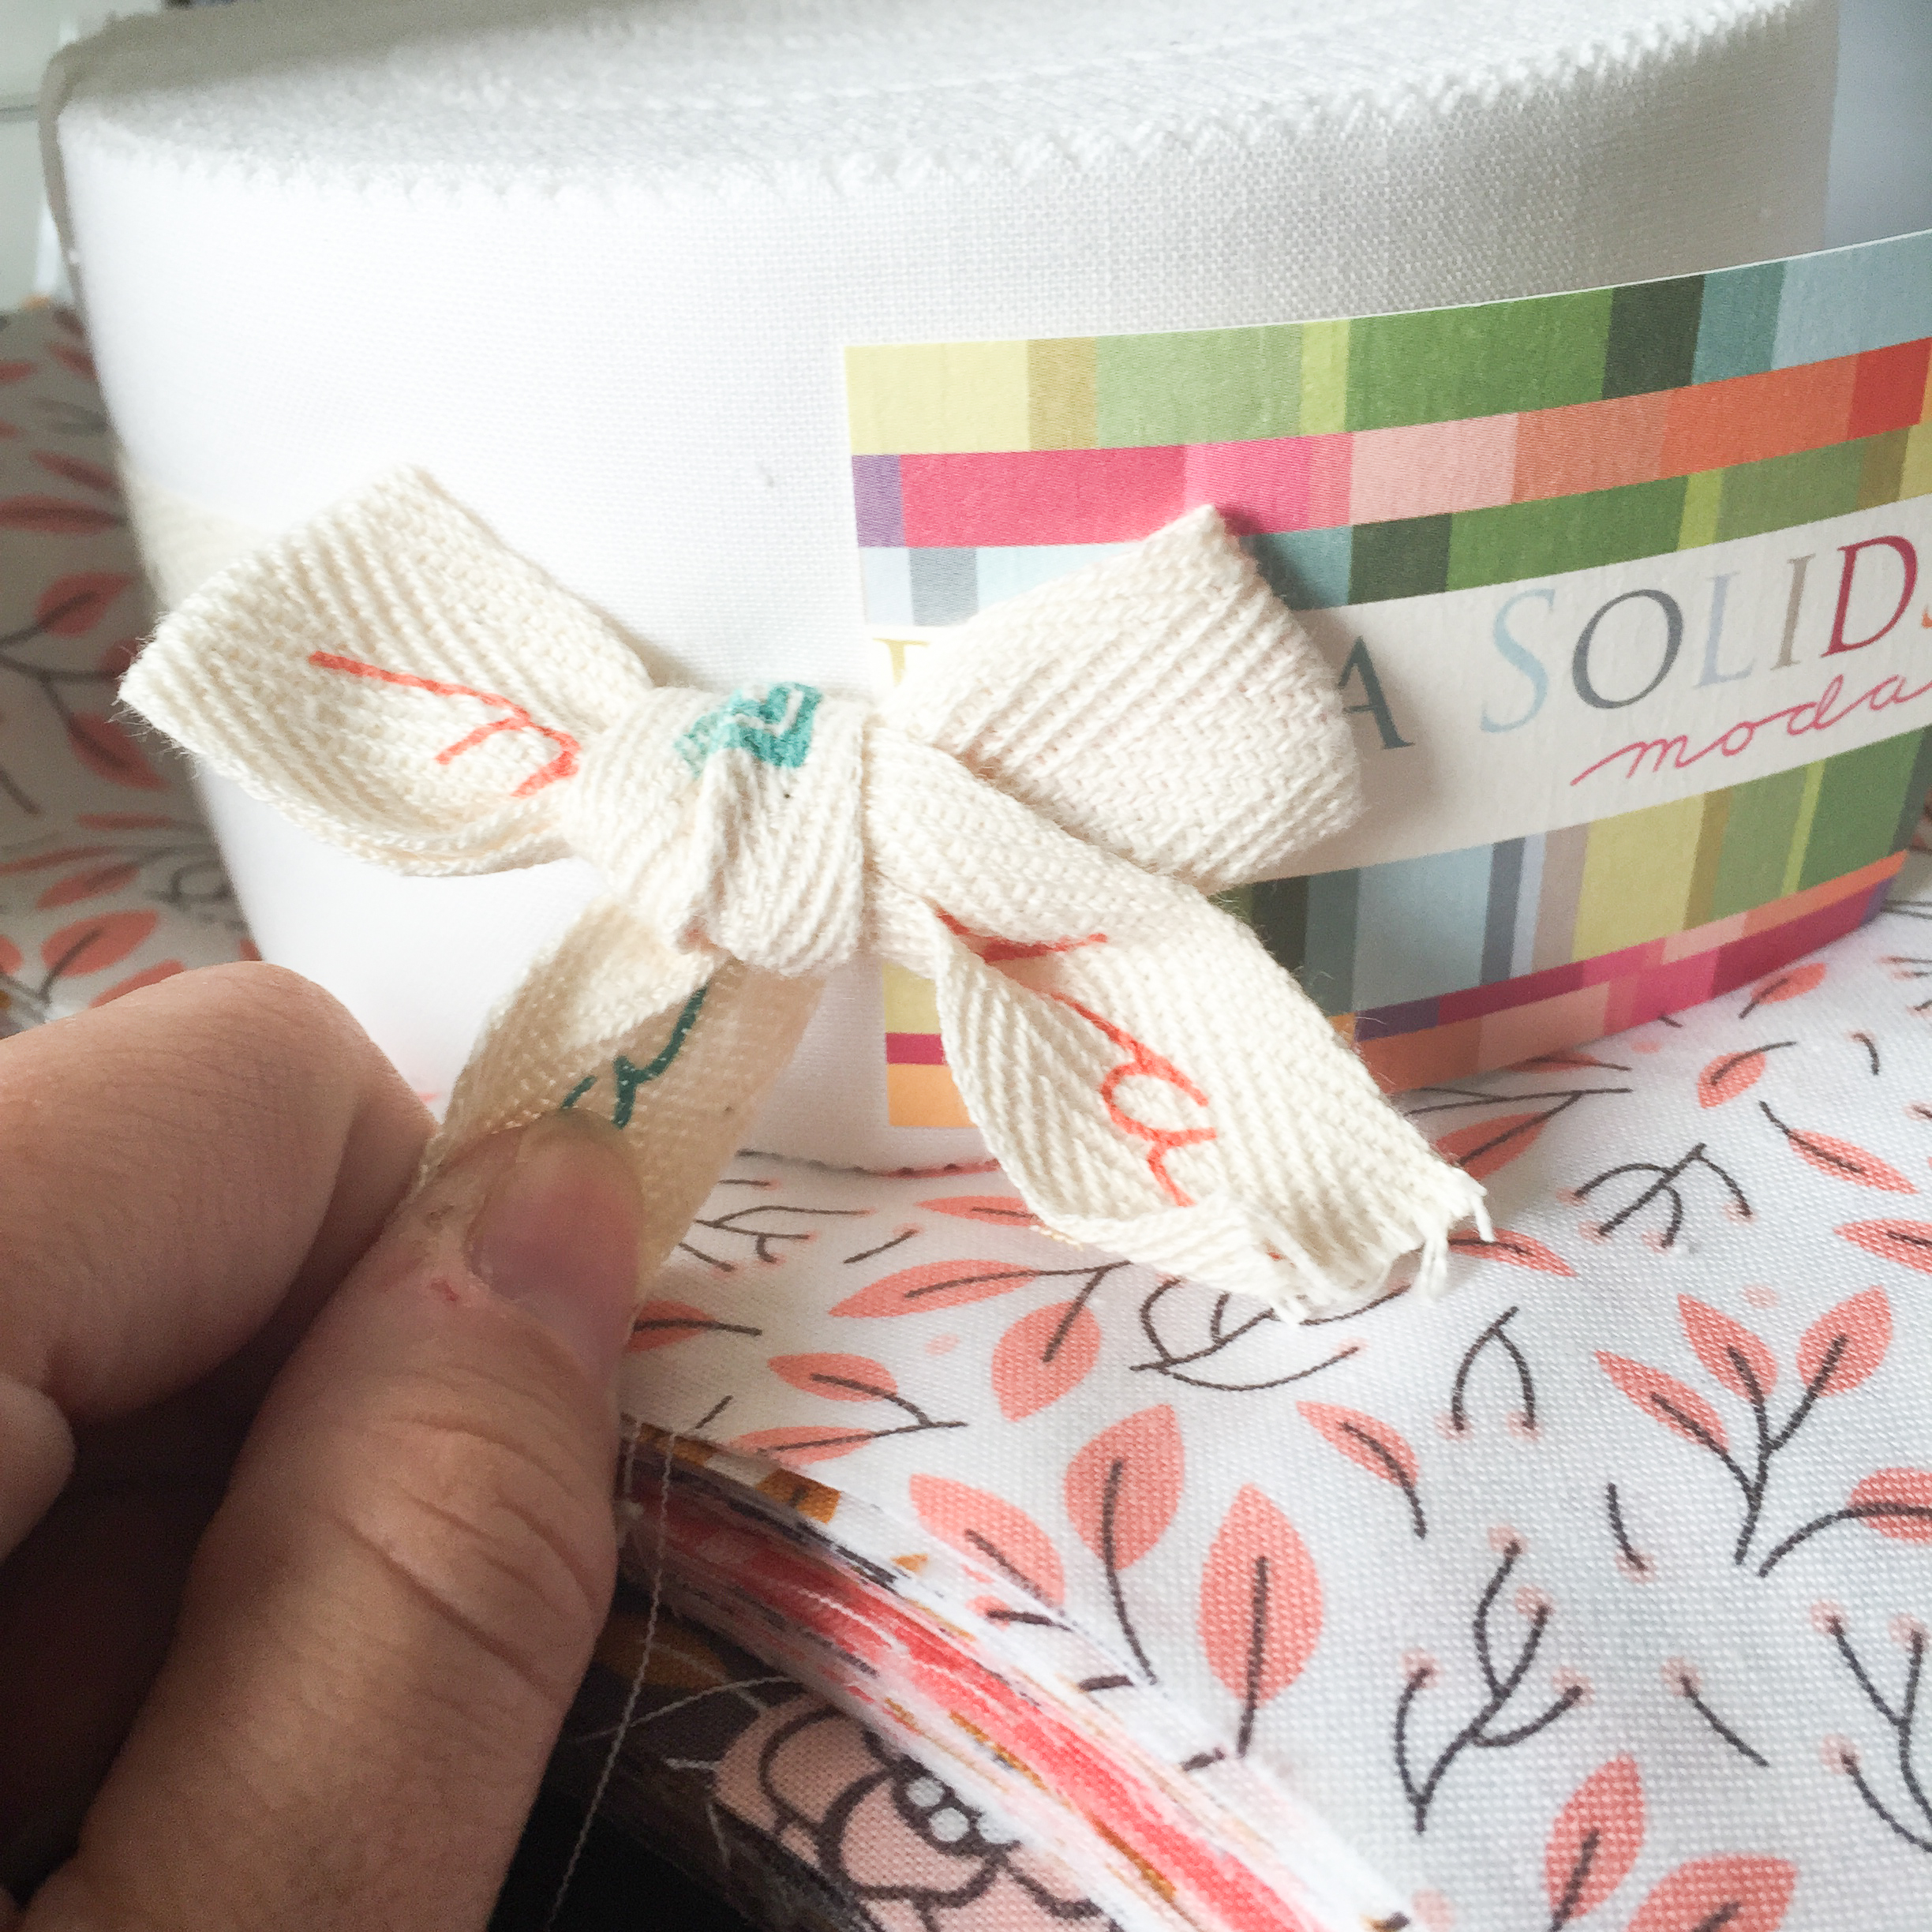
 Gather your supplies:
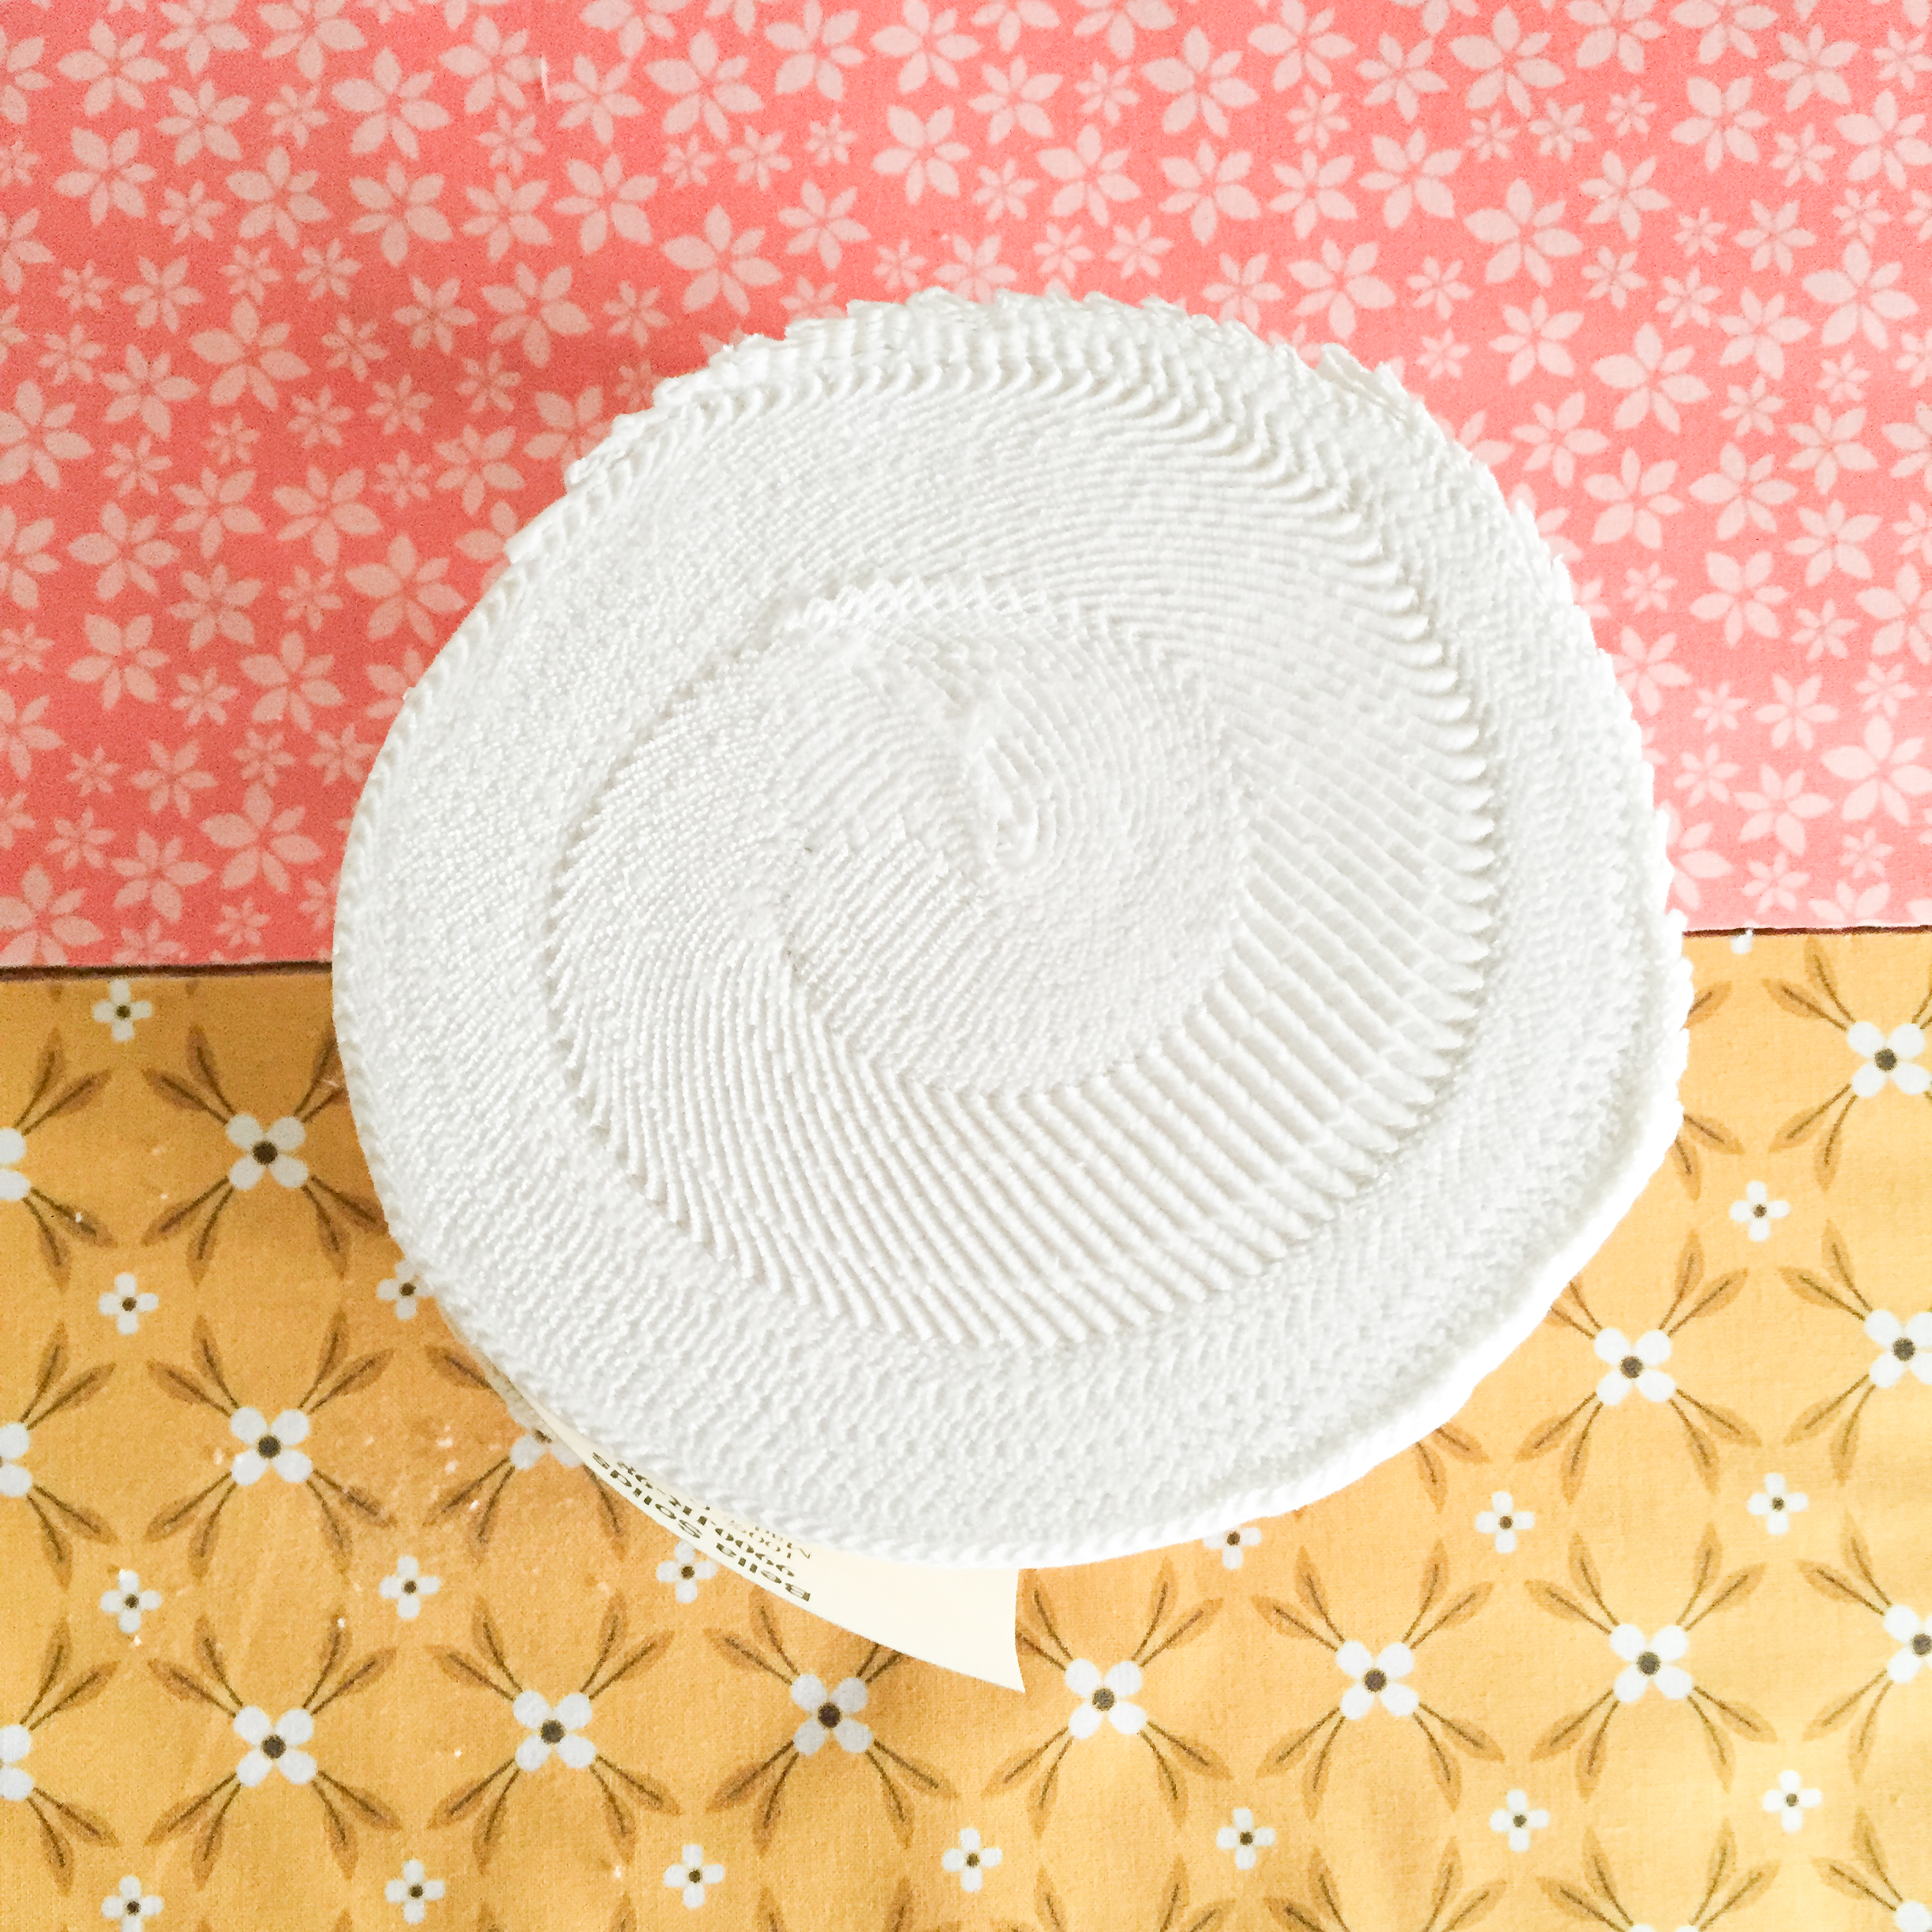
1 Jelly Roll of Moda Bella Solids 98
7 6″ strips of fabric or 7 fat quarters – trim selvedges before sewing.
(If using fat quarters, slice t 6″ x 21″ strips and sew together to form one 6″ x 40″ strip 🙂
rotary cutter & mat, Thread, sewing machine, scissors & seam ripper (the usual line up)
Start by untying the jelly roll.
Now you’re committed. Let’s get this finished!
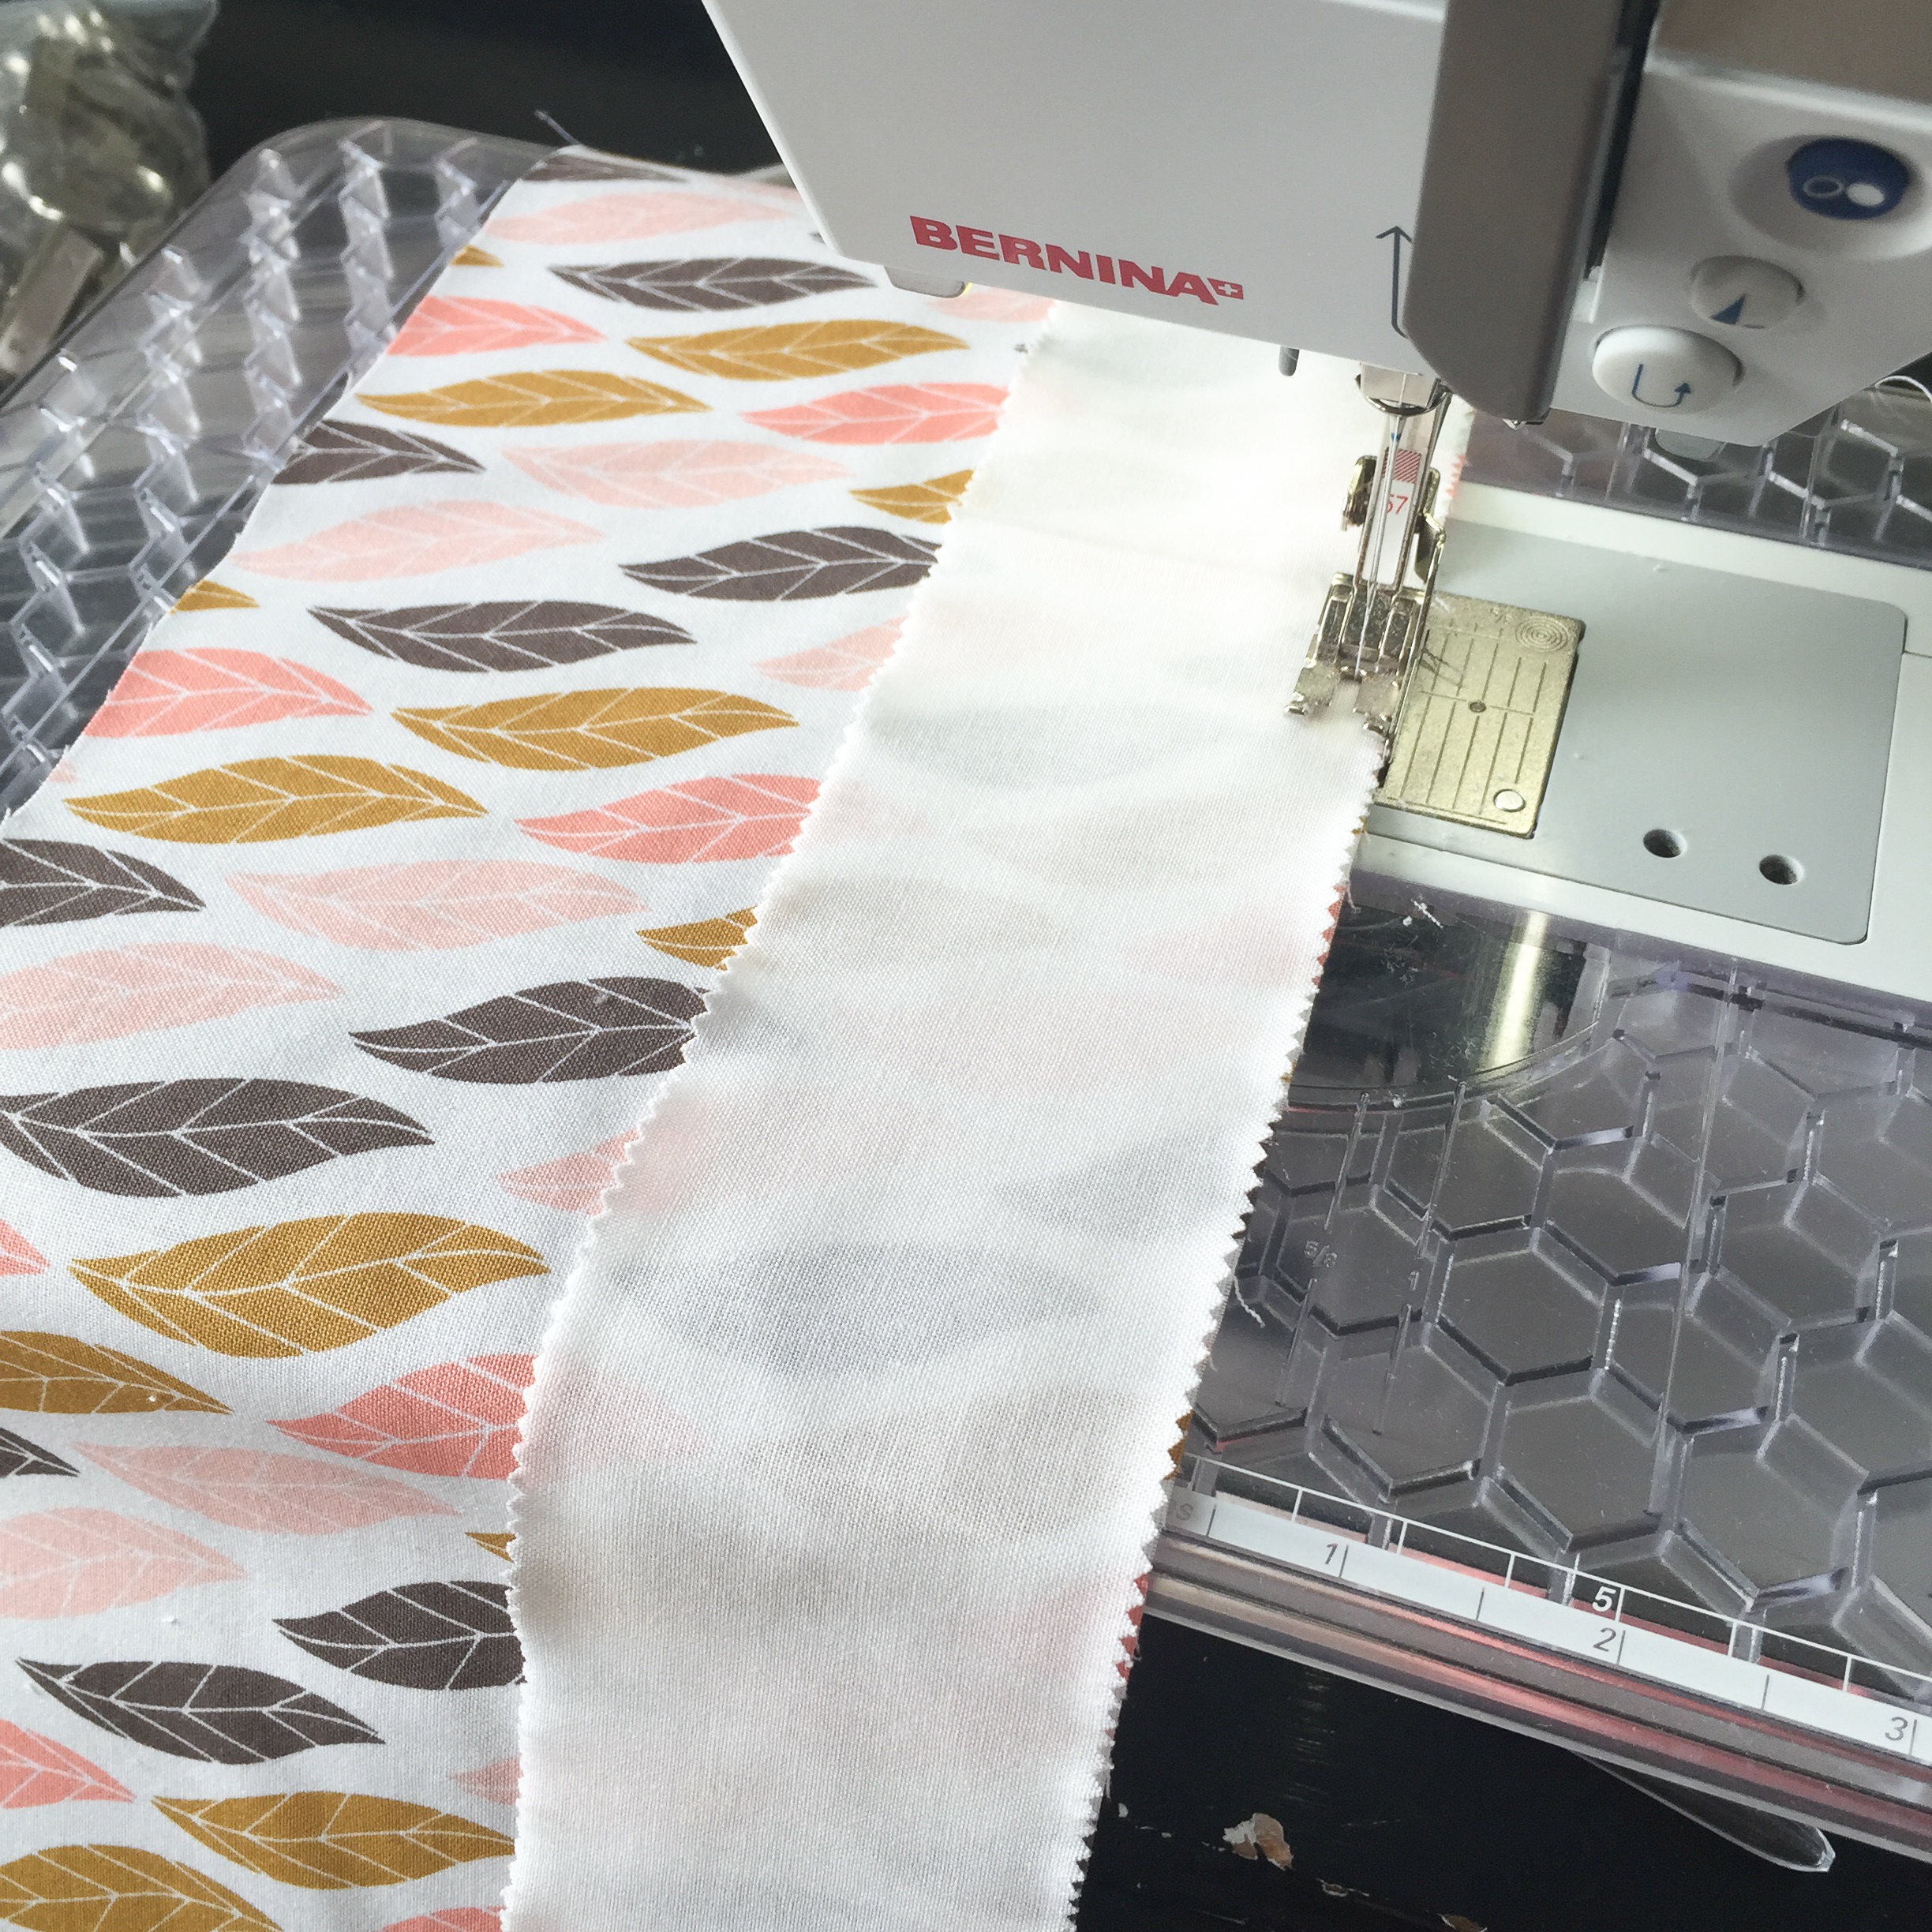
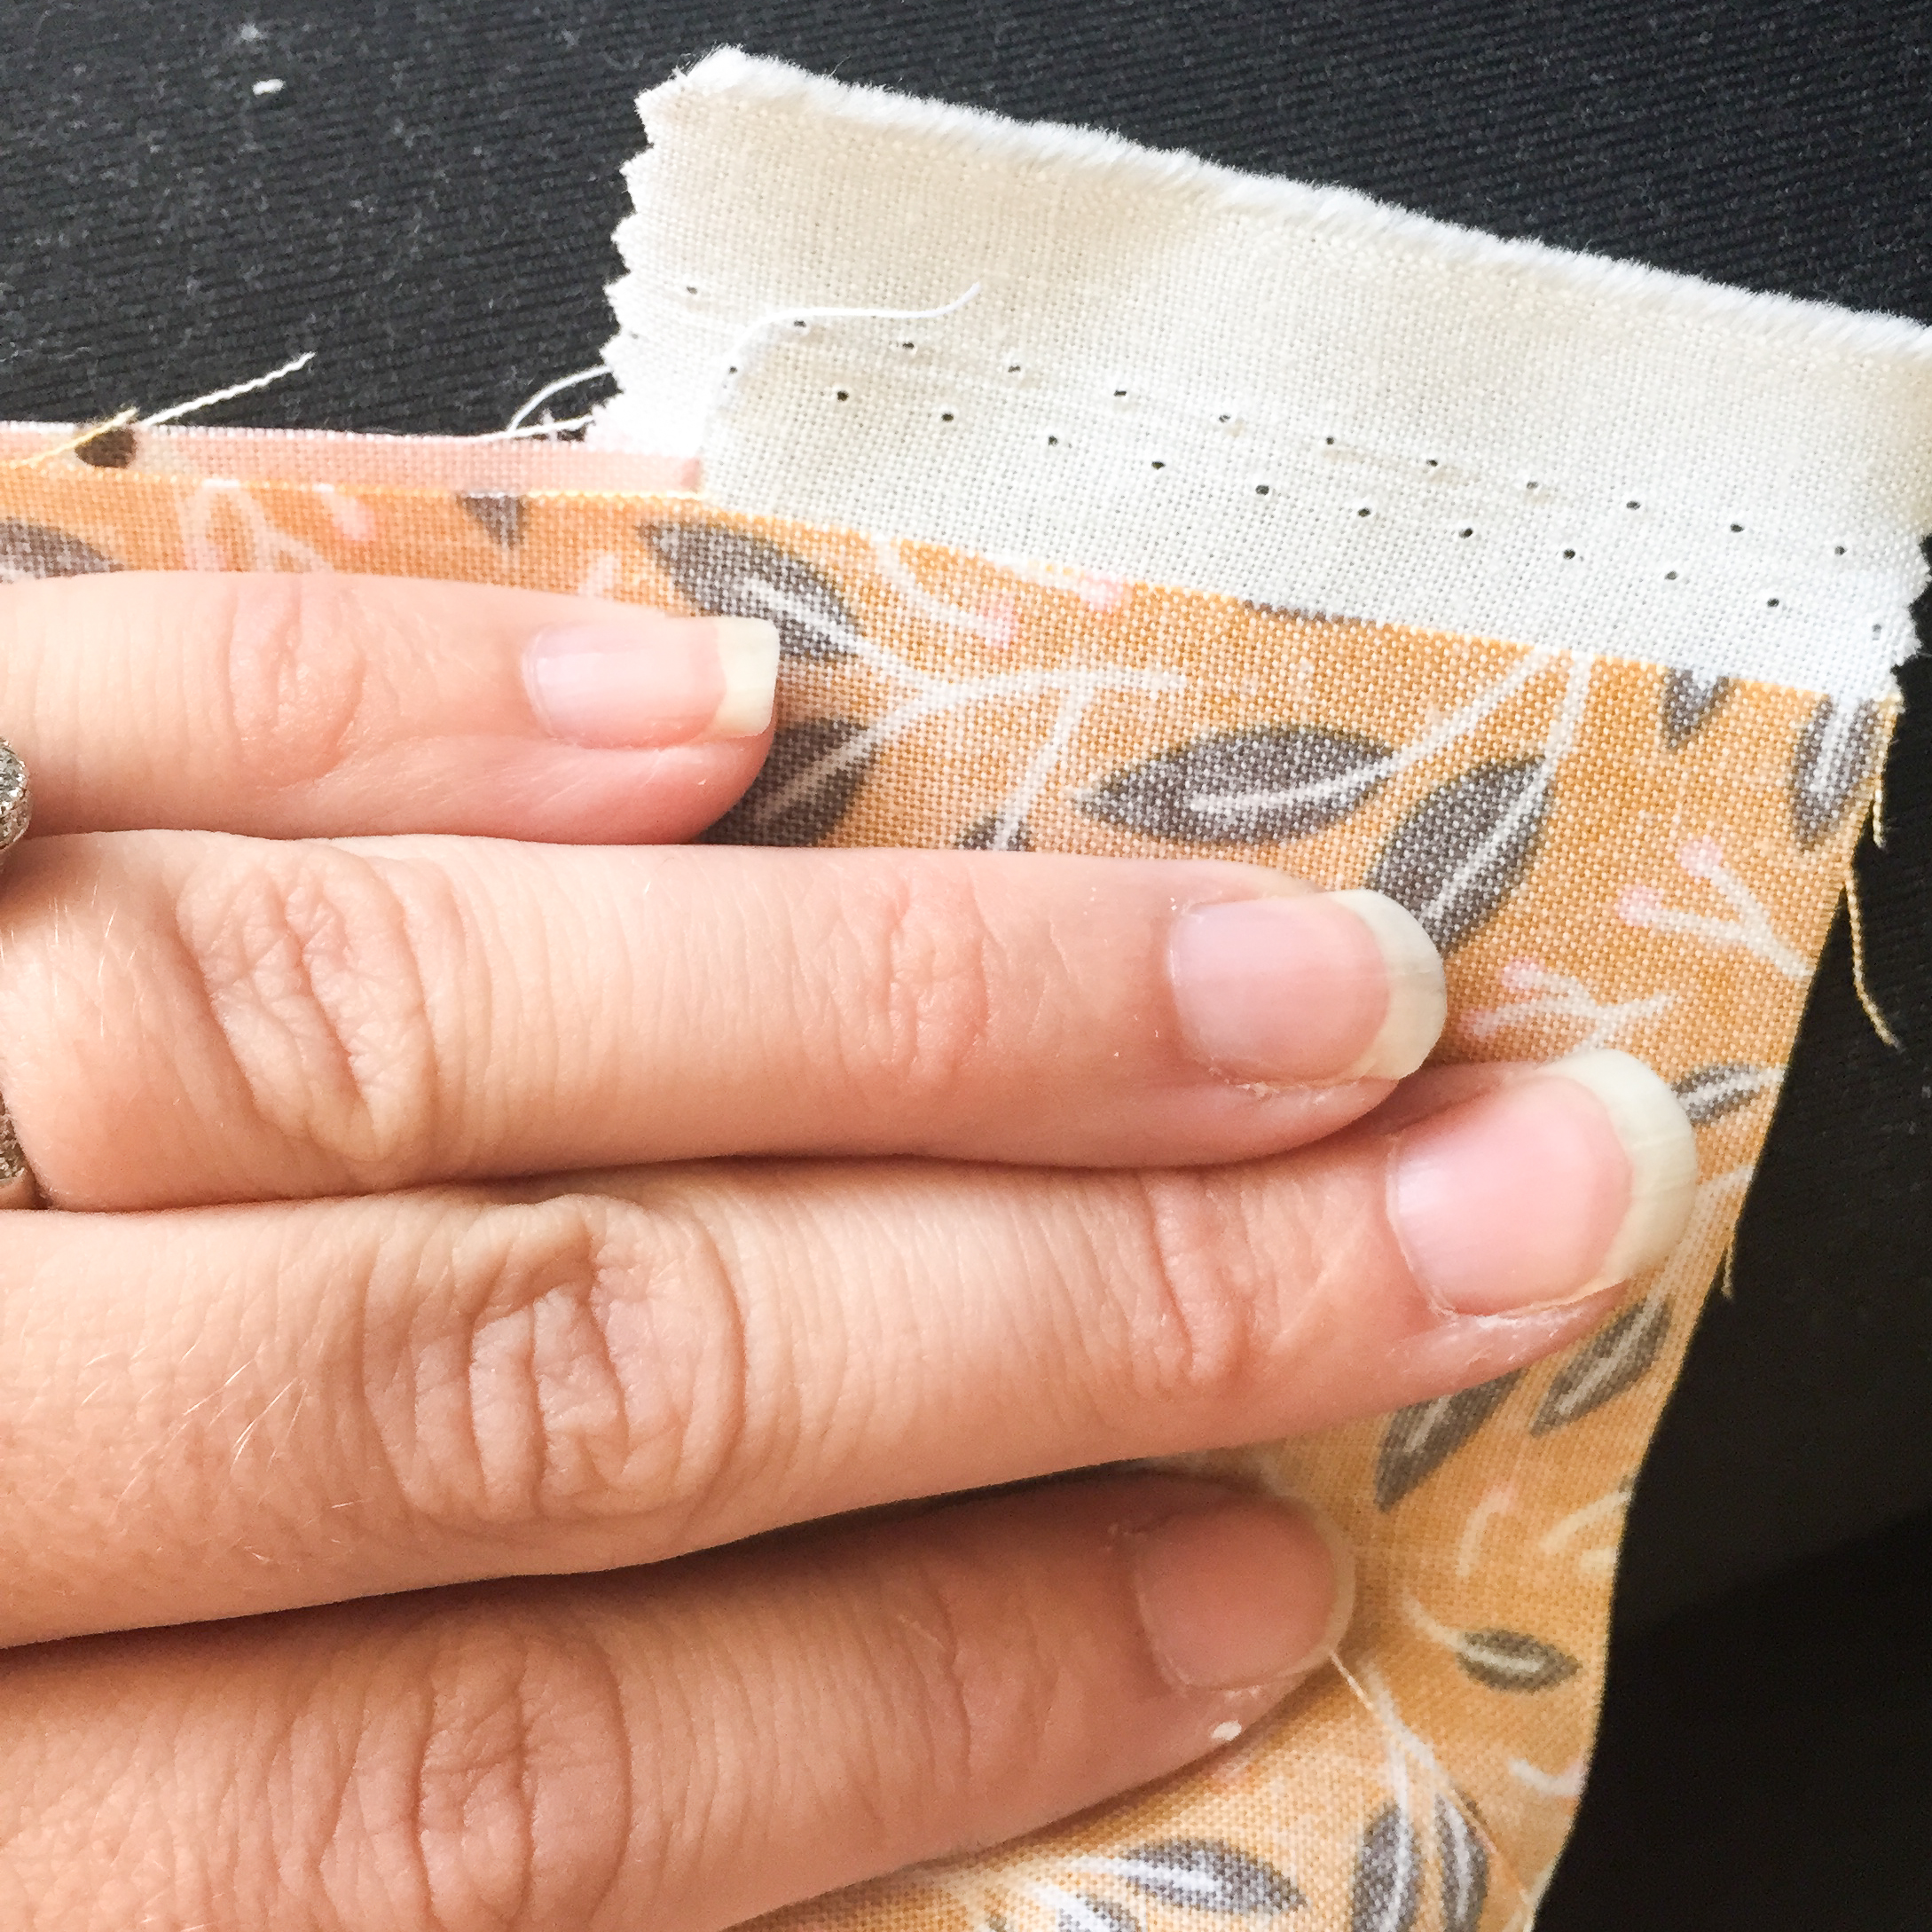
Start by sewing a 2.5″ strip to each print on the right (As in right/left) side. Start sewing AFTER the selvedge
Next, lay the strips out in the order you want to sew them together
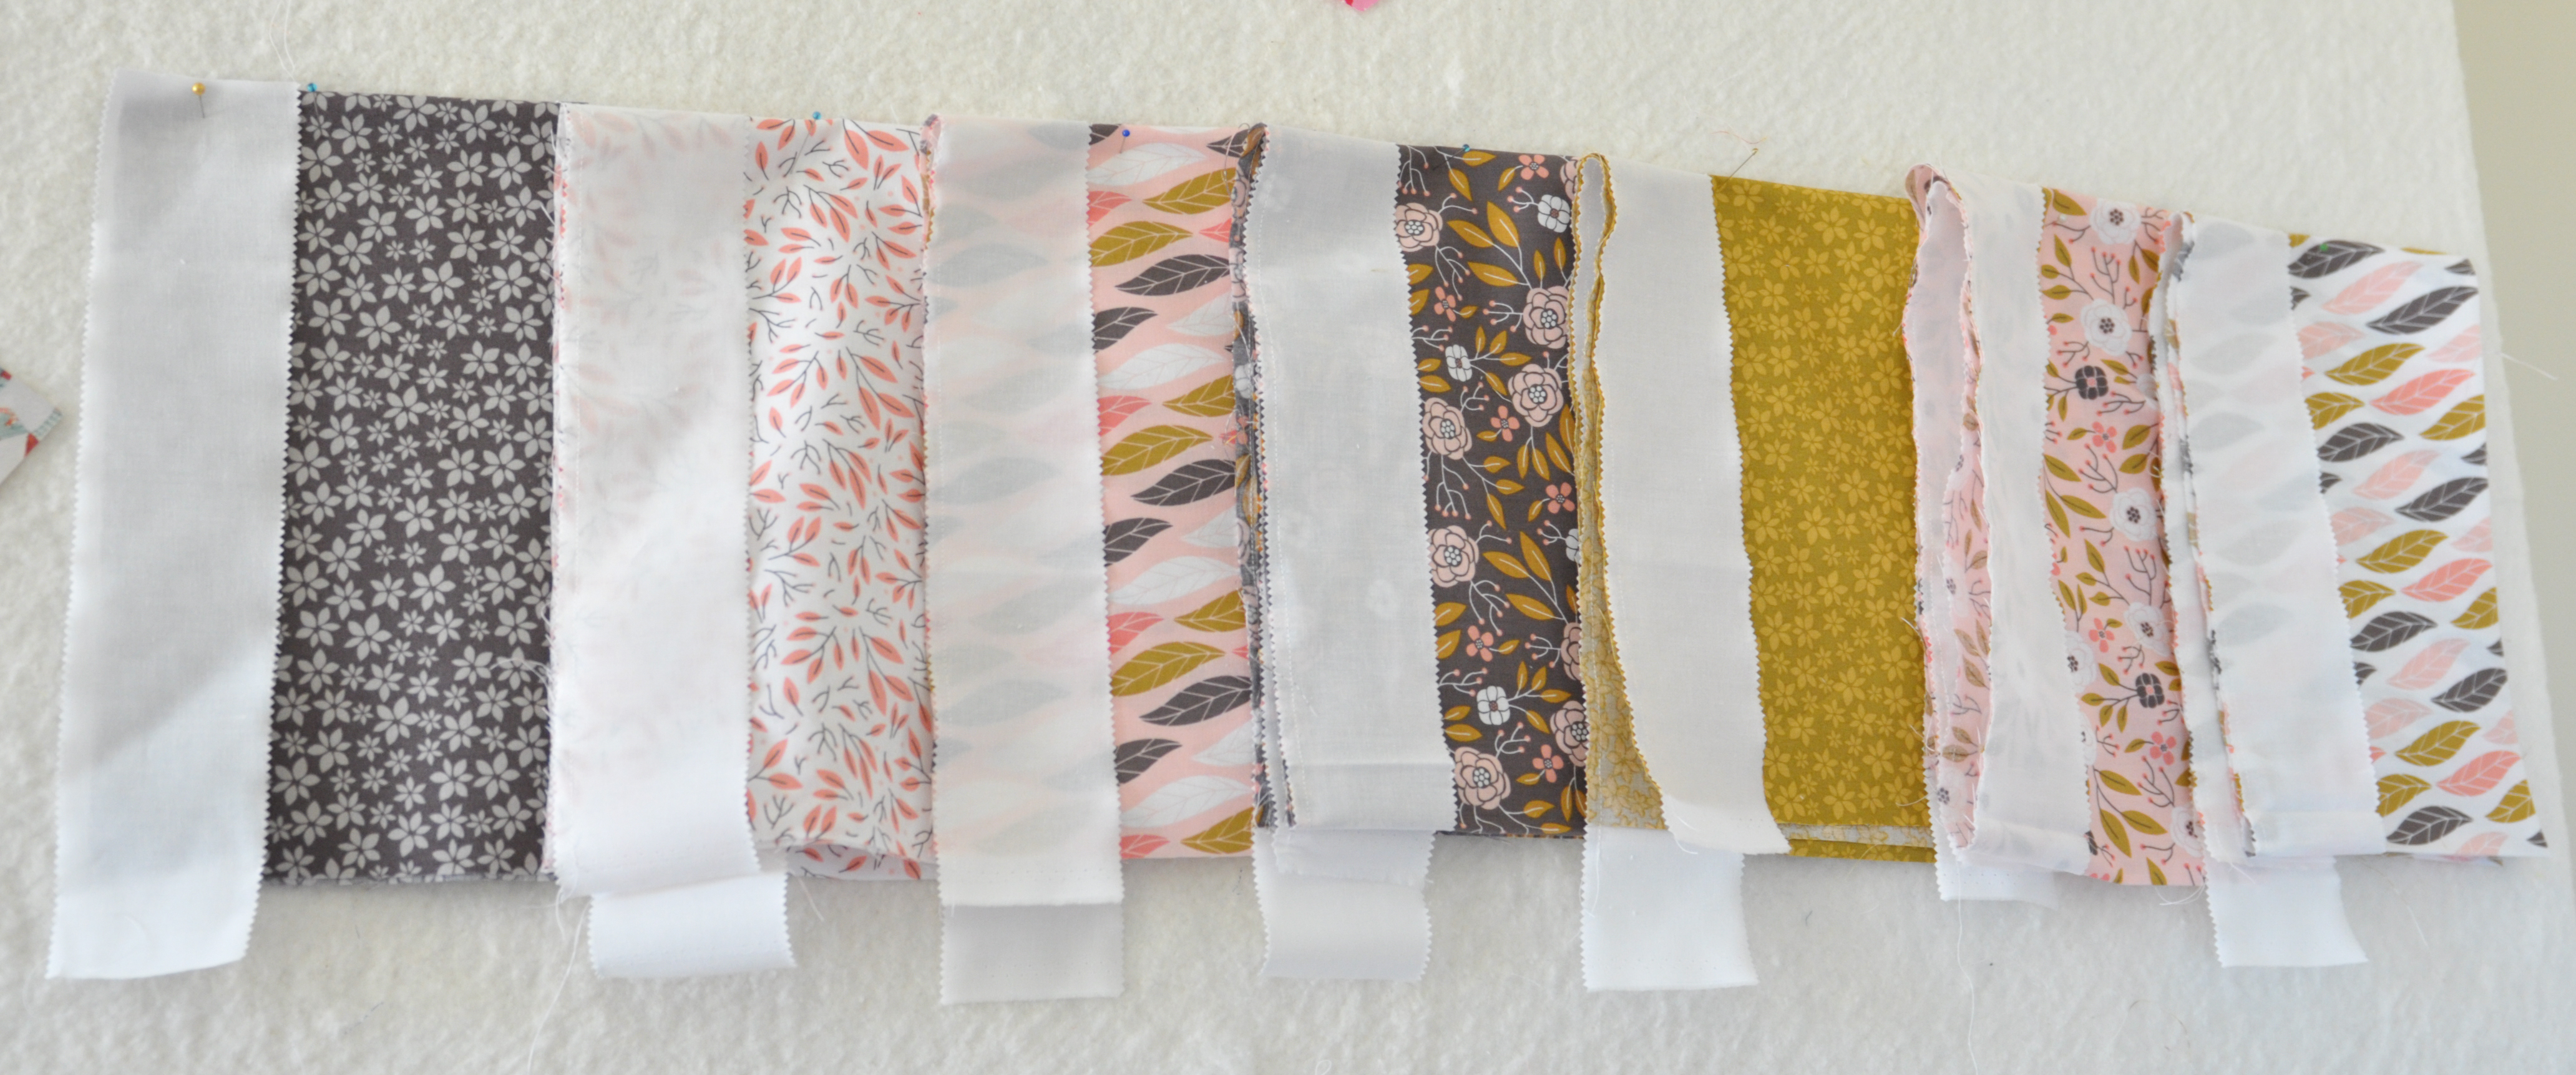
Sew the strips together. If you, like me, didn’t trim the selvedges from the jelly roll (who has time for that!?) Then line up the prints like so before sewing:
When you get to the end, sew the two ends together to form a loop. Take your loop, lay it on your cutting table and cut (6) 6″ strips. I didn’t even press before cutting, just try and get it straight on the cutting table and make sure the seams are straight under your ruler.
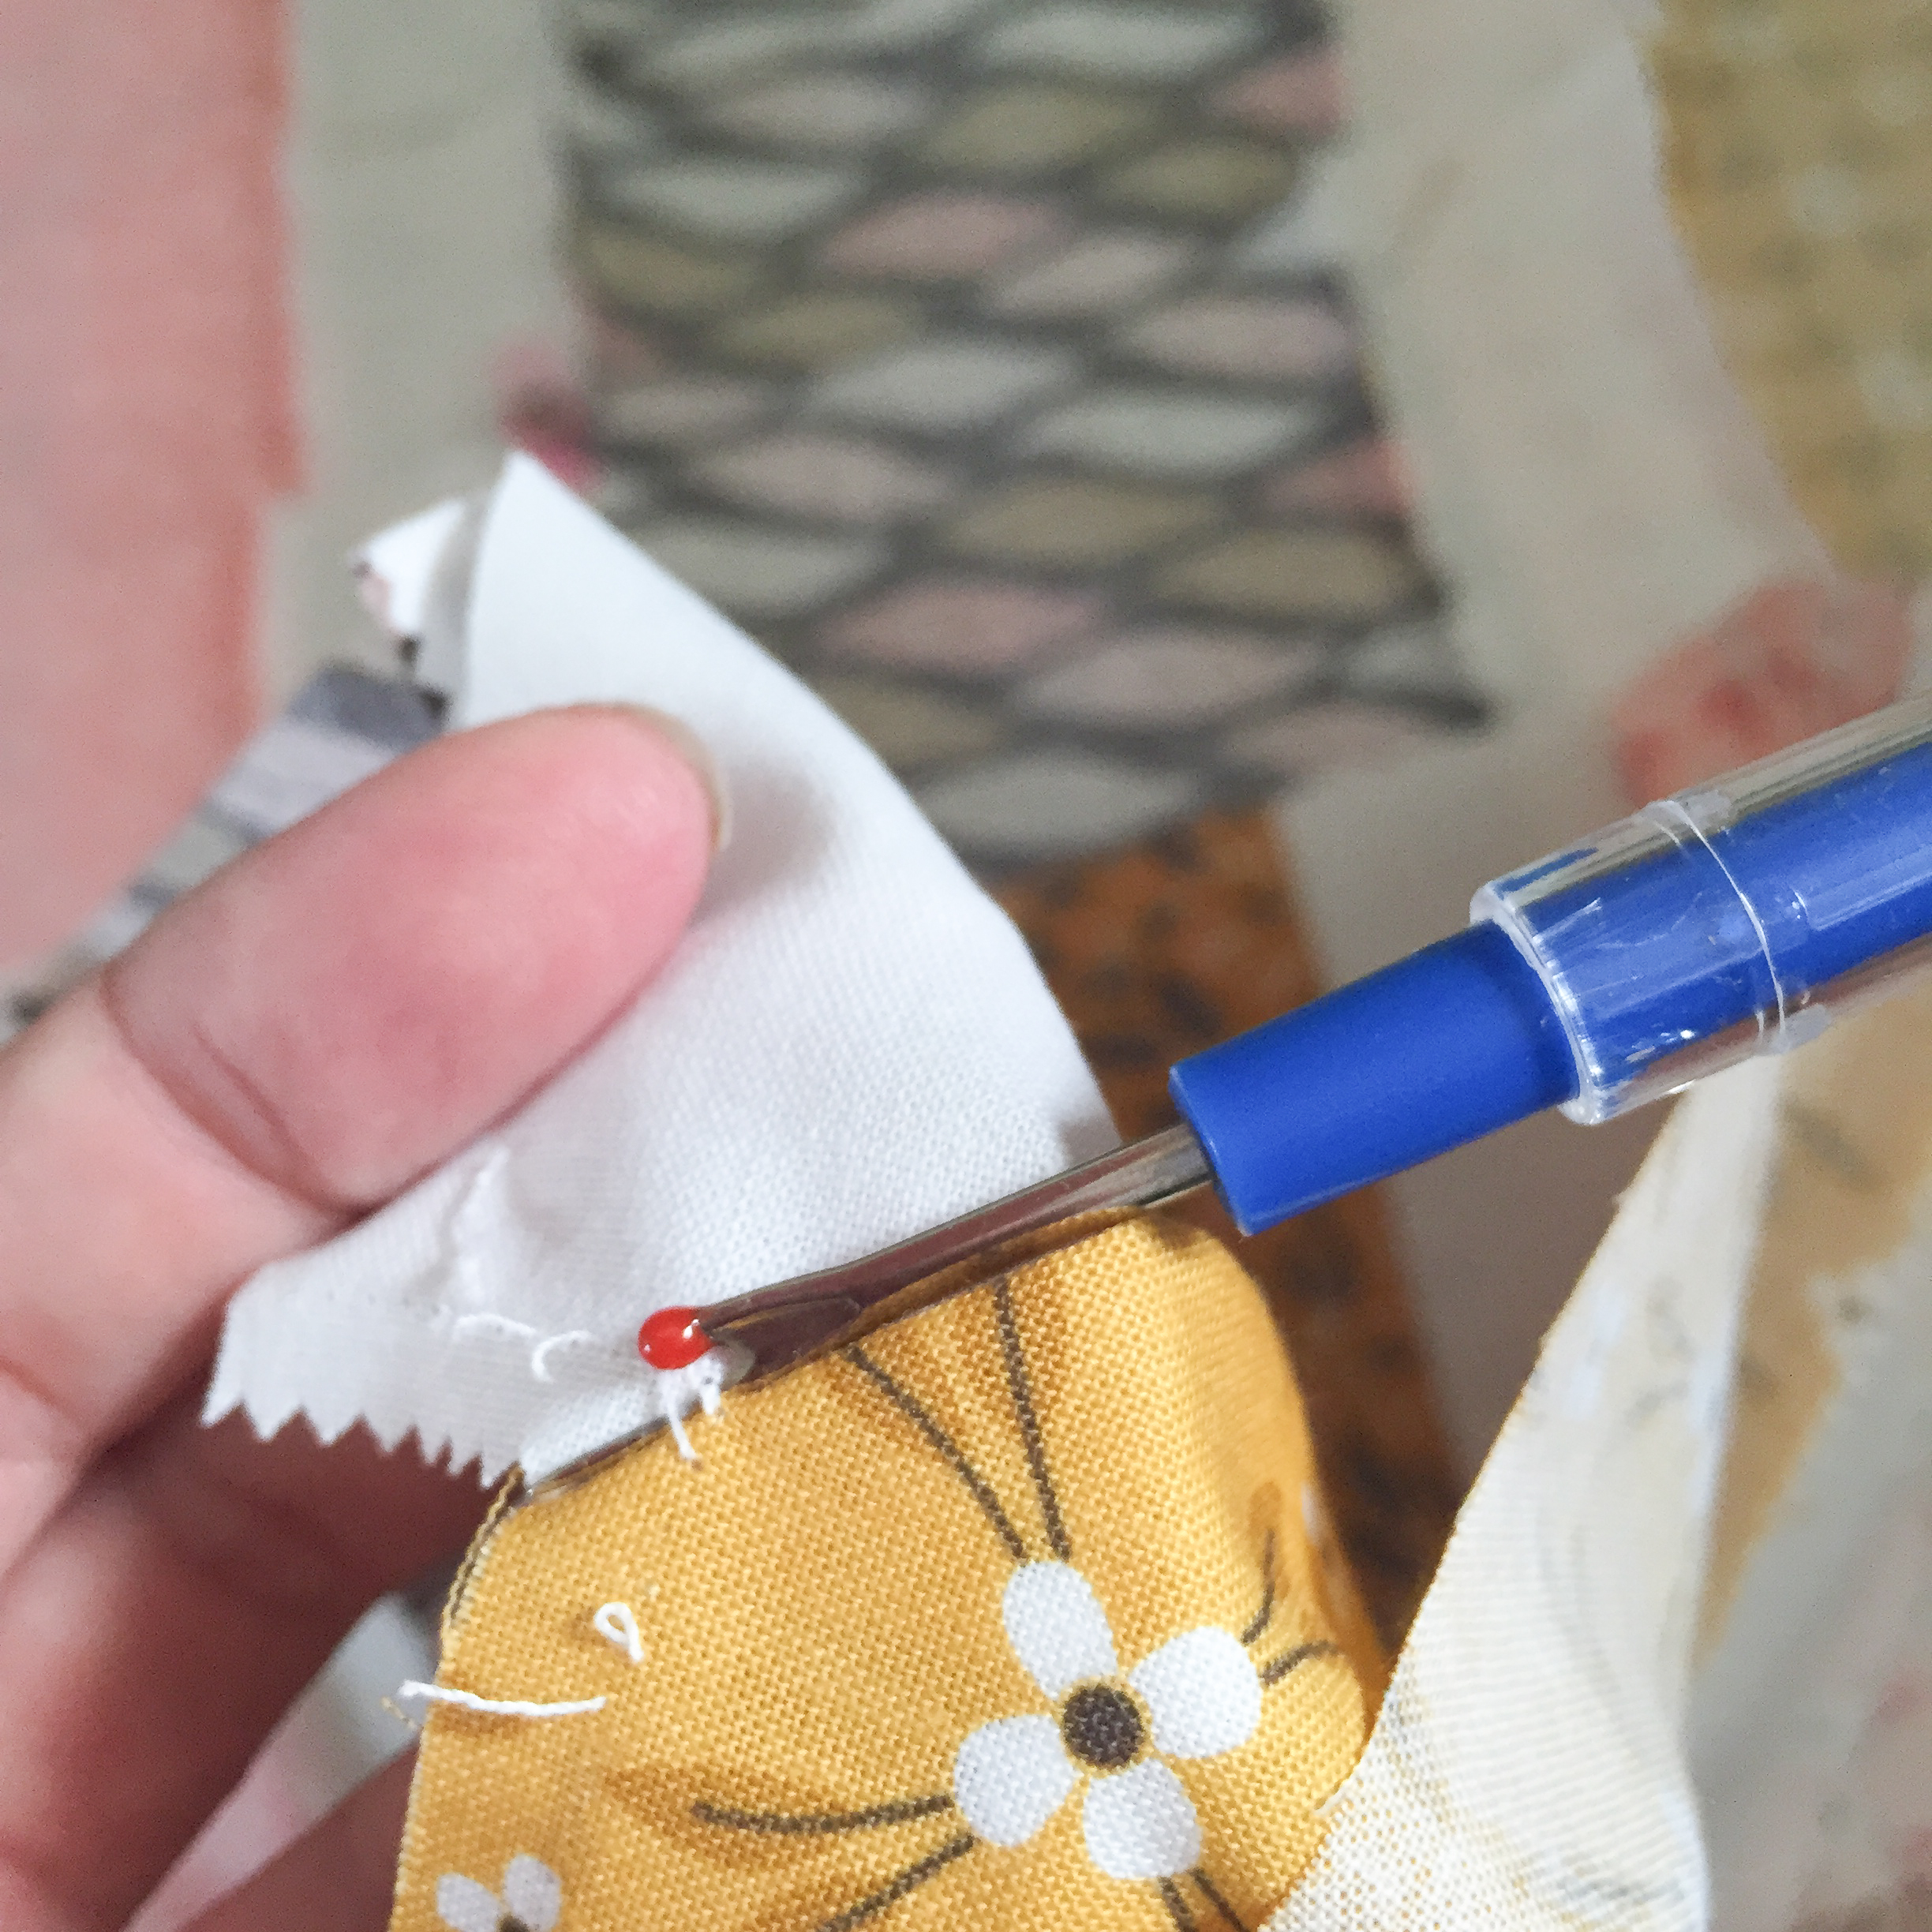
Mark with a pin or clover clip the LEFT side of the 2.5″ strip where it meets each print. This part is hard to explain. I’ll try a picture instead.

Got it? Basically, each strip needs to be marked where a different print meets the sashing. Keep reading, it will make sense.
Rip out the marked seams
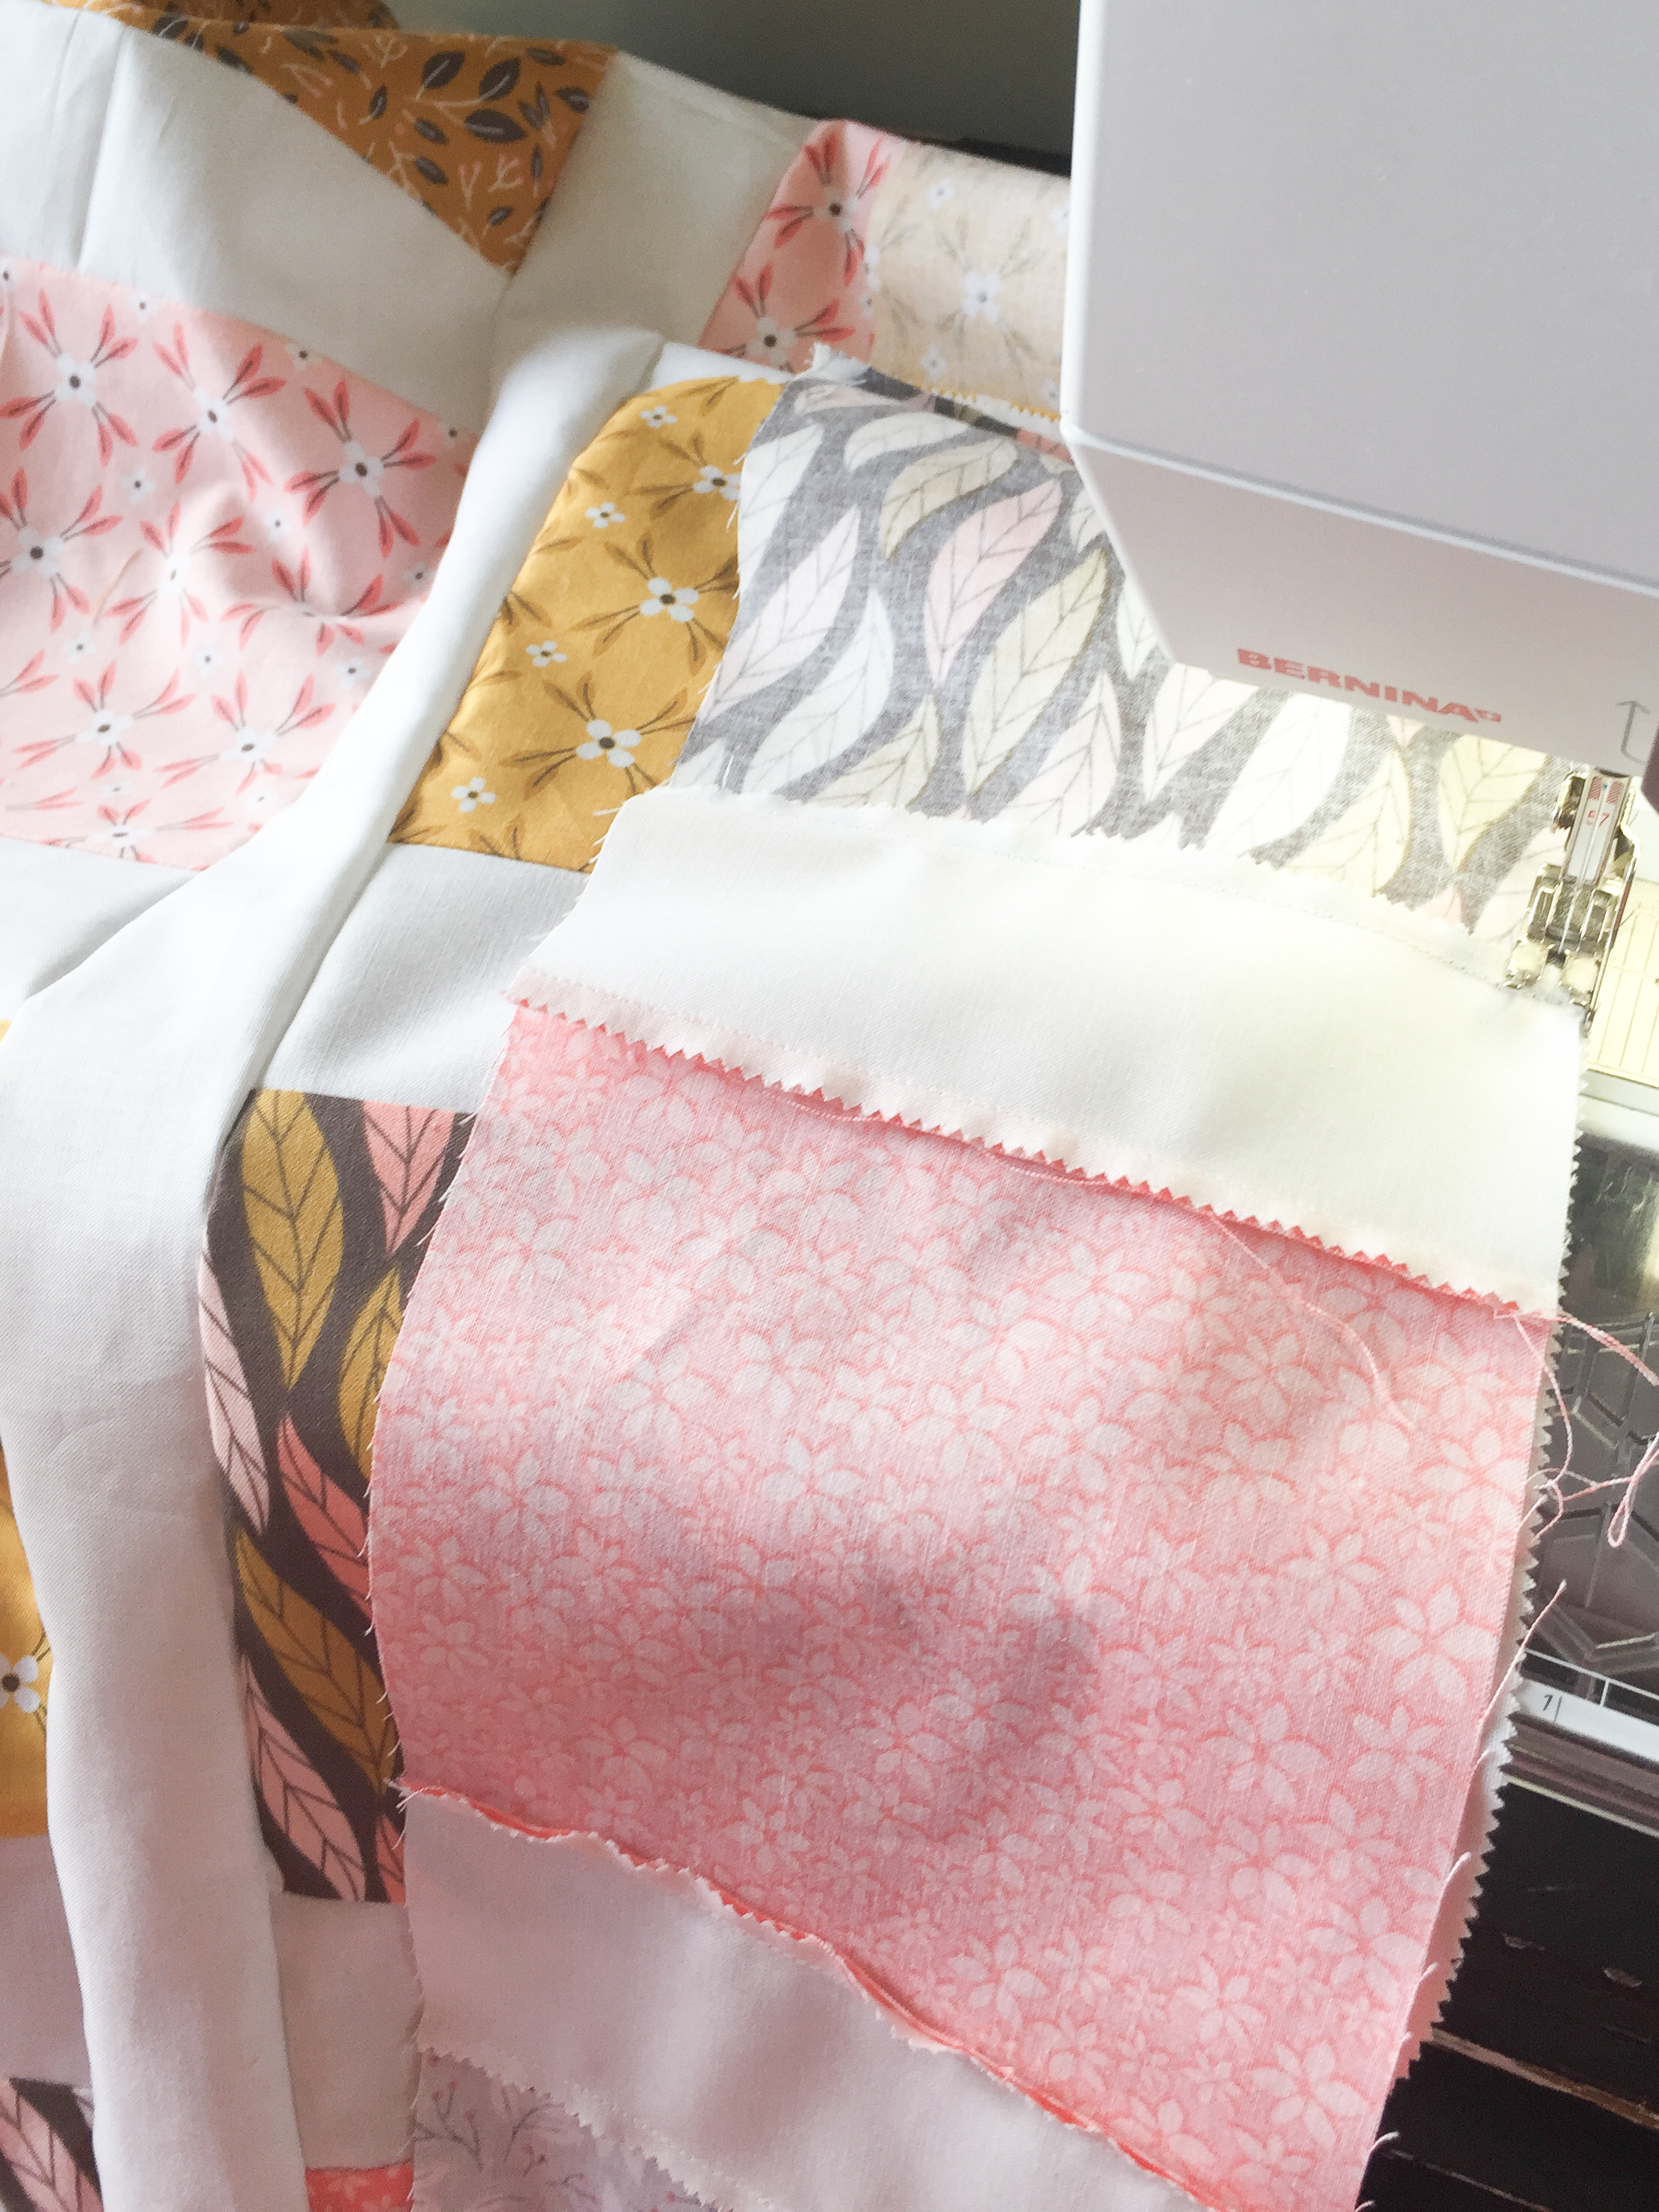
Now, PRESS. Cut 5 jelly roll strips in half and sew to a full strip for a total of 10 strips*. These are your sashing pieces. Measure your pieced strips and trim 8 sashing pieces to the same length as your strips. Sash quilt all the way to the end and add the outer border. ALWAYS sew these together with the pieced print/white pieces on top. This will keep your quilt top square. Try and visually line up the prints in rows as you go along.
Measure the top of your quilt. Cut one sashing strip that length and sew to the top. Your quilt top is DONE! Your finished quilt should be about 47″ x 55″ which is a great baby, toddler or lap quilt! Press and quilt it as desired!
* You’ll only use 9 of these.
Don’t forget to pin this so you can find it in December when you are making Christmas presents galore!
Thank you for stopping by my blog! If you have questions, please leave them in the comments below and I will get you answers! (I also just like comments, so feel free to say ‘hi’!)

Question: What are the finished dimensions of this quilt top?
Amanda,
This is such a great story, not sure my husband would have been so b*****, oh sorry gutsy:)
You should tell your story to young up and comings to help them be successful and steer clear of debt!
Good for you!
Genius! Why didn’t I think of that?? Thanks for a great tute.
Who at a great quilt! And I need a quick baby one by first week of DEc. now to pull the perfect pinks and purples. Thanks so much Amanda!
I’m trying out my quilt math here, but I’m guessing this finishes around 47″ x 54″ as-is. I love this idea! I’m definitely pinning this to sew for my niece for Christmas. If I can wait that long 😉
Oop, I just saw you listed 47″ x 55″ on your Pin!
Awesome! It’s like a giant scrappy trip block. I love it!
“When you get to the end, sew the two ends together to form a loop. Take your loop, lay it on your cutting table and cut (6) 6″ strips. I didn’t even press before cutting, just try and get it straight on the cutting table and make sure the seams are straight under your ruler.”
Can you help me understand this step? Which ends do you sew together? Maybe it will make more sense (to me) when I’m actually working on it. Can’t wait to make a few quilts this way. Thank you for sharing.
Super tutorial! If I counted correctly you need 17 jelly roll strips ( in case I want to cut from yardage), is that right?
Yanks!
I mean “thanks”I’m a fumble fingers this morning.